

Use a compatible enclosure, install the SSD, connect it by USB, and format it for storage.
Learning how to use an old laptop SSD as an external drive can turn unused hardware into fast, useful storage. The process is simple, but the enclosure type, connector, file system, and data safety all matter. This guide explains each step clearly, including how to identify your SSD, install it, format it, encrypt it, and avoid common mistakes.
Why use an old laptop SSD as an external drive?
An old laptop SSD still has value after you replace it. It can become a portable drive for backups, photo storage, game files, video projects, or moving data between computers.
SSDs are also quieter and more resistant to movement than traditional hard disk drives. Because they have no spinning platters, they are better suited to travel in a backpack or laptop bag.
Using an old SSD may also save money. A small external SSD enclosure often costs less than buying a new external SSD with the same connection type.
Common uses include:
• Backing up important documents and photos
• Moving files between Windows and Mac computers
• Storing a second copy of personal files
• Creating a portable media library
• Running a portable operating system or selected applications
• Keeping an emergency recovery drive
The main limitation is age. An older SSD may have limited remaining endurance, slower performance, or existing faults. Treat it as useful secondary storage, not as the only copy of important files.

Identify the type of SSD in your old laptop
Before buying an enclosure, identify the SSD interface and physical shape. This is the most important part of learning how to use an old laptop SSD as an external drive.
Most laptop SSDs use one of these formats:
2.5-inch SATA SSD
A 2.5-inch SATA SSD looks like a small, flat rectangular box. It usually has a combined SATA data and power connector along one edge.
You need a 2.5-inch SATA-to-USB enclosure or adapter. A USB 3.0, USB 3.2 Gen 1, or newer connection is a good choice.
M.2 SATA SSD
An M.2 SSD is a thin circuit board. It is often about 22 millimeters wide, with lengths such as 30, 42, 60, or 80 millimeters.
M.2 SATA and M.2 NVMe drives may look almost identical, but they use different protocols. An M.2 SATA enclosure does not usually support NVMe, and an NVMe enclosure may not support M.2 SATA.
M.2 NVMe SSD
NVMe drives also use the M.2 shape, but they communicate through PCIe rather than SATA. They are often much faster than SATA drives.
Look for an enclosure that clearly states NVMe or PCIe support. Do not rely only on the phrase “M.2 enclosure,” because that description may not tell you which protocol it supports.
How to check the interface
You can identify the drive by:
• Reading the label on the SSD
• Searching the exact model number on the manufacturer’s support page
• Checking the old laptop’s service manual
• Looking at the connector notch on an M.2 drive
• Asking a computer repair shop to identify it
A small notch alone is not always enough to confirm compatibility. The model number is the safest clue.

Choose the right external enclosure
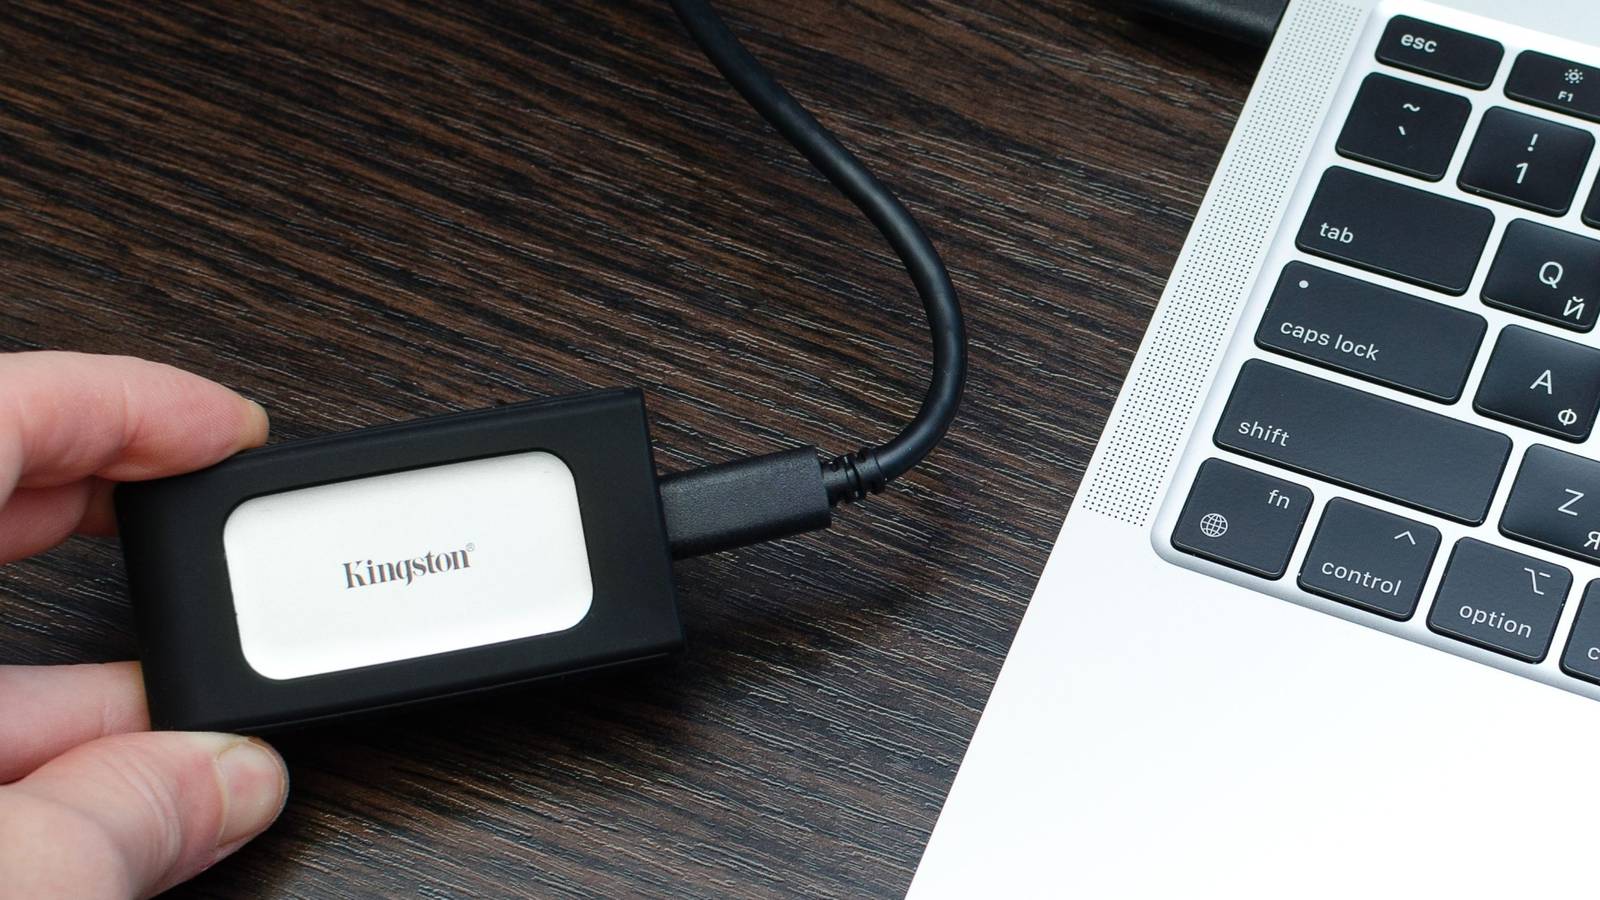
The enclosure protects the SSD and converts its internal connection into USB. Think of it as a small shell with an adapter inside.
For a 2.5-inch SATA drive, choose a 2.5-inch SATA USB enclosure. For an M.2 drive, choose an enclosure made for the correct protocol and drive length.
Check these features before buying:
• Correct interface support, such as SATA or NVMe
• Correct physical size
• USB 3.0 or faster connectivity
• A secure internal connector
• Heat control for NVMe drives
• A tool-free design, if easy installation matters to you
• Support for your computer’s operating system
USB 3.0 and newer ports are important. A USB 2.0 connection can make a fast SSD feel slow because its data rate is much lower.
USB-C is convenient, but it does not always mean high speed. Some USB-C ports use older USB standards. Check the enclosure’s rated speed and your computer’s port capabilities.
If you plan to use the drive with both Windows and Mac, consider an enclosure with stable power delivery. A 2.5-inch SATA SSD usually draws power from USB, while some older laptops or low-power devices may provide less power than expected.
Prepare the SSD before installation
If the old SSD contains personal files, protect them before turning it into an external drive. Do not format it until you are certain that you no longer need the data.
If possible, connect the SSD to the old laptop first and copy important files to another location. Check several files after copying them. A backup is useful only when the files open correctly.
You should also consider whether the drive contains:
• Personal photos and documents
• Saved browser passwords
• Tax or financial records
• Work files
• Recovery partitions
• Licensed software or activation data
If the drive held a Windows installation, you may see several partitions after connecting it. These can include system, recovery, and reserved partitions. You can remove them later if you want one clean storage volume, but doing so erases the existing contents.
If the SSD is encrypted with BitLocker, FileVault, or another system, you may need the recovery key or password to access the files. Without that key, the data may remain inaccessible.
Install the SSD in the enclosure
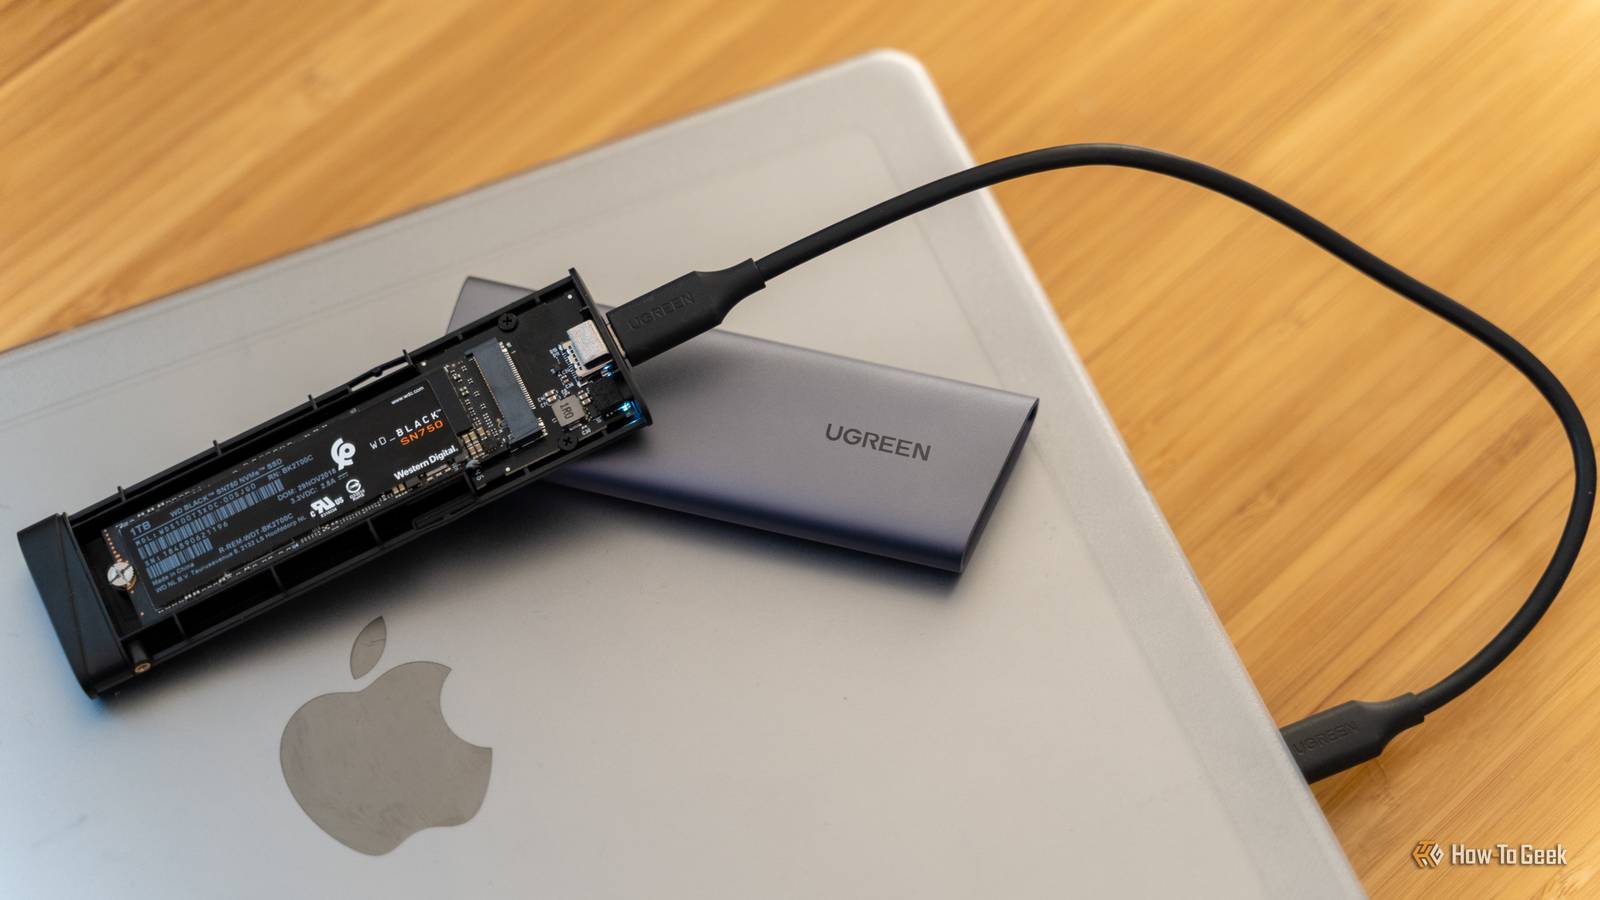
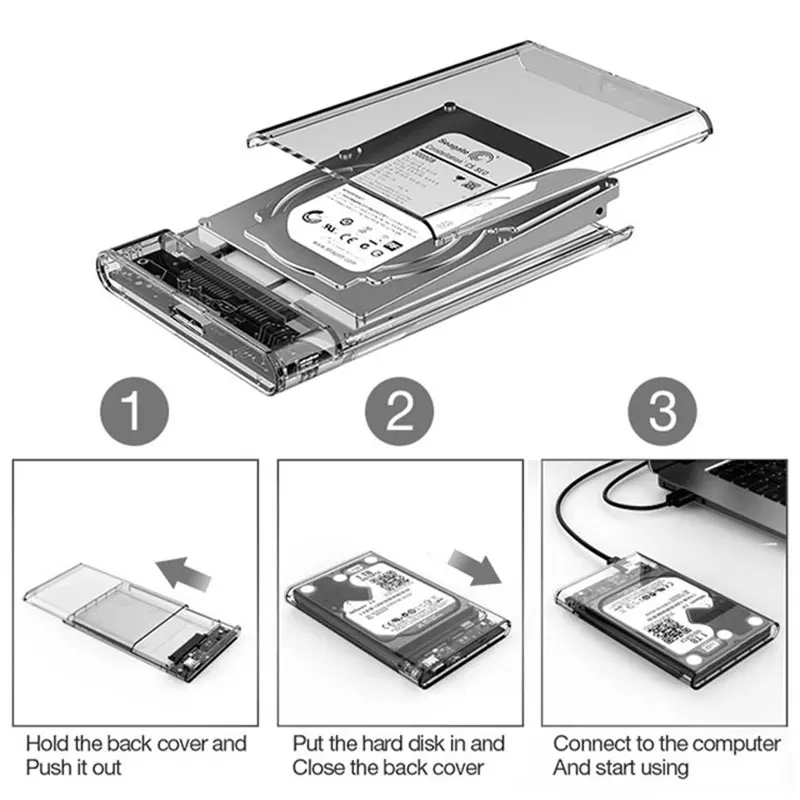
Once you have the correct enclosure, installation usually takes only a few minutes. Work on a clean table and avoid touching the exposed circuit board more than necessary.
Follow these steps:
Shut down the computer that held the SSD.
Disconnect its power cable and remove the battery if the laptop design allows it.
Remove the old SSD according to the laptop service instructions.
Open the external enclosure.
Align the SSD connector with the enclosure’s internal connector.
Slide the drive into place without forcing it.
Secure the SSD with the supplied screw, clip, or retaining bracket.
Close the enclosure.
Connect the enclosure to your computer with the supplied USB cable.
A 2.5-inch SATA SSD may slide into a wider connector. An M.2 SSD usually sits at a slight angle before you press it down and secure it.
Never push an incompatible connector into place. If the drive does not fit easily, stop and check the enclosure type. Forcing it can bend contacts or damage the SSD.
In my own testing with reused laptop storage, the most common mistake was not software related. It was buying an M.2 enclosure without checking whether the drive was SATA or NVMe. The enclosure looked right, but the computer did not detect the SSD.
Format the old SSD in Windows
If the drive is detected but contains an old operating system, you can format it for normal external storage. Formatting removes the selected data, so confirm your backup first.
Use Disk Management
Connect the enclosure to the Windows computer.
Right-click the Start button.
Select Disk Management.
Find the old SSD by checking its capacity.
Delete old partitions only after confirming the correct disk.
Create a new simple volume.
Choose a drive letter.
Select a file system.
Complete the format.
NTFS is a good choice if you will use the external SSD mainly with Windows. It supports large files and Windows permissions.
exFAT is often the better choice for sharing the drive between Windows and macOS. It supports large files and works with current versions of both systems.
FAT32 has broad compatibility, but it has a four-gigabyte maximum file size. That makes it a poor choice for large video files, disk images, and many modern backups.
Use Quick Format for a healthy SSD when you simply need to create a new file system. A full overwrite is different and may add unnecessary wear to an SSD.
If Windows shows “Not Initialized”
The disk may need initialization before you can create a volume. Choose GPT for most modern computers. MBR may help with very old systems, but it has more limitations.
Be careful when using Disk Management. Selecting the wrong disk can erase your computer’s internal storage.
Format the old SSD on a Mac
macOS uses Disk Utility to erase and format external drives.
Connect the enclosure to the Mac.
Open Applications, then Utilities.
Launch Disk Utility.
Select View and choose Show All Devices.
Select the physical SSD, not only an old volume.
Click Erase.
Choose a name and format.
Select GUID Partition Map when the option appears.
Confirm the erase process.
Use APFS if the drive will stay with modern Macs. Use exFAT if you want to share the SSD with Windows computers.
Mac OS Extended may be useful for older Mac systems, but it is not the best general choice for a drive that must work across current Windows and Mac computers.
If Disk Utility cannot erase the drive, the enclosure may be faulty, the SSD may have a damaged partition table, or the drive may be failing. Try another USB port and cable before assuming the SSD is dead.

Test the external SSD after formatting
After formatting, do not immediately trust the drive with valuable files. Test it first.
Copy a few large files to the SSD, safely eject it, and reconnect it. Open the files and confirm that they are complete.
You can also check:
• Whether the drive disconnects during use
• Whether file transfers stop or show errors
• Whether the enclosure becomes unusually hot
• Whether the reported capacity looks correct
• Whether the drive appears after a restart
• Whether the USB cable stays firmly connected
A useful test is to copy a folder containing photos and videos, eject the SSD, reconnect it, and open several files at random. This simple check can reveal connection problems before you depend on the drive.
For deeper testing, Windows users can review drive health with a trusted SMART utility. Mac users can check available drive information through Disk Utility or a reputable diagnostic tool. Keep in mind that USB enclosures do not always pass every SMART detail to the operating system.

Improve speed, safety, and reliability
Using an old laptop SSD as an external drive is easy, but good habits make it safer.
Use a quality USB cable
A damaged or low-quality cable can cause random disconnects. If the SSD disappears during a file transfer, try another cable before replacing the enclosure.
Eject the drive properly
Use Safely Remove Hardware in Windows or Eject in macOS. Removing the cable during a write can damage the file system or corrupt open files.
Keep the enclosure cool
SSDs can slow down when they become hot. This is more common with NVMe drives during long transfers. Avoid covering the enclosure with clothing or placing it in direct sunlight.
Encrypt sensitive files
If the drive contains private information, use BitLocker To Go on supported Windows editions, FileVault-compatible tools on Mac, or a trusted cross-platform encryption program.
Encryption protects data if the external SSD is lost. Store the recovery password in a secure password manager.
Keep more than one backup
An external SSD is not a complete backup plan by itself. It can fail, be lost, or be damaged. Follow the basic rule of keeping multiple copies in separate locations.
For example:
• One copy on your computer
• One copy on the external SSD
• One copy in another location or a trusted cloud service
Common problems and practical fixes
The computer does not detect the SSD
Try a different USB port, cable, or computer. If the enclosure has a removable cable, test another compatible cable.
For M.2 drives, confirm that the enclosure supports the drive’s protocol. An NVMe enclosure and an M.2 SATA enclosure are not interchangeable in many cases.
The SSD appears but cannot be opened
The file system may be unsupported or damaged. Windows may not read APFS, and macOS may not write to NTFS without additional software.
If the data is important, avoid formatting immediately. First attempt data recovery or connect the drive to a system that supports the existing file system.
The drive keeps disconnecting
Possible causes include a weak USB connection, insufficient power, overheating, or a failing SSD. Move the enclosure closer to the computer, avoid unpowered hubs, and test it directly from a USB port.
The drive is slower than expected
The enclosure, USB port, cable, or SSD may limit speed. A SATA SSD cannot reach NVMe speeds, even when placed in a fast USB enclosure.
Real-world speeds are also lower than advertised because manufacturers usually list maximum interface speeds under ideal conditions.
The old SSD has errors
Stop using it for important data if files become corrupted or the drive vanishes repeatedly. An SSD with warning signs may be useful for temporary transfers, but it should not store your only copy of anything valuable.
Can you use an old SSD as a bootable external drive?
Yes, in many cases. You can install an operating system on the SSD and boot a compatible computer from USB.
However, booting depends on the operating system, computer firmware, security settings, and enclosure. Windows To Go is no longer broadly supported as a standard consumer feature, while Linux distributions often provide more flexible external boot options.
A bootable external SSD can be useful for system repair or testing. It is not always the best option for daily use because USB performance and hardware compatibility can vary.
Before creating a bootable drive, back up its existing contents. The process may erase the entire SSD.
How to use an old laptop SSD as external drive safely
The safest process is simple:
Identify whether the SSD is 2.5-inch SATA, M.2 SATA, or M.2 NVMe.
Buy an enclosure that supports both the physical format and protocol.
Back up any files on the SSD.
Install the drive without forcing the connector.
Connect it directly to a reliable USB port.
Format it with NTFS, exFAT, or APFS for your intended devices.
Test file transfers and check the drive for errors.
Eject it properly after every use.
This method explains how to use an old laptop SSD as an external drive without guessing or risking unnecessary damage. Take a few extra minutes to check compatibility before formatting, because that step prevents most avoidable problems.
Frequently Asked Questions About How to Use an Old Laptop SSD as External Drive
Can I use any old laptop SSD as an external drive?
Most laptop SSDs can be used externally, but you need the correct enclosure. Check whether the drive is 2.5-inch SATA, M.2 SATA, or M.2 NVMe before buying an adapter.
Do I need to format an old SSD before using it?
You only need to format it if you want to erase the old contents or use a different file system. Back up important files first because formatting can permanently remove data.
Is an SSD enclosure better than a USB adapter?
An enclosure gives the SSD more protection and usually provides a cleaner portable design. A simple adapter can work well for short-term use, but it leaves the drive more exposed to impact and static.
Can I use an old laptop SSD with both Windows and Mac?
Yes. Format the drive as exFAT for easy reading and writing on both current Windows and macOS systems. NTFS is mainly suited to Windows, while APFS is mainly suited to Mac.
Why is my external SSD not showing up?
The enclosure may be incompatible, the cable may be damaged, or the drive may need initialization and formatting. Test another port and cable, then check Disk Management on Windows or Disk Utility on Mac.
Will using an old SSD as an external drive make it slower?
It can be slower than an internal SSD because USB, the enclosure, and the cable limit performance. A SATA SSD in a USB enclosure will also be slower than an NVMe SSD in a compatible high-speed enclosure.
Can I use an old SSD for backups?
Yes, but do not keep your only backup on it. SSDs can fail, so maintain another copy in a separate location or on a trusted cloud service.
Conclusion
Learning how to use an old laptop SSD as an external drive is a practical way to reuse hardware and gain fast portable storage. Identify the SSD type, choose the correct enclosure, protect your old files, format the drive for your devices, and test it before storing important data.
A small investment in the right enclosure can give an unused SSD a useful second life. Check your drive today, set it up carefully, and share your experience or questions in the comments.
