

To initialize an SSD on Mac, use Disk Utility to erase it with GUID Partition Map.
Learning how to initialize an SSD on Mac is simple once you understand the terms Apple uses. In most cases, “initialize” means preparing the drive by choosing a partition scheme, formatting it, and creating a volume that macOS can use. This guide explains the safest method for external and replacement SSDs, including the right format, recovery options, troubleshooting steps, and common mistakes to avoid.

What does it mean to initialize an SSD on Mac?
When you initialize an SSD, you prepare it for storage. This process can include erasing old data, selecting a partition map, creating a file system, and giving the drive a name.
Mac users usually complete this work in Disk Utility. The app may show the task as “Erase” rather than “Initialize,” but the goal is similar.
Initializing an SSD may be necessary when:
• The drive is brand new and has no usable format
• The SSD was previously used with Windows
• Disk Utility shows the drive but not its volume
• You want to use the SSD as a startup disk
• You are reinstalling macOS on a replacement internal drive
• The current partition map is damaged or incompatible
The most important warning is simple: initializing or erasing a drive deletes its existing data. Always back up important files before you begin.
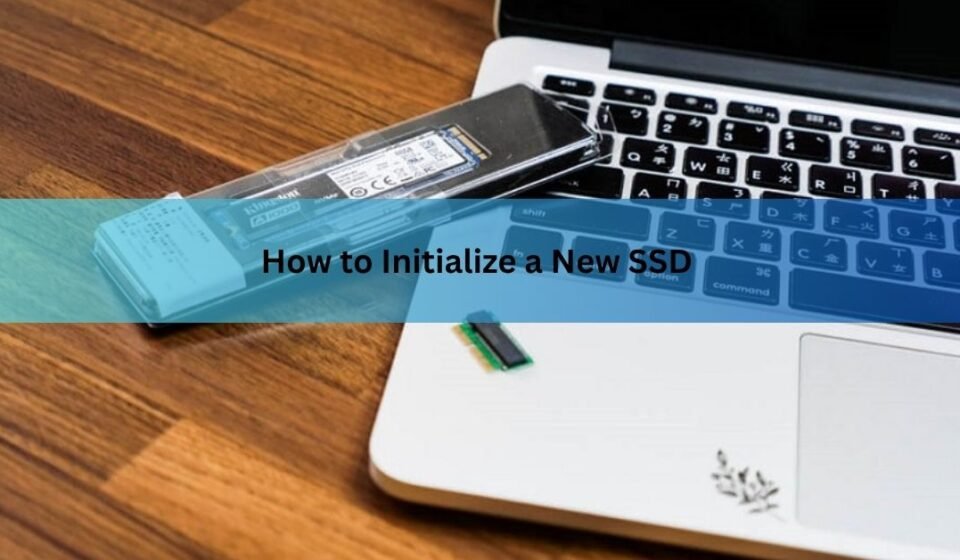
Before you initialize an SSD on Mac
A few checks can prevent data loss and setup problems. Think of this step as checking the map before starting a road trip.
Back up important files
If the SSD contains files, copy them to another drive or use Time Machine. Do not assume that a damaged SSD will remain readable during the setup process.
For extra safety, open several backed-up files and confirm that they work. A backup is useful only when you can restore the data.
Connect the SSD correctly
For an external SSD, connect it directly to your Mac when possible. Avoid low-quality hubs, loose cables, and underpowered adapters during initialization.
If your Mac has USB-C or Thunderbolt ports, check whether the enclosure supports the connection speed you expect. A fast SSD inside a slow enclosure will still work, but file transfers may be much slower.
Confirm that the Mac detects the drive
Open Disk Utility by using either method:
- Press Command + Space.
- Type Disk Utility.
- Press Return.
Then select View > Show All Devices. This setting matters because Disk Utility normally hides the physical drive and shows only its volume.
You should see the SSD in the left sidebar. The physical device often appears above the indented volume beneath it.
Check whether the SSD is internal or external
The steps are similar, but the risks differ:
• An external SSD can usually be erased from your normal macOS desktop
• An internal startup SSD must often be erased from macOS Recovery
• A replacement internal SSD may need macOS installed after initialization
• Apple silicon Macs and Intel Macs use different startup recovery steps
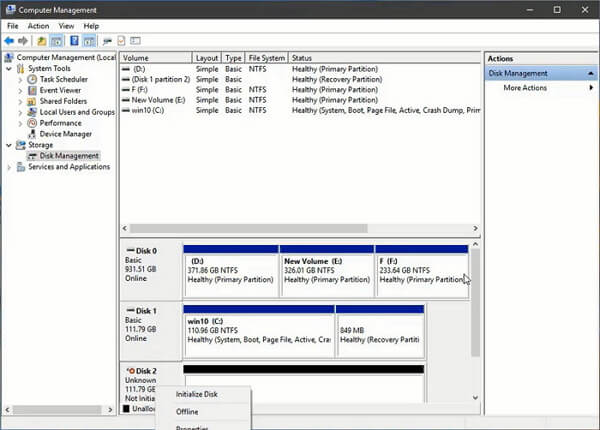
How to initialize SSD Mac using Disk Utility
This is the standard method for most external SSDs and secondary internal drives. It works on recent versions of macOS, although button names may vary slightly.
Step 1: Open Disk Utility
Open Applications > Utilities > Disk Utility, or search for it with Spotlight.
In the menu bar, choose View > Show All Devices. This reveals the physical SSD, its partition map, and any volumes stored on it.
Step 2: Select the physical SSD
Click the top-level SSD entry in the sidebar. Do not select only the volume underneath it if you need to change the partition scheme.
A physical drive may have a name such as “External USB Media,” “Samsung SSD,” or “APPLE SSD.” The volume below it may have a name such as “Untitled” or “Macintosh HD.”
Selecting the wrong item can limit the format options you see.
Step 3: Click Erase
Click Erase in the Disk Utility toolbar. A window will appear with options for the drive name, format, and scheme.
Choose a short name that helps you identify the drive, such as “Work SSD” or “Media Drive.”
Step 4: Choose the correct format
For an SSD used mainly with a Mac, select:
• Format: APFS
• Scheme: GUID Partition Map
APFS is Apple’s modern file system. It is designed for SSDs and works well with macOS features such as encryption, snapshots, and space sharing.
You may also see APFS options such as:
• APFS: Standard choice for most users
• APFS (Encrypted): Protects data with a password
• APFS (Case-sensitive): Treats “File” and “file” as different names
• APFS (Case-sensitive, Encrypted): Combines both options
Use standard APFS unless you have a clear reason to choose another option. Case-sensitive formats can cause problems with some apps and games.
Step 5: Choose GUID Partition Map
Set Scheme to GUID Partition Map. This is the correct partition scheme for modern Intel Macs and Apple silicon Macs.
GUID Partition Map, often called GPT, supports modern macOS installations and large storage devices. Avoid Master Boot Record unless you need a special compatibility setup for older hardware.
Step 6: Confirm the erase
Click Erase and wait for Disk Utility to finish. The process may take only a few seconds for a new SSD, but troubleshooting or secure erasing can take longer.
When the process ends, click Done. The new volume should mount on the desktop and appear in Finder.
This is the core process for anyone searching for how to initialize SSD Mac. The essential choices are the physical disk, APFS format, and GUID Partition Map.
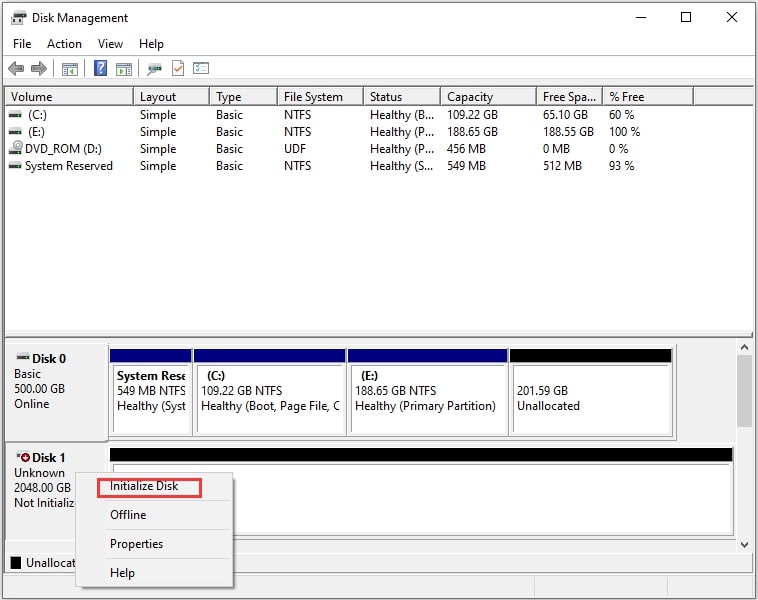
Which SSD format should you use?
The best format depends on how you will use the drive. Choosing the wrong one can make file sharing difficult.
APFS for Mac-only use
Choose APFS if the SSD will mainly connect to Macs running modern macOS. It is usually the best option for:
• Mac backups made with supported backup tools
• Photo and video libraries
• App storage
• Startup disks
• General Mac file storage
• External SSDs used for editing or large projects
APFS is optimized for flash storage. It also supports strong encryption and efficient snapshots.
ExFAT for Mac and Windows
Choose ExFAT when you need to move files between macOS and Windows without extra software.
ExFAT is useful for:
• Shared work drives
• Camera and video workflows
• Gaming files
• Large files above the old FAT32 limit
• Drives used by both Mac and Windows computers
ExFAT does not provide every Mac feature. It is not the ideal choice for a Mac startup disk, and it may be less resilient than APFS if the drive is unplugged without being ejected.
Mac OS Extended for older Macs
Mac OS Extended, also called HFS+, may be needed for older Macs or older versions of macOS. It is not the first choice for most modern SSD setups.
Some older Time Machine configurations and legacy systems may still require it. Check the macOS version and the software requirements before selecting this format.
NTFS limitations on Mac
macOS can usually read NTFS drives but cannot write to them without additional software. If you plan to save files from your Mac, do not format the SSD as NTFS unless you have a trusted NTFS driver installed.
How to initialize an internal SSD on Mac
Initializing an internal SSD requires more care because it may contain the operating system. You cannot erase the active startup volume from the same macOS installation in the usual way.
Apple silicon Mac
On a Mac with Apple silicon, such as an M1, M2, M3, or M4 model:
- Shut down the Mac.
- Press and hold the power button.
- Keep holding it until startup options appear.
- Select Options.
- Click Continue.
- Open Disk Utility.
- Choose View > Show All Devices.
- Select the internal physical SSD.
- Click Erase.
- Choose APFS and GUID Partition Map when available.
- Quit Disk Utility.
- Reinstall macOS from the recovery window.
Erasing the internal drive removes macOS, user accounts, and personal files. Confirm that you have a working backup before continuing.
Intel-based Mac
On an Intel Mac:
- Shut down the Mac.
- Turn it on and immediately hold Command + R.
- Release the keys when the Apple logo or recovery screen appears.
- Open Disk Utility.
- Choose View > Show All Devices.
- Select the internal SSD.
- Click Erase.
- Choose APFS and GUID Partition Map.
- Quit Disk Utility.
- Select Reinstall macOS.
Some Intel Macs use Internet Recovery if the local recovery system is unavailable. Option + Command + R usually starts Internet Recovery and may install the latest compatible version of macOS.
Replacing an internal SSD
A replacement SSD may appear blank until it is initialized. After you initialize the drive, you still need to install macOS or restore a backup.
If the Mac does not detect the new internal SSD at all, initialization will not solve the problem. Check the physical installation, adapter, enclosure, firmware compatibility, and whether the model supports that type of replacement.

How to initialize SSD Mac from Terminal
Disk Utility is safer for most people, but Terminal can help when the graphical tool fails. Use Terminal carefully because one incorrect disk number can erase the wrong drive.
First, open Terminal and list connected drives:
diskutil list
Find the identifier for the SSD. It may look like /dev/disk2. Confirm the size and model before proceeding.
To erase an external SSD as APFS with a GUID partition map, use:
diskutil eraseDisk APFS "Work SSD" GPT /dev/disk2
Replace Work SSD with your preferred volume name and replace /dev/disk2 with the correct identifier.
To format an SSD as ExFAT for Mac and Windows, use:
diskutil eraseDisk ExFAT "Shared SSD" GPT /dev/disk2
These commands erase the selected disk immediately. Never guess the disk number. A practical safety habit is to run diskutil list before the command, disconnect the SSD, run the command again, and compare the results.
Terminal is also useful for checking disk information:
diskutil info /dev/disk2
If you are not comfortable identifying disks in Terminal, use Disk Utility instead. There is no advantage in using a command line simply because it looks more advanced.
What to do if Disk Utility cannot initialize the SSD
Sometimes the erase process fails with a message such as “Couldn’t unmount disk,” “Erase process has failed,” or “MediaKit reports not enough space.”
Try these solutions in order.
Use First Aid
Select the volume in Disk Utility and click First Aid. Then select the physical SSD and run First Aid again if the option is available.
First Aid can repair some directory and partition problems. It cannot repair a physically failing SSD.
Erase the physical disk, not only the volume
Choose View > Show All Devices. Select the top-level physical SSD and try Erase again.
This often fixes errors caused by a damaged or confusing volume structure.
Disconnect other storage devices
Temporarily disconnect other external drives. This reduces the chance of selecting the wrong disk and can prevent power or connection issues.
Try another cable or port
A faulty USB cable, loose connector, or unstable hub can interrupt the erase process. Connect the SSD directly to the Mac and try a different cable if possible.
Use macOS Recovery
If the SSD is an internal startup disk, boot into macOS Recovery and repeat the process there. The startup volume may remain locked while normal macOS is running.
Check the SSD’s health
A drive that repeatedly disconnects, reports a capacity of zero, or fails during every erase attempt may be defective. Check the SSD manufacturer’s diagnostic software, if available, and consider replacing the drive.
Do not keep forcing an SSD that shows serious hardware symptoms. Repeated failure is often a warning, not a software puzzle.

Common mistakes when initializing an SSD on Mac
Avoiding a few common errors can save hours of troubleshooting.
Choosing the wrong partition scheme
Master Boot Record may work for some older devices, but GUID Partition Map is normally the right choice for a Mac SSD.
Formatting a Mac-only drive as ExFAT
ExFAT is convenient for file sharing, but APFS is usually better for a drive used only with macOS. Choose based on your real workflow rather than choosing the most familiar option.
Erasing the wrong drive
Always verify the drive name, capacity, and connection before clicking Erase. If two drives have similar names, unplug the one you do not want to modify.
Forgetting to eject the SSD
Use Finder’s Eject button before disconnecting an external SSD. Removing it during a write can damage the file system or corrupt open files.
Ignoring encryption needs
If the SSD contains private work, financial records, or personal photos, consider APFS Encrypted. Store the password in a secure password manager because losing it may make the data impossible to recover.
Expecting initialization to fix physical damage
Formatting changes the file system. It does not repair failing flash memory, damaged controllers, or bad cables.
How to test an initialized SSD
After you initialize an SSD, test it before trusting it with important data.
- Open Finder and confirm that the volume appears.
- Copy a small group of files to the SSD.
- Open those files directly from the SSD.
- Copy the files back to another location.
- Eject the SSD and reconnect it.
- Run First Aid if you notice errors or unexpected disconnects.
For performance testing, use a reputable disk speed tool. Remember that advertised speeds usually reflect ideal conditions. Your Mac port, cable, enclosure, file size, and thermal limits can all affect results.
A basic file copy test is often more useful than a high benchmark score. The drive should mount reliably, copy data without errors, and remain connected during normal use.
Should you encrypt an SSD on Mac?
Encryption protects the contents of the SSD if the drive is lost or stolen. APFS Encrypted is a strong choice for many Mac users, especially when the SSD stores sensitive files.
There are tradeoffs:
• You must enter the password to unlock the drive
• Forgetting the password can block access to the files
• Some older devices may not support the format well
• Encryption can complicate access from Windows computers
For a shared Mac and Windows drive, software-based encryption may be more practical than APFS encryption. Choose a method that works with every computer and person who needs access.
Frequently Asked Questions About How to Initialize SSD Mac
Do I need to initialize a new SSD on Mac?
Usually, yes. A new SSD may need a partition map and file system before macOS can store files on it. Disk Utility can complete this setup with APFS and GUID Partition Map.
Does initializing an SSD erase everything?
Yes, initializing through the Erase function normally deletes the existing volumes and their data. Back up the SSD before starting if it contains files you want to keep.
What is the best format for an SSD on Mac?
APFS is usually best for an SSD used only with modern Macs. Choose ExFAT when the drive must transfer files between macOS and Windows.
Why does my Mac not see the SSD?
The cause may be a bad cable, weak hub, incompatible enclosure, failed SSD, or damaged partition map. Connect the drive directly, open Disk Utility with Show All Devices enabled, and test another port or cable.
Should I choose APFS or APFS Encrypted?
Choose standard APFS for general Mac storage and APFS Encrypted for sensitive files. Keep the password safe because losing it may prevent access to the data.
Can I initialize the Mac’s internal SSD from macOS?
You cannot normally erase the active startup volume while macOS is using it. Start in macOS Recovery, open Disk Utility, and erase the internal SSD from there.
Is GUID Partition Map required for a Mac SSD?
GUID Partition Map is the recommended scheme for modern Macs and macOS startup disks. It is also the best general choice for most external SSDs used with a Mac.
Conclusion
Initializing an SSD on Mac usually takes only a few minutes. Open Disk Utility, show all devices, select the physical SSD, choose APFS for Mac-only use or ExFAT for Mac and Windows, and select GUID Partition Map.
Always back up your data first, verify the correct drive, and use macOS Recovery when working with an internal startup SSD. Now that you know how to initialize SSD Mac safely, prepare your drive, test it with a few files, and explore Apple’s storage and backup tools for a more reliable setup.
