

Install the NVMe SSD in the correct M.2 slot, secure it with the standoff screw, and improve airflow if needed.
Learning how to install NVMe SSD on motherboard without heatsink is simple once you understand the M.2 slot, mounting screw, and cooling limits. An NVMe drive can run safely without a heatsink in many everyday PCs, especially when the case has decent airflow and the drive is not under constant heavy load.
This guide explains how to install NVMe SSD on motherboard without heatsink from start to finish. It also covers slot selection, BIOS checks, thermal management, common mistakes, performance testing, and signs that your drive may need extra cooling.

Can You Use an NVMe SSD Without a Heatsink?
Yes, most NVMe SSDs can work without a heatsink. The SSD has its own controller and NAND flash chips, and these parts are designed to operate within a normal temperature range without a metal cooler attached.
A heatsink can help move heat away from the controller during long file transfers, video work, large game installations, or other sustained tasks. However, it is not required for basic use such as:
- Starting Windows
- Opening apps
- Playing games
- Browsing the web
- Saving documents
- Streaming video
Modern NVMe SSDs also include thermal protection. When the controller becomes too hot, the drive can reduce its speed. This process is called thermal throttling. It protects the drive, but it may make long transfers slower.
In my experience, a good case fan setup often matters more than a small M.2 heatsink. A drive placed in a cool, open area with front-to-back airflow may run better than one covered by a heatsink but trapped behind a hot graphics card.

What You Need Before Installation
Gather the correct tools and check your motherboard before opening the case. Preparation prevents most installation problems.
You will usually need:
- The NVMe M.2 SSD
- Your motherboard manual
- A small Phillips screwdriver
- The M.2 mounting screw
- The correct M.2 standoff
- A clean, dry work area
- An anti-static wrist strap, if available
Most desktop motherboards include the M.2 screw and standoff in a small accessory bag. Some boards use a tool-free latch instead of a screw. Do not force a screw into the wrong hole.
Check the SSD length. Common sizes include 2230, 2242, 2260, and 2280. The first two numbers show the width and the last two show the length in millimeters. A 2280 drive is 22 millimeters wide and 80 millimeters long, and it is the most common size in desktop computers.
Also confirm that your drive is an NVMe PCIe model. An M.2 SATA drive may look similar, but it uses a different storage protocol. Your motherboard may support both types, or it may support only one.

Choose the Correct M.2 Slot
Motherboards often have two or more M.2 slots. The best slot is usually the one connected directly to the CPU. On many boards, this is labeled M2_1, M.2_1, or CPU_M.2.
The top M.2 slot often provides the highest performance. A lower slot may connect through the chipset and can sometimes share bandwidth with SATA ports or PCIe slots.
Before you install the drive, check the motherboard manual for:
- Supported PCIe generation
- Supported SSD lengths
- CPU and chipset lane connections
- Shared bandwidth with SATA ports
- Shared bandwidth with graphics slots
- Boot support for the selected slot
A PCIe 4.0 NVMe SSD can work in a PCIe 3.0 slot, but it will run at the older slot’s maximum speed. The same backward compatibility usually applies to PCIe 5.0 drives, although using a newer drive in an older slot limits performance.
When learning how to install NVMe SSD on motherboard without heatsink, slot location matters for both speed and heat. Avoid placing the drive directly under a large graphics card when another compatible slot is available.

How to Install NVMe SSD on Motherboard Without Heatsink
Follow these steps carefully. The SSD should slide into the slot at an angle. Never push it straight down into the connector.
1. Shut Down and Disconnect the Computer
Turn off the computer through the operating system. Then switch off the power supply and remove the power cable.
Press the computer’s power button for a few seconds after unplugging it. This helps discharge leftover power from the system.
Place the case on a stable table. A hard floor can create static, while a soft bed or carpet can make the case difficult to handle.
2. Ground Yourself
Touch the bare metal part of the computer case before handling the SSD. Keep touching the metal frame from time to time during the installation.
An anti-static wrist strap adds more protection. Connect it to an unpainted metal part of the case.
Avoid touching the gold contacts on the SSD. Hold the drive by its edges, just as you would hold a photograph by the sides.
3. Find the M.2 Socket and Standoff
Locate the M.2 slot on the motherboard. It is a narrow socket with a small mounting point farther away from the connector.
Confirm that the standoff is installed at the correct length. For a standard 2280 SSD, the standoff should be in the 80 mm position.
If the standoff is in the wrong position, move it before inserting the drive. Do not let the SSD hang in the air while you tighten the screw.
4. Insert the NVMe SSD
Hold the drive at about a 25 to 30 degree angle. Match the notch on the SSD connector with the key inside the M.2 socket.
Slide the connector into the slot with gentle, even pressure. The drive should enter smoothly and remain slightly raised at the free end.
If it does not slide in, remove it and check the notch. Do not force it. A damaged M.2 connector can be difficult and expensive to repair.
5. Secure the Drive
Lower the raised end of the SSD until it lines up with the standoff. Use the small M.2 screw to secure the drive.
Tighten the screw until the drive is held firmly. Stop when it is snug. Excess force can strip the screw head, damage the standoff, or bend the SSD.
If your motherboard uses a plastic latch, rotate or lock the latch according to the manual. Make sure the drive lies flat and does not move.
6. Check the Installation
Look at the SSD from the side. It should be level, secure, and fully inserted into the M.2 socket.
Make sure no cable is pressing against it. Also check that the SSD is not touching a metal part of the case or a nearby expansion card.
This is the complete physical process for how to install NVMe SSD on motherboard without heatsink. The next steps confirm that the computer detects and uses the drive correctly.

Reassemble the PC and Enter the BIOS
Reinstall the side panel if it does not block your view during the first startup. Connect the power cable and turn on the computer.
Enter the BIOS or UEFI setup by pressing the required key during startup. Common keys include Delete, F2, and F12, but the correct key depends on the motherboard.
Look for a page named Storage, NVMe Configuration, Advanced Storage, or Boot. The exact name differs between manufacturers.
The SSD should appear by its model name and capacity. If it does not appear:
- Shut down the computer
- Confirm that the SSD is fully inserted
- Check the M.2 screw and standoff
- Try another compatible M.2 slot
- Review the motherboard’s lane-sharing notes
- Update the motherboard firmware if needed
Some M.2 slots are disabled when certain SATA ports are in use. The motherboard manual will list these limitations.
If you plan to install Windows on the new drive, place it at the top of the boot order after installing the operating system. If the SSD is for extra storage, the BIOS may detect it even before Windows prepares it.

Initialize and Format the NVMe Drive in Windows
A new SSD may not appear in File Explorer immediately. This does not always mean the installation failed.
In Windows, open Disk Management. You can find it by right-clicking the Start button and selecting Disk Management.
The system may ask you to initialize the drive. For modern computers, choose GPT rather than MBR. GPT supports current UEFI systems and large storage devices.
Then create a volume:
- Right-click the unallocated space.
- Select New Simple Volume.
- Choose a drive letter.
- Format the volume as NTFS.
- Give it a clear name, such as Games or Projects.
- Finish the setup.
Formatting removes existing data. If the SSD contains files, stop and back them up before continuing.
For a boot drive, use the Windows installer instead. The installer can create the required partitions automatically when the drive is blank.
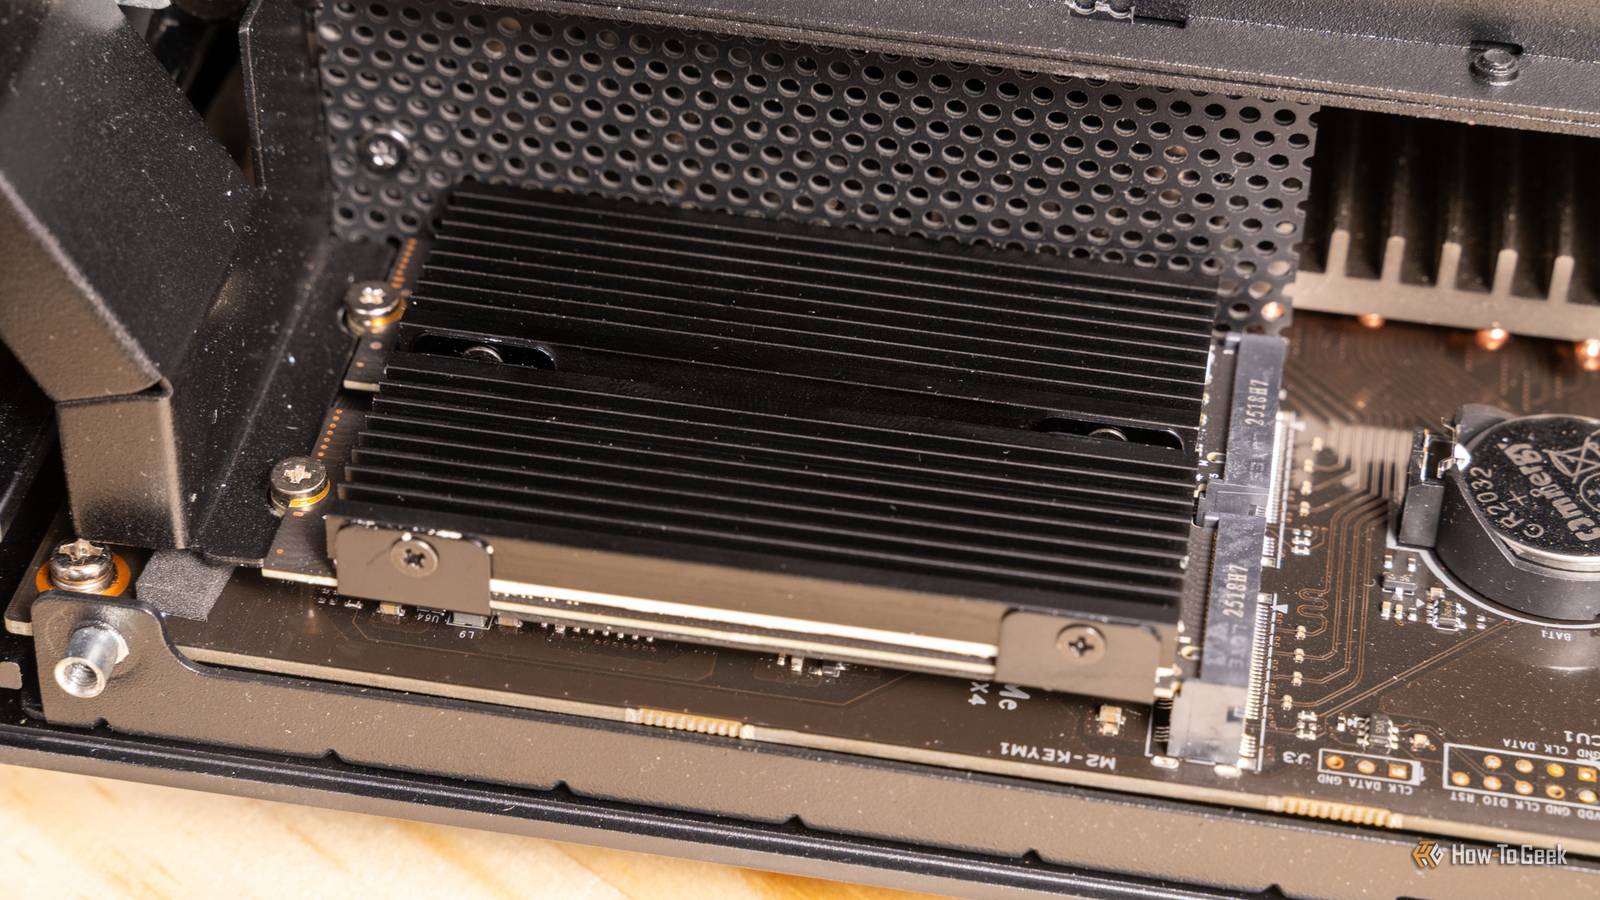
How to Keep an NVMe SSD Cool Without a Heatsink
Knowing how to install NVMe SSD on motherboard without heatsink is only part of the job. You should also manage heat through placement and airflow.
Use these practical cooling steps:
- Install the drive away from the graphics card when possible.
- Keep the front intake fans clear of dust.
- Use at least one front intake fan and one rear exhaust fan.
- Avoid routing thick cables over the SSD.
- Keep the computer case panels installed during normal use.
- Do not place the PC inside a sealed cabinet.
- Keep room temperature reasonable.
- Avoid covering the SSD with tape, foam, or other materials.
Do not attach a random metal plate directly to the SSD. It may create pressure, touch components, or interfere with the motherboard. Some thermal pads can also stick to chips and cause damage when removed.
A heatsink is most useful for long, heavy workloads. Examples include large video exports, frequent virtual machine use, database work, and repeated transfers of hundreds of gigabytes.
For gaming and normal office work, a heatsinkless NVMe SSD often performs well. Game loading usually happens in short bursts, so the drive may not stay hot long enough to throttle.

Check NVMe SSD Temperatures
After installation, monitor the SSD temperature with a trusted hardware monitoring tool. Look for the main temperature and, when available, a secondary sensor for the controller or NAND.
Temperature limits vary by model. Always check the SSD manufacturer’s specifications rather than using one universal number.
As a general guide:
- Around 30°C to 50°C is common at idle or during light use.
- Around 50°C to 70°C is common during moderate activity.
- Higher temperatures may be acceptable for short periods.
- Sustained high temperatures can lead to throttling.
These ranges are only practical reference points. Ambient room temperature, case airflow, SSD capacity, controller design, and workload all affect the result.
Run a file copy or benchmark for a few minutes and watch the temperature. A short test is useful, but it does not perfectly represent a long transfer. If the speed drops sharply as the drive heats up, improve airflow or add a compatible heatsink later.
In one build issue I have seen, the SSD itself was healthy, but a large graphics card blocked nearly all airflow around it. Moving the drive to a second compatible slot reduced the temperature more than changing software settings.

Common Mistakes to Avoid
Small errors can prevent the PC from detecting the drive or can damage the hardware. Take your time during installation.
Installing the SSD Backward
The notch must match the key in the M.2 connector. If the notch does not line up, the drive is not compatible with that slot or it is facing the wrong way.
Forgetting the Standoff
The standoff supports the end of the SSD. Without it, tightening the screw can bend the circuit board.
Using the Wrong Screw
An incorrect screw may be too long or too wide. Use the screw supplied with the motherboard or the replacement recommended by the manufacturer.
Removing a Protective Label
Some SSD labels are designed to stay in place. Removing one can affect the warranty or thermal design. Only remove a label when the SSD instructions clearly tell you to do so.
Placing the Drive Under a Hot Graphics Card
A graphics card can warm the air around the M.2 slot. This is not always a problem, but it can increase the chance of thermal throttling during long workloads.
Changing BIOS Settings Without a Reason
Do not switch storage modes at random. Settings such as RAID, VMD, and AHCI can affect Windows boot behavior. Follow the motherboard and operating system instructions.
Skipping Backups
An SSD is not a backup. Keep important photos, documents, and projects on another drive or a reliable backup service.
How to Test Performance After Installation
Once Windows detects the drive, test basic operation before copying important files.
First, confirm the advertised capacity in Disk Management. The usable space will be slightly lower than the number printed on the box because manufacturers use decimal capacity while operating systems report space differently.
Next, copy a large folder to the drive and then copy it back. Watch for error messages, disconnects, or unusual speed drops.
You can also use a reputable SSD health tool to check:
- Drive temperature
- Total host reads
- Total host writes
- Power-on hours
- Health status
- Available spare capacity
- Critical warnings
Benchmark results can vary. A nearly full SSD, a hot case, a slower PCIe slot, or a background Windows task can lower the score.
Do not judge the drive only by a benchmark number. Stable operation, correct detection, and reliable file transfers matter more than a small difference in sequential speed.
When Should You Add an M.2 Heatsink?
An M.2 heatsink is worth considering when the drive regularly reaches high temperatures or slows during sustained work.
You may benefit from one if you:
- Edit high-resolution video
- Move very large files often
- Run virtual machines
- Use the SSD for heavy scratch work
- Perform long data backups
- Own a high-end PCIe 4.0 or PCIe 5.0 drive
- Have poor case airflow
- Install the SSD near a hot graphics card
Choose a heatsink that matches the SSD and motherboard. Check its height before installation, especially if the drive sits beneath a graphics card or near a CPU cooler.
Many modern motherboards include an M.2 cover with a thermal pad. That cover can work well, but the pad must touch the SSD controller area correctly. Remove only the plastic film specified in the instructions.
A heatsink is not a magic performance upgrade. It cannot fix a poor slot connection, outdated firmware, incorrect PCIe settings, or a failing drive.
Frequently Asked Questions About How to Install NVMe SSD on Motherboard Without Heatsink
Can I install an NVMe SSD without a heatsink?
Yes, you can install and use many NVMe SSDs without a heatsink. Good case airflow is usually enough for everyday tasks such as gaming, office work, and web browsing.
Will an NVMe SSD overheat without a heatsink?
It may become warm during long, demanding workloads, but thermal protection usually reduces speed before serious damage occurs. Monitor temperatures and improve airflow if you notice throttling or repeated high readings.
Which M.2 slot should I use?
Use the slot recommended by the motherboard manual, which is often the top slot connected directly to the CPU. Check for shared lanes, because some slots may disable SATA ports or share bandwidth with other devices.
Do I need thermal paste on an NVMe SSD?
No, do not apply regular thermal paste to an NVMe SSD. If you use a compatible heatsink, use the thermal pad supplied with that heatsink and remove only its protective film.
Why is my new NVMe SSD not showing in Windows?
The drive may need to be enabled, initialized, or formatted in Disk Management. If it is missing from both the BIOS and Windows, power down the computer and check the M.2 connection, standoff, slot support, and motherboard manual.
Can I use a PCIe 4.0 NVMe SSD in a PCIe 3.0 slot?
Yes, most PCIe NVMe drives are backward compatible. The drive will operate at the maximum speed supported by the older slot.
Does installing an NVMe SSD disable SATA ports?
It can on some motherboards. M.2 slots may share chipset lanes with specific SATA ports, so check the storage lane table in your motherboard manual.
Conclusion
Installing an NVMe SSD without a heatsink is safe for most everyday computers when the drive is inserted correctly and the case has steady airflow. Use the proper M.2 slot, match the SSD length to the standoff, secure the drive gently, and confirm detection in the BIOS and Windows.
The most important lesson in how to install NVMe SSD on motherboard without heatsink is to focus on correct mounting and airflow rather than adding unnecessary parts. Test the drive after installation, watch its temperature during heavy work, and add a compatible heatsink only if your workload or temperatures justify it.
Take a few minutes to check your motherboard manual before starting, then install the drive with care. If this guide helped, explore more PC upgrade guides or share your installation experience in the comments.