

Clone your HDD to an SSD, replace the drive, and verify the copy before you erase anything.
Learning how to convert HDD to SSD without losing data is easier than it sounds when you use disk cloning instead of copying files one by one. This guide explains the safest process, the tools you need, common mistakes to avoid, and what to do if your computer does not boot after the upgrade.
What Does Converting an HDD to an SSD Mean?
Converting an HDD to an SSD usually means replacing your old hard disk drive with a solid-state drive. You move Windows, apps, personal files, settings, and partitions from the HDD to the SSD.
The safest method is disk cloning. Cloning creates a near-exact copy of the old drive. After the copy finishes, the SSD can start Windows as if it were the original drive.
An SSD has no spinning platters or moving heads. It stores data on flash memory. This makes it much faster, quieter, and more resistant to bumps than a traditional HDD.
When you convert an HDD to an SSD without losing data, you are not changing the files themselves. You are moving the complete storage environment to a newer drive.

Why Upgrade From an HDD to an SSD?
The main reason is speed. Windows can start in seconds instead of minutes, and programs often open much faster.
An SSD also improves daily tasks such as browsing, file searches, software updates, and game loading. It does not usually increase your processor speed, but it removes one of the most common storage bottlenecks.
Other benefits include:
• Faster startup and shutdown
• Quicker program loading
• Less noise because there are no moving parts
• Lower power use in many laptops
• Better resistance to movement and vibration
• More responsive file transfers
A newer SSD can also give an older computer a fresh lease on life. However, the upgrade will not fix every problem. A slow processor, low RAM, overheating, or malware can still make a computer feel sluggish.
What You Need Before You Start
Good preparation is the key to converting an HDD to an SSD without losing data. Do not begin the clone until you know the SSD is ready and your important files are protected.
Prepare these items:
• A compatible SSD with enough capacity
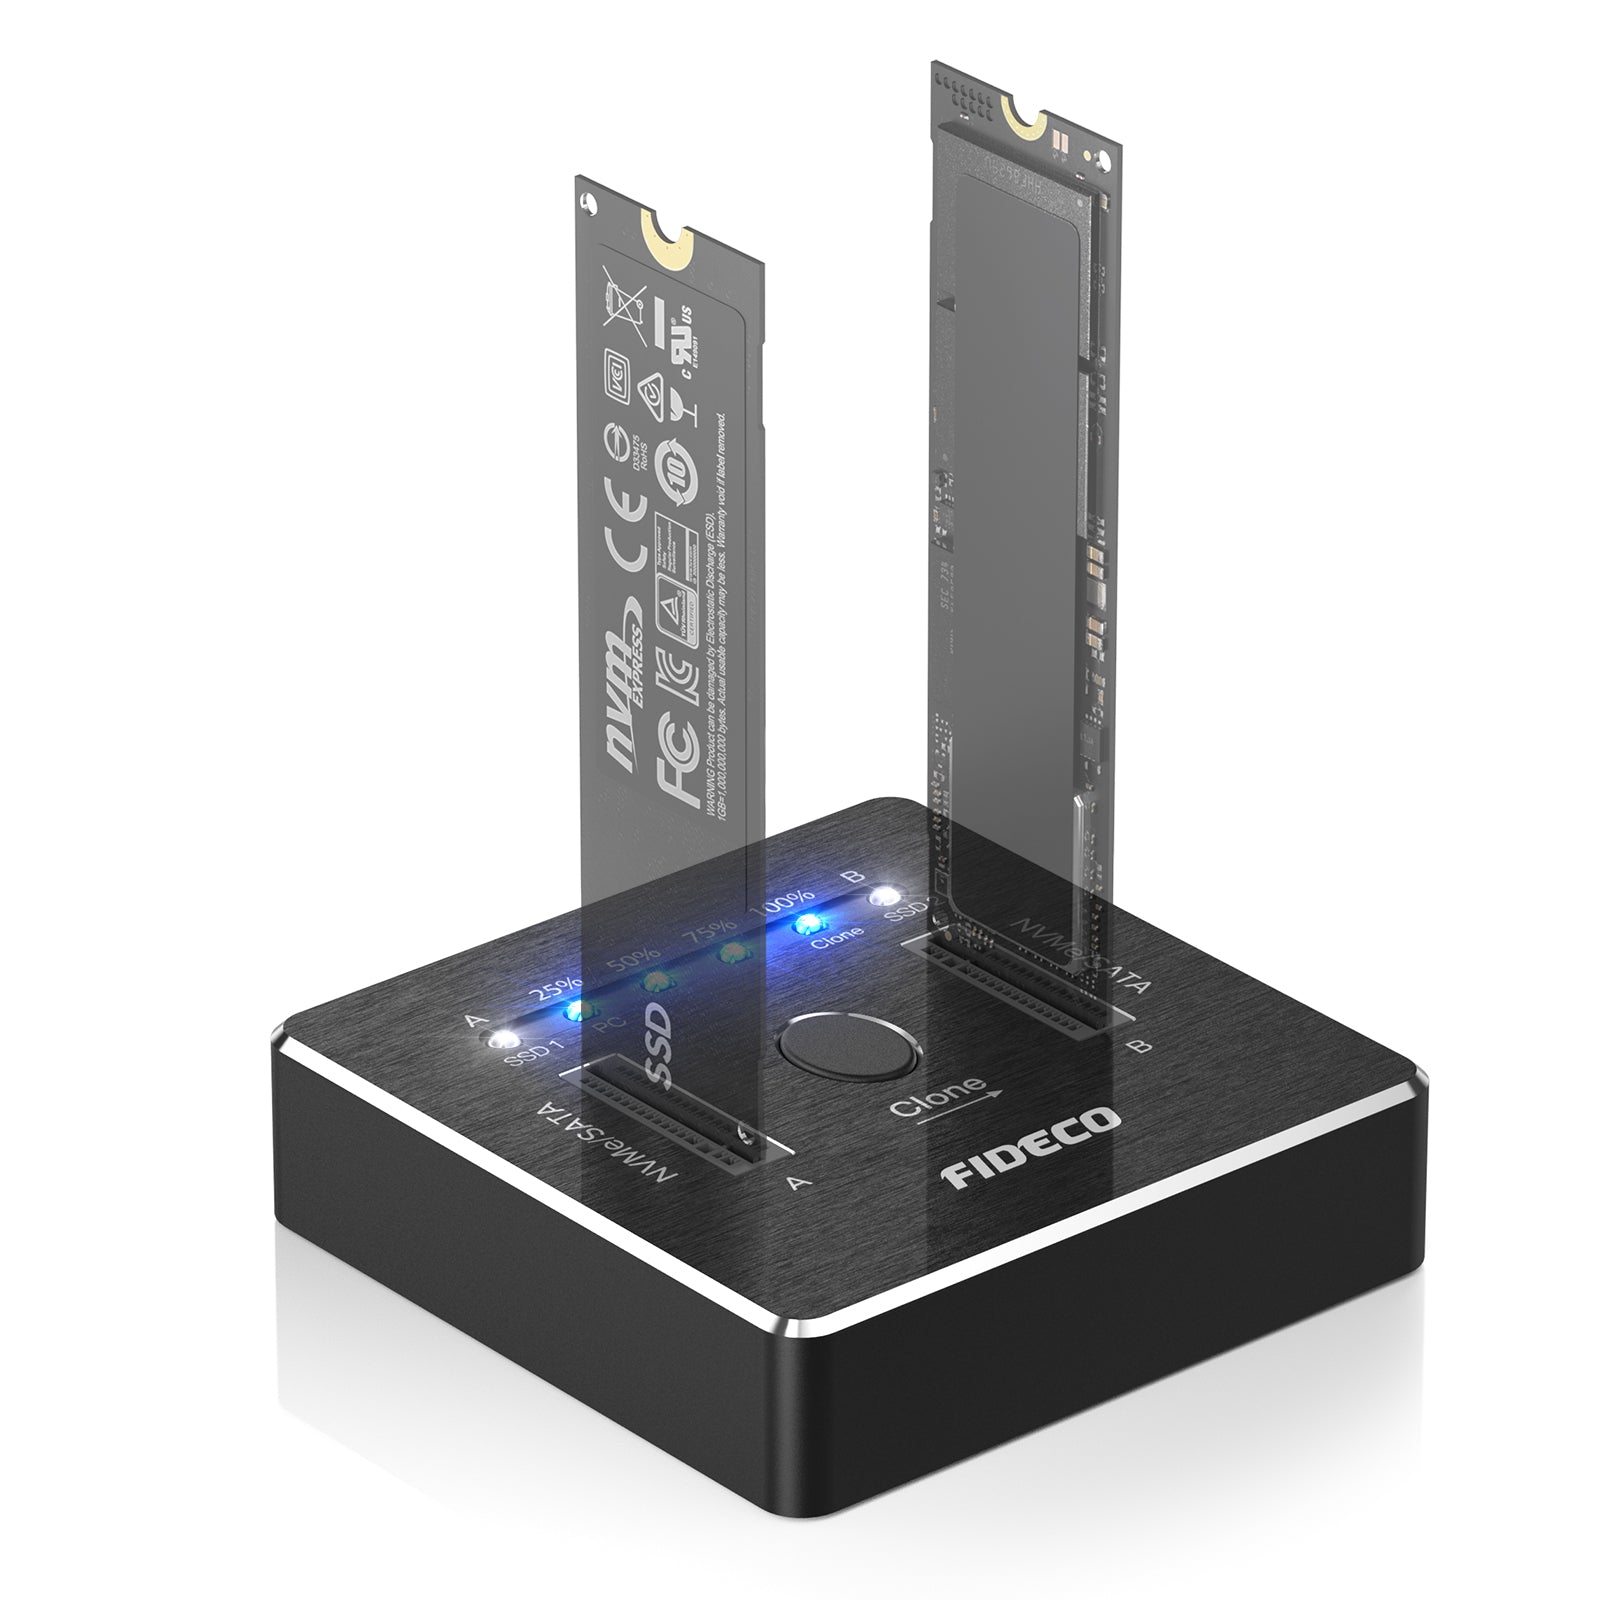
• A USB-to-SATA adapter or external drive enclosure
• Disk cloning software
• A backup drive or cloud backup
• A screwdriver for desktop or laptop installation
• Your computer charger, especially for a laptop
• A Windows recovery drive, if possible
Check the SSD Capacity
The SSD does not always need to be larger than the HDD. It must have enough usable space for the data stored on the old drive.
For example, a 1 TB HDD with only 300 GB of used space can often be cloned to a 500 GB SSD. The cloning tool must support resizing partitions during the process.
To check your used space in Windows:
- Open File Explorer.
- Select This PC.
- Right-click the Windows drive.
- Choose Properties.
- Check the used and free space.
Leave extra space on the SSD when possible. A nearly full SSD may perform less efficiently and gives Windows less room for updates and temporary files.
Confirm Drive Compatibility
Most desktop and laptop upgrades use one of these SSD types:
• 2.5-inch SATA SSD
• M.2 SATA SSD
• M.2 NVMe SSD
A 2.5-inch SATA SSD cannot replace an M.2 NVMe drive without the correct slot or adapter. Likewise, an M.2 drive may not fit every computer.
Check your computer manual or the manufacturer’s support page. Look at the physical size, interface, and supported boot mode before buying the SSD.

Back Up Your Important Files First
Disk cloning is reliable, but no storage operation is risk-free. A power cut, damaged HDD, bad cable, or software error can interrupt the process.
Before you convert an HDD to an SSD without losing data, make a separate backup of files you cannot replace. This includes:
• Photos and videos
• Work documents
• Tax and financial files
• Password databases
• Browser bookmarks
• Email archives
• Project folders
• Game saves
A backup is different from a clone. A clone helps the new SSD boot. A backup protects your data if both the old drive and the new drive have a problem.
Use an external drive, a trusted cloud service, or both. Open a few backed-up files to confirm that the backup works. A backup that has never been tested is only a hope.
Check the HDD for Errors
A failing HDD may not clone correctly. Listen for clicking, grinding, repeated spinning, or long pauses. These can indicate physical damage.
In Windows, you can use built-in tools such as Error Checking or the chkdsk command. Do not repeatedly stress a drive that is making serious mechanical sounds. If the data is valuable, consider professional data recovery before attempting a clone.
You should also remove unwanted files. Empty the Recycle Bin, uninstall unused programs, and delete temporary files. Less data makes the cloning process faster.
Choose the Right Cloning Method
There are several ways to convert an HDD to an SSD without losing data. Disk cloning is usually the best choice when you want to keep your current Windows setup.
Method 1: Clone the Entire Disk
This method copies all partitions from the HDD to the SSD. It can include:
• The EFI system partition
• The Microsoft reserved partition
• The Windows partition
• The recovery partition
• Other data partitions
This is the preferred method for most Windows users. It preserves the boot structure and reduces the need to reinstall programs.
Common cloning options include Rescuezilla, Clonezilla, disk manufacturer migration tools, and reputable commercial cloning applications. Features vary, so check whether the software supports your operating system, partition resizing, and SSD alignment.
Method 2: Perform a Clean Windows Installation
A clean installation installs Windows from the beginning. It can provide a cleaner system, but it requires more work.
You must reinstall applications, restore files, configure settings, and reactivate some software. You may also need to locate drivers and product keys.
Choose a clean installation if the old Windows system is badly damaged, infected, unstable, or filled with years of unwanted software.
Method 3: Copy Files Manually
Manual copying moves documents, photos, videos, and other personal files. It does not move Windows boot files, installed programs, drivers, or system settings.
This method is not enough if you want the SSD to start Windows immediately. It is useful only when you plan to install Windows separately.

How to Clone an HDD to an SSD
The following steps explain how to convert an HDD to an SSD without losing data on a typical Windows computer.
1. Connect the SSD
Connect the new SSD using a compatible USB-to-SATA adapter, enclosure, or NVMe enclosure. On a desktop, you may also connect it to an available internal port.
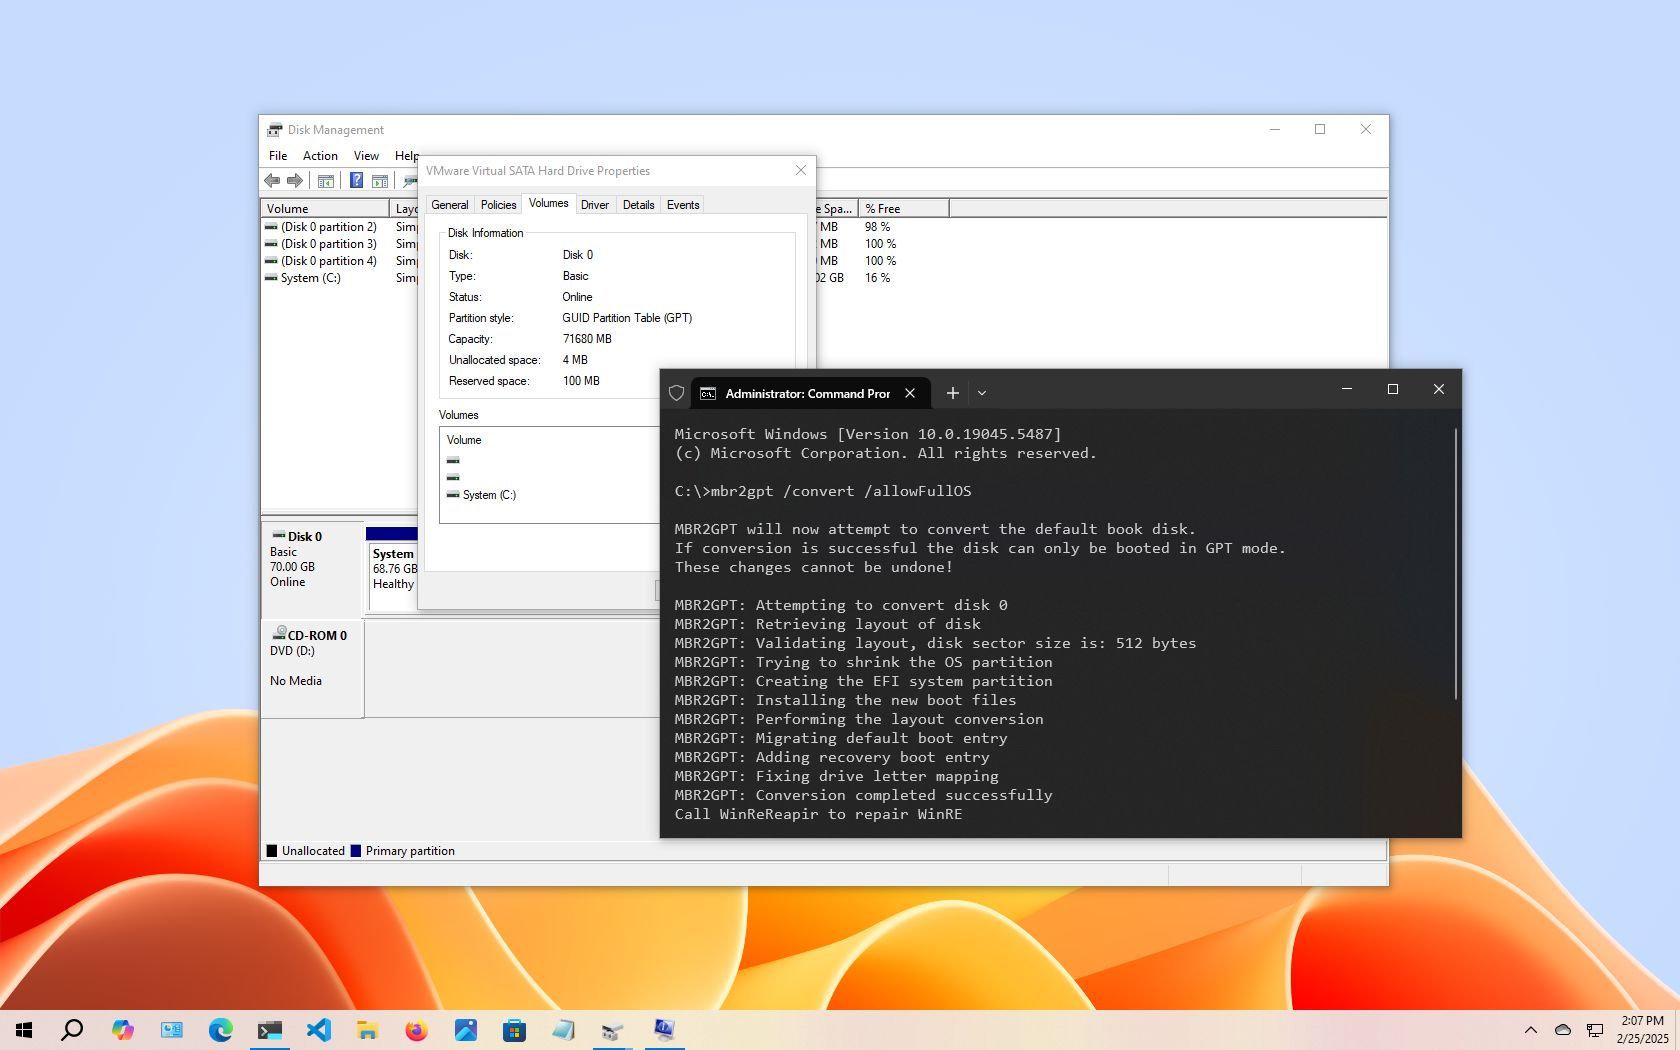
Start Windows and open Disk Management. If Windows asks you to initialize the disk, use the partition style that matches your system.
Most modern computers use GPT with UEFI boot. Older systems may use MBR with legacy BIOS. Do not guess if you are unsure. Check the current HDD first and choose a cloning tool that can handle the same boot style.
2. Install and Open Cloning Software
Install a trusted cloning program from its official source. Close unnecessary apps before you start.
The cloning screen normally shows a source disk and a destination disk. The source is your old HDD. The destination is the new SSD.
Select carefully. Choosing the wrong destination can erase the original drive. This is one of the most serious mistakes people make during a drive upgrade.
3. Select All Required Partitions
Choose the option to clone the entire disk, not just the Windows partition. Include the system and recovery partitions.
If the SSD is smaller than the HDD, resize the main Windows partition so the total copied data fits. Do not reduce a partition below the amount of data it contains.
Many cloning tools display a preview of the final layout. Review it before starting.
4. Start the Clone
Begin the cloning process and avoid using the computer while it runs. Large drives can take from several minutes to several hours.
The time depends on the amount of data, the condition of the HDD, the USB connection, and the speed of both drives. A USB 3 connection is much faster than USB 2.
Keep a laptop connected to AC power. Do not unplug the SSD or shut down the computer during cloning.
5. Shut Down the Computer
When the software reports that the clone is complete, shut down the computer fully. Do not immediately format or erase the old HDD.
At this point, the SSD should contain a copy of the original system. You still need to make the computer boot from the new drive.
6. Replace the HDD or Change the Boot Order
For the simplest test, remove or disconnect the old HDD. This prevents the computer from accidentally booting from the original drive.
Install the SSD in the original drive bay or M.2 slot. Secure it properly, then turn on the computer.
If you leave both drives connected, open the UEFI or BIOS setup. Common keys include F2, Delete, F10, and Esc, but the correct key depends on the manufacturer.
Set the SSD as the first boot device. Save the changes and restart.
7. Confirm That Windows Starts
If the clone worked, Windows should load from the SSD. Check that your desktop, programs, files, and settings are present.
Open Task Manager and check the Performance tab. The system disk should now show the SSD. You can also open Disk Management to confirm the drive layout.
Do not erase the old HDD yet. Use the new SSD for several days and open important files. This gives you time to find problems before removing your backup source.

How to Fix Boot Problems After Cloning
Sometimes the SSD contains the correct files but does not boot. This does not always mean the clone failed.
Check the Boot Mode
The original system may use UEFI, while the computer is set to Legacy or BIOS mode. The boot mode must match the cloned partition structure.
A GPT disk normally boots with UEFI. An MBR disk normally uses Legacy BIOS or compatibility mode. Changing settings without checking the disk can create more problems, so record the original settings first.
Check the Boot Priority
If the old HDD is still connected, the computer may start from it. Enter the firmware setup and place the SSD first in the boot order.
You can also disconnect the old drive for the first test. This makes it clear which drive is starting Windows.
Run Windows Startup Repair
Use a Windows installation USB or recovery drive. Select Repair your computer, then Troubleshoot, Advanced options, and Startup Repair.
Startup Repair can fix some boot configuration problems. It cannot repair serious drive damage or an incomplete clone.
Rebuild Boot Files
Advanced users can use Windows recovery commands such as bcdboot to rebuild boot files. The exact command depends on the drive letters and partition layout shown in the recovery environment.
Do not run commands blindly. A wrong disk or partition selection can make the system harder to repair. If the data is important, create another backup before making manual boot changes.
What to Do After the SSD Upgrade
Once Windows starts from the SSD, complete a few checks.
• Confirm that your personal files open correctly.
• Launch important programs.
• Check that Wi-Fi, sound, printers, and external devices work.
• Run Windows Update.
• Install SSD firmware updates only when needed.
• Check that TRIM is enabled.
• Review the SSD’s available free space.
Windows usually manages SSD optimization automatically. Do not use traditional HDD defragmentation tools on an SSD as a routine task. Windows normally sends the correct optimization command, including TRIM, through its scheduled maintenance system.
Expand the Windows Partition
If the SSD is larger than the old HDD, the cloned Windows partition may not use all available space.
Open Disk Management and look for unallocated space. If it sits directly after the Windows partition, you may be able to extend the partition.
If another recovery partition sits between the Windows partition and the unallocated space, you may need a partition manager. Make a backup first because partition changes always carry some risk.
Keep the Old HDD Temporarily
Keep the old HDD untouched until the SSD has worked reliably for at least several days. This gives you a simple fallback.
After you are confident, you can format the HDD and use it as secondary storage. Confirm the drive letter before formatting. Formatting the wrong disk permanently deletes its accessible data.
Encryption, Activation, and Special Cases
Some systems need extra care before cloning.
BitLocker and Device Encryption
BitLocker protects data through encryption. Cloning an encrypted disk may work, but the process can vary by software and hardware.
Save your BitLocker recovery key before changing drives. You may find it in your Microsoft account, company management system, or a printed backup.
Some cloning tools recommend temporarily suspending BitLocker during migration. Follow the instructions for your chosen tool, then re-enable protection and confirm that the new SSD is encrypted after the upgrade.
Manufacturer Recovery Partitions
Many laptops include recovery partitions. A full-disk clone usually copies them, but a partition-only clone may not.
If you want the manufacturer’s recovery function to remain available, clone all system partitions. You can also create a Windows recovery USB before starting.
Dynamic Disks and RAID
Dynamic disks, storage pools, and RAID arrays are more complex than a normal single-drive setup. Standard cloning steps may not apply.
Business computers may also use encryption, endpoint management, or special boot software. In those cases, follow the organization’s migration policy or ask an experienced technician.
macOS and Linux
The general idea is similar on macOS and Linux, but the tools and boot systems differ. macOS may use APFS, while Linux systems may use ext4, Btrfs, or other file systems.
Use a tool that supports the operating system’s file system and boot method. Do not assume a Windows cloning guide will work on another platform.

Common Mistakes to Avoid
Small mistakes can cause data loss or make the new SSD unbootable.
• Selecting the wrong source or destination drive
• Skipping the backup
• Cloning only the C: drive
• Using an SSD that is too small
• Disconnecting the drive during cloning
• Letting a laptop battery run low
• Formatting the old HDD too soon
• Ignoring BitLocker recovery information
• Using an incompatible M.2 drive
• Changing BIOS settings without recording the original settings
• Running a clean install before saving personal files
One repair-desk lesson is worth repeating: slow down at the disk selection screen. The source and destination names can look almost identical. Check capacity, model number, and connection type three times before clicking Start.
Another useful lesson is to test the cloned SSD while the old drive is disconnected. If both drives remain connected, Windows may use boot files from one drive and the operating system from another. That can hide a cloning problem until the old HDD is removed.
HDD to SSD Cloning Versus a Clean Install
Cloning is faster and keeps your familiar system. It is ideal when Windows works well and you want the quickest upgrade.
A clean install takes longer but removes old drivers, unwanted programs, and accumulated system clutter. It may be the better option after years of errors or if the HDD has malware.
Choose cloning when:
• Your current Windows installation is stable.
• You want to keep installed programs.
• You have limited time.
• The source drive is healthy.
Choose a clean install when:
• Windows has serious errors.
• The HDD may contain malware.
• You want a fresh system.
• You are changing from an older Windows installation to a new setup.
Both methods can convert an HDD to an SSD without losing data, but only if you back up your files first. Cloning saves the system state. A clean install requires you to restore your data afterward.
Frequently Asked Questions About How to Convert HDD to SSD Without Losing Data
Can I convert an HDD to an SSD without reinstalling Windows?
Yes. Clone the entire HDD to the SSD, including the system and recovery partitions. Afterward, boot from the SSD and confirm that Windows and your programs work.
Do I need an SSD larger than my HDD?
No. The SSD only needs enough capacity for the data being cloned and the required partitions. A smaller SSD can work if the used space on the HDD fits after resizing.
Will cloning an HDD to an SSD delete my files?
Cloning normally does not delete files from the source HDD. However, the destination SSD is usually erased during the process, so select the source and destination carefully and create a separate backup first.
Why will my cloned SSD not boot?
The computer may still be booting from the old HDD, or the boot mode may not match the cloned disk. Check the boot order, disconnect the old drive for testing, and use Windows Startup Repair if needed.
Should I format the old HDD after cloning?
Wait until the SSD has booted reliably and your important files are confirmed. Keep the old HDD as a fallback for several days or longer before formatting it.
Is cloning better than copying files manually?
Cloning is better when you want to keep Windows, applications, settings, and boot files. Manual copying moves personal files but does not create a bootable Windows installation.
Do I need to disable BitLocker before cloning?
Not always, but you should save the BitLocker recovery key first. Some cloning tools work with encryption, while others recommend suspending protection during the migration.
Conclusion
You can convert an HDD to an SSD without losing data by preparing a backup, checking compatibility, cloning the complete disk, and testing the SSD before erasing the old drive. The most important steps are choosing the correct source and destination, preserving system partitions, and keeping a recovery plan.
Take your time, use reliable cloning software, and do not treat the old HDD as disposable until the new SSD is fully tested. If this guide helped, explore more storage and backup resources, and share your upgrade experience in the comments.
