

Check the drive connection, UEFI settings, storage mode, firmware, and power before replacing the SSD.
When an SSD is not showing in BIOS after installation, the cause is often simple: a loose cable, the wrong M.2 slot, a disabled storage setting, or an incompatible boot mode. I have seen many “dead” SSDs work normally after one careful BIOS change or a proper reseat. This guide explains how to fix SSD not showing in BIOS after installation, starting with safe checks and moving toward advanced solutions.
Why an SSD May Not Show in BIOS
BIOS, or UEFI on newer computers, must detect an SSD before Windows can use it. If the drive is missing from the BIOS storage list, Windows troubleshooting tools will not solve the problem yet. The issue is usually linked to hardware, firmware, compatibility, or configuration.
Common causes include:
• The SATA data or power cable is loose.
• The M.2 SSD is not fully inserted.
• The SSD is installed in an M.2 slot that does not support storage.
• The motherboard disables some SATA ports when an M.2 slot is used.
• The BIOS uses an incompatible storage mode.
• The SSD needs a firmware update.
• The motherboard BIOS is too old to support the drive.
• The SSD or motherboard slot is faulty.
• The drive is not initialized or formatted. This affects Windows detection, but not usually BIOS detection.
A useful rule is simple: if the SSD does not appear in BIOS, focus on hardware and firmware first. If it appears in BIOS but not in Windows, focus on Disk Management, drivers, partition tables, and initialization.

Start With Basic Safety and Physical Checks
Before opening the computer, shut it down fully. Turn off the power supply, unplug the power cable, and hold the power button for about 10 seconds to discharge stored power. If you use a laptop, disconnect the charger and remove the battery only if the manufacturer allows it.
Static electricity can damage sensitive parts. Work on a hard surface, touch the metal case before handling the SSD, and hold the drive by its edges. Never touch the gold contacts.
For a 2.5-inch SATA SSD, check both connections:
• The SATA data cable runs from the SSD to the motherboard.
• The SATA power cable runs from the power supply to the SSD.
Try a different SATA data cable and another motherboard SATA port. If possible, use a different power connector from the power supply. A bad cable can make a healthy SSD look completely dead.
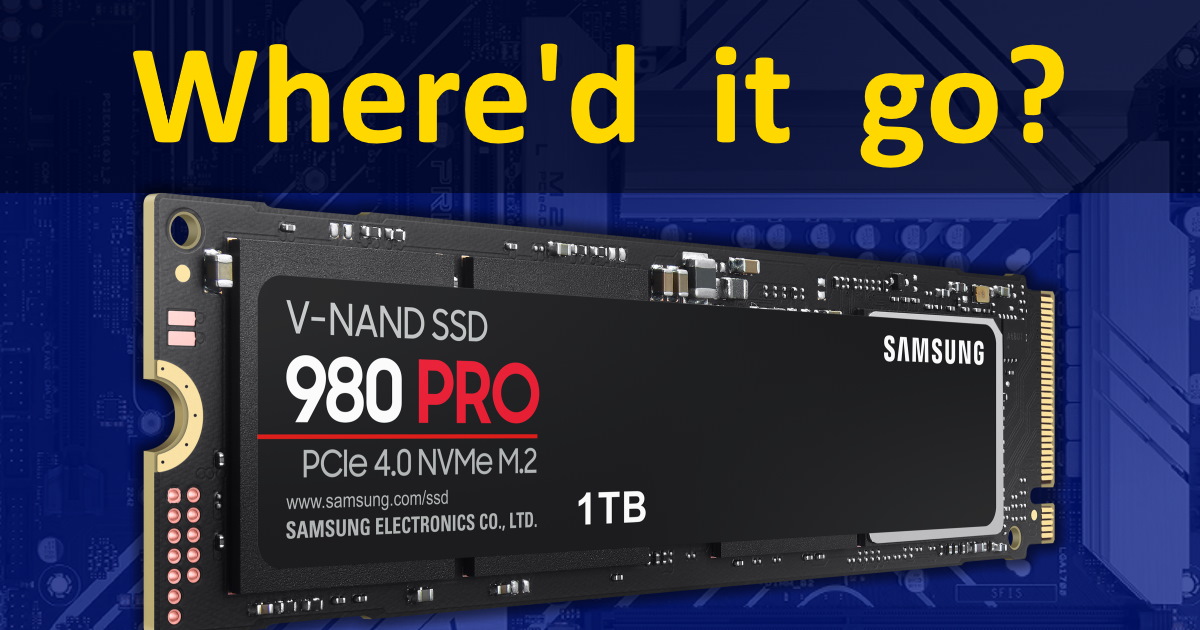
For an M.2 SSD, remove the retaining screw and take out the drive. Reinsert it at a slight angle, then press it flat and secure it with the correct screw. Do not force the drive down, as this can damage the connector.
One mistake I often see is installing the M.2 drive under a heatsink without removing the protective film from the thermal pad. That film does not usually prevent BIOS detection, but it can cause heat problems later. Check it during installation.
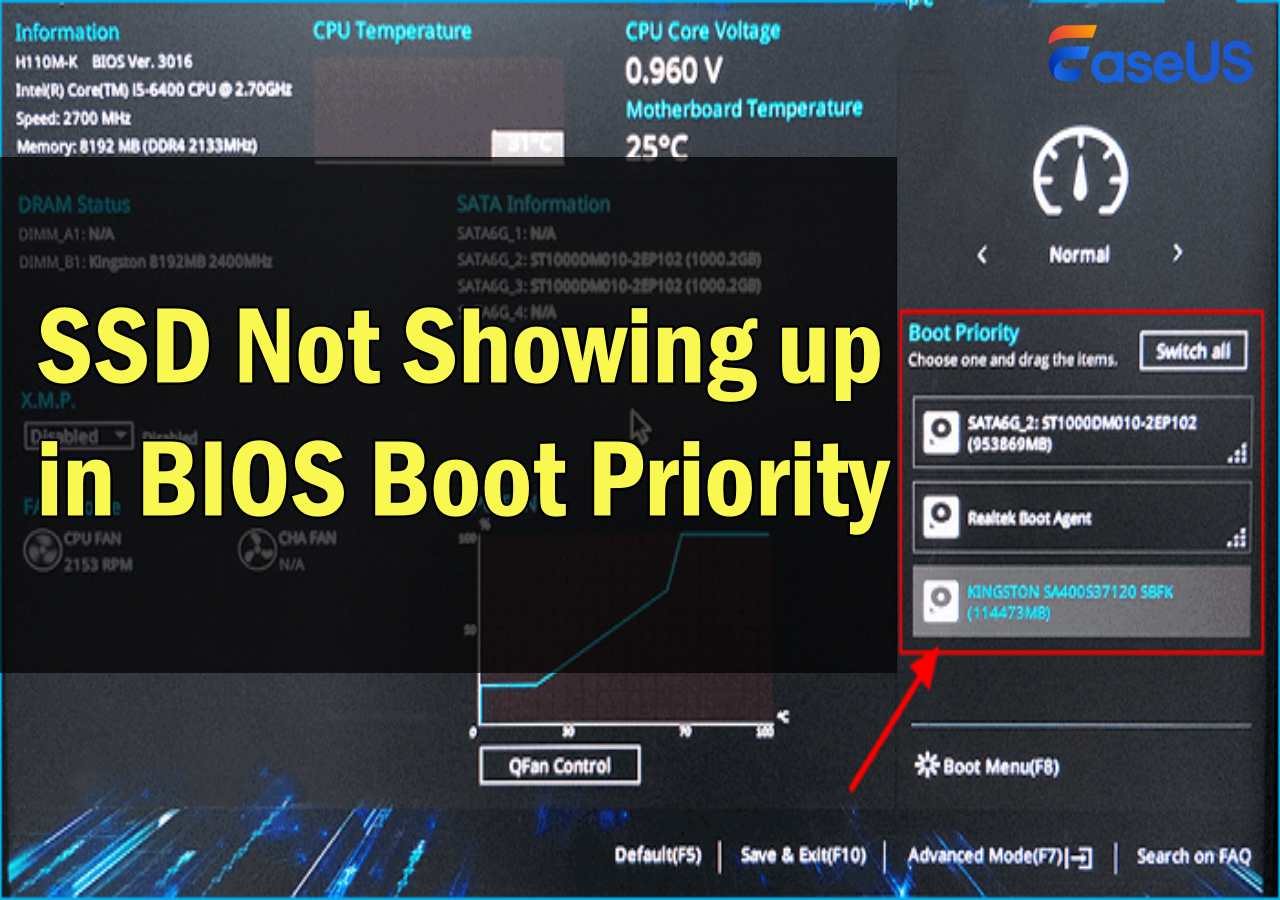
Confirm the SSD Type and Motherboard Compatibility
Not every M.2 SSD works in every M.2 slot. M.2 describes the physical shape, not the communication method. An M.2 drive may use SATA, PCIe, or NVMe technology.
Most modern NVMe SSDs use PCIe. Older M.2 SATA drives use the SATA protocol. A motherboard slot may support one type, both types, or only a specific size.
Check these details in the motherboard manual:
• Whether the slot supports NVMe.
• Whether the slot supports M.2 SATA.
• Supported drive lengths, such as 2242, 2260, or 2280.
• Supported PCIe generation.
• Whether the slot shares lanes with SATA ports or PCIe slots.
A PCIe 4.0 NVMe SSD usually works in a PCIe 3.0 slot, but it runs at the slower supported speed. However, a slot that supports only M.2 SATA may not detect an NVMe drive at all.
Some laptops also have only one storage slot. A replacement SSD may need to match the original drive type. Before buying a new model, compare the laptop service manual with the SSD specifications.
This compatibility check is one of the most important steps in how to fix SSD not showing in BIOS after installation. It prevents you from replacing a working drive because it was placed in the wrong slot.
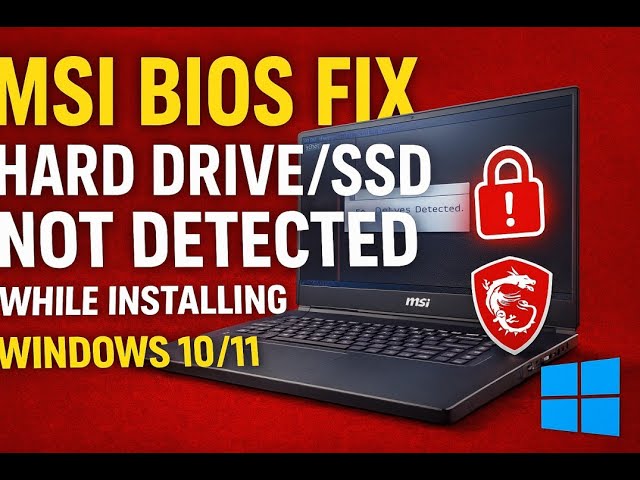
Check Whether the SSD Appears Anywhere in BIOS
Enter BIOS or UEFI immediately after turning on the computer. Common keys include Delete, F2, F10, F12, and Esc, but the correct key depends on the manufacturer.
Look in sections with names such as:
• Storage
• SATA Information
• NVMe Configuration
• Advanced Storage Configuration
• System Information
• Boot
• Hardware Monitor
An NVMe SSD may not appear under the regular SATA list. It may be listed under NVMe Configuration or PCIe Storage instead. This is a common source of confusion.
If the drive appears in the storage section but not in the boot list, the SSD may be blank. A new drive has no operating system or bootloader, so it may not show as a boot option until an operating system is installed.
If the drive appears with the correct model and capacity, BIOS has detected it. You should then move to Windows installation or Disk Management rather than changing random firmware settings.
If it does not appear anywhere, continue with the physical checks and BIOS settings below.
Load BIOS Defaults and Set the Correct Storage Mode
Incorrect firmware settings can hide an otherwise healthy SSD. Enter BIOS and choose an option such as Load Optimized Defaults, Load Setup Defaults, or Restore Defaults. Save the change, restart, and check the storage list again.
This reset does not erase the SSD. It changes motherboard settings, such as boot order, fan profiles, memory settings, and storage configuration.
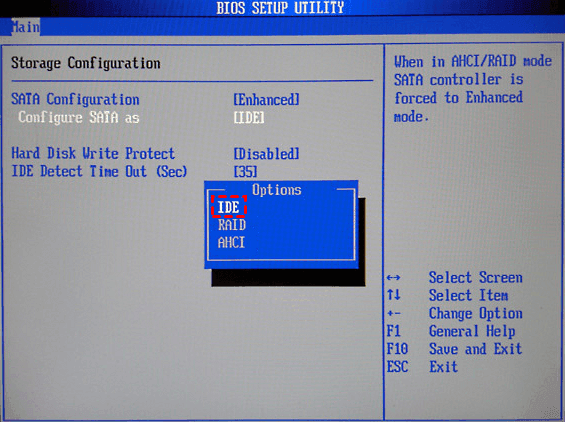
Next, check the SATA mode. Common choices include:
• AHCI
• RAID
• Intel Rapid Storage Technology
• VMD
The correct setting depends on the motherboard and operating system. AHCI is common for standard SATA setups. RAID or VMD may be required on some systems, especially computers configured for Intel storage management.
Do not switch from RAID or VMD to AHCI without care if Windows is already installed. The change can cause an inaccessible boot device error. If you are installing Windows from scratch, the correct mode is usually easier to select safely.
On some Intel systems, disabling VMD makes an NVMe drive visible to the Windows installer. On other systems, VMD must remain enabled, and the installer needs the correct storage driver. Check the computer or motherboard manual before changing it.

Check M.2 Slot and SATA Port Sharing
Many motherboards share bandwidth between M.2 slots and SATA ports. When an M.2 drive is installed, one or more SATA ports may turn off automatically.
For example, installing an SSD in the second M.2 slot may disable SATA ports 5 and 6. If another SATA drive is connected to one of those ports, it may disappear. In some designs, a poorly documented lane conflict can also affect how storage devices are listed.
The motherboard manual normally includes a storage lane table. Look for terms such as:
• SATA port sharing
• M.2 and SATA configuration
• PCIe lane allocation
• Storage restrictions
Move the SATA cable to another port that remains active. If you installed an M.2 drive, test it in the primary M.2 slot, often labeled M2_1 or CPU-connected. That slot usually has the best compatibility and performance.
Testing one drive at a time helps. Disconnect other storage drives temporarily, leave only the new SSD connected, and enter BIOS. This removes confusion caused by port sharing, boot conflicts, or a second drive with a damaged partition table.

Update the Motherboard BIOS or UEFI
An older BIOS may not recognize a newer SSD, especially on an older motherboard. Firmware updates can add support for new NVMe controllers, improve PCIe compatibility, and fix storage detection bugs.
Before updating, record your current BIOS version. Then download the correct update for the exact motherboard model from the manufacturer’s support page. Do not use firmware made for a similar model.
Follow these precautions:
• Connect the computer to stable power.
• Avoid updating during a storm or power outage.
• Use the built-in BIOS update tool when available.
• Do not turn off the computer during the update.
• Do not interrupt the process because the screen appears inactive.
Some boards support USB BIOS Flashback, which can update firmware without a working CPU or memory. Use the exact instructions for the board, including the correct USB port and file name.
A BIOS update is powerful, but it is not the first step for every case. If the drive is not seated correctly, a firmware update will not fix it. Use it after confirming the SSD type, slot, cables, and basic settings.
Test the SSD in Another Slot or Computer
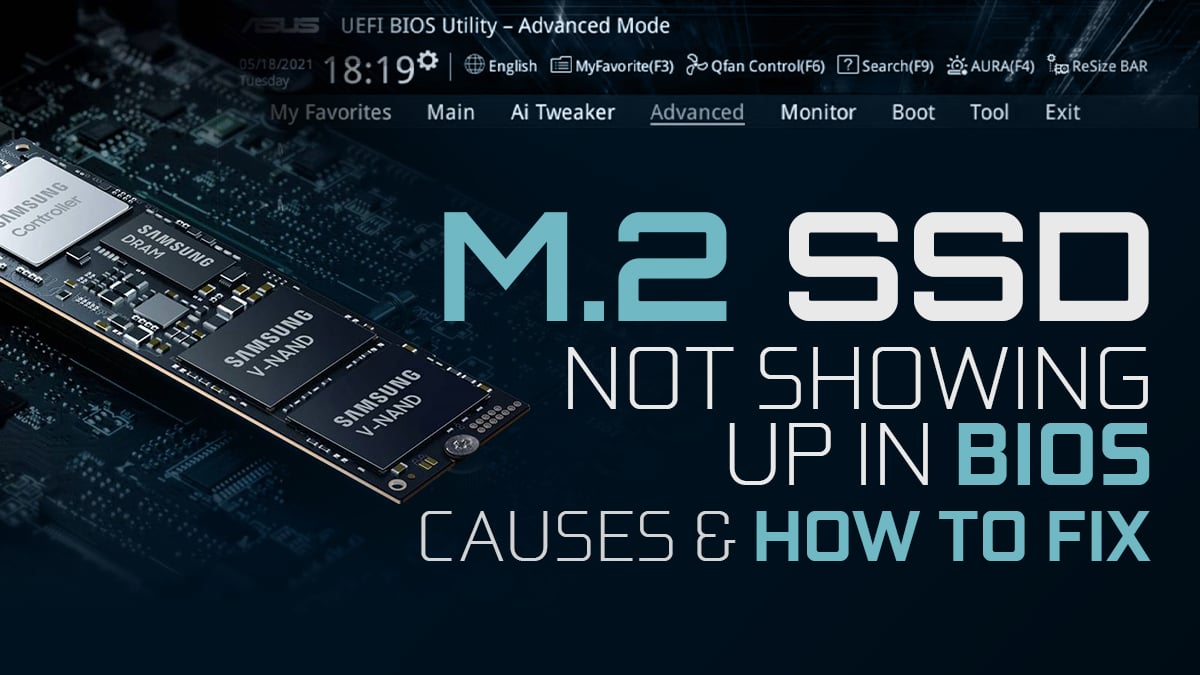
A second test can separate a motherboard problem from an SSD problem. If your computer has another compatible M.2 slot, move the drive there and check BIOS again. For a SATA SSD, use a different cable and port first.
You can also test the SSD in another compatible computer or a reliable USB enclosure. Make sure the enclosure supports the correct interface. A USB NVMe enclosure cannot read an M.2 SATA drive unless it supports both protocols.
Use these results as a guide:
• The SSD works in another computer: the original motherboard, slot, BIOS, or settings need attention.
• The SSD fails in every compatible system: the SSD may be defective.
• Another SSD works in the original slot: the new SSD may be incompatible or damaged.
• Neither SSD works in the original slot: the slot or motherboard may be faulty.
Avoid repeatedly inserting and removing the drive. M.2 connectors are small and can wear or bend. One careful test is better than many rushed attempts.
In repair work, this one-drive test often saves the most time. It turns a vague problem into a clear comparison.
Check Windows Only After BIOS Detects the SSD
If BIOS detects the SSD but Windows does not, the problem has changed. The drive may need to be initialized, partitioned, or assigned a drive letter.
In Windows, right-click the Start button and open Disk Management. Look for a disk marked Offline, Unknown, Not Initialized, or Unallocated.
A new SSD may require these steps:
Bring the disk online if Windows marks it Offline.
Initialize it as GPT for most modern UEFI systems.
Create a New Simple Volume.
Format it with NTFS for normal Windows use.
Assign a drive letter.
Formatting erases existing data. If the SSD contains important files, stop before initializing or formatting it. Consider professional data recovery instead of experimenting.
You can also check Device Manager under Disk drives and Storage controllers. A missing storage controller driver can affect Windows access, especially when VMD, RAID, or a vendor-specific controller is enabled.
Remember the key distinction: BIOS detection proves that the motherboard can communicate with the SSD. Windows setup and Disk Management handle the next stage.

Fix an SSD That Appears in BIOS but Will Not Boot
Sometimes the SSD is visible in BIOS, but the computer still says No Boot Device, Operating System Not Found, or Reboot and Select Proper Boot Device. This usually means the boot mode or bootloader is wrong.
Modern Windows installations normally use:
• UEFI firmware mode.
• A GPT partition layout.
• An EFI System Partition.
Older installations may use Legacy BIOS mode and an MBR partition layout. Mixing these modes can prevent startup.
Check the boot order and place Windows Boot Manager above other devices. If the SSD is listed by its model name but Windows Boot Manager is missing, the boot files may be damaged or Windows may not be installed correctly.
For a new SSD, boot from a Windows installation USB and install the operating system. During a clean installation, select the correct unallocated space and allow Windows Setup to create the needed partitions.
For an existing installation, startup repair may restore damaged boot files. Use caution with command-line repair tools, as incorrect commands can affect other disks.
Reset CMOS When BIOS Settings Are Stuck
A corrupted or conflicting BIOS setting can sometimes prevent storage detection. Clearing CMOS returns firmware settings to their default state.
You can usually clear CMOS by using one of these methods:
• Select Clear CMOS pins on the motherboard.
• Press a dedicated Clear CMOS button.
• Remove the CMOS battery for several minutes with the computer unplugged.
• Use the motherboard’s documented reset procedure.
The exact method varies. Read the motherboard manual first. Some systems require the battery to remain installed, while others use a reset jumper.
Clearing CMOS may reset the date, boot order, memory profile, fan settings, and custom BIOS options. It does not erase data from the SSD.
After the reset, enter BIOS again and confirm the correct boot mode, storage controller mode, and boot order. If the SSD appears after clearing CMOS, write down the setting that solved the issue.
When the SSD May Be Defective
An SSD may be faulty if it remains invisible after careful testing in multiple compatible systems. Signs include:
• The drive never appears in BIOS.
• The computer freezes when the SSD is installed.
• The SSD becomes extremely hot within seconds.
• The drive appears and disappears repeatedly.
• Another known-good drive works in the same slot.
Some SSDs fail early, although solid-state drives generally have no moving parts and can still suffer controller, firmware, or flash memory faults. Physical damage, electrostatic discharge, and power problems can also play a role.
Check the warranty before opening the drive or using unofficial firmware tools. Do not attempt to repair the controller yourself. If the SSD contains important data, avoid repeated power cycles and contact a professional recovery service.
A replacement is reasonable only after testing the original drive properly. Buying another SSD before checking the slot and BIOS settings can waste money.
Common Mistakes to Avoid
Many people make the problem harder by changing several settings at once. If the drive becomes visible, they may not know which change worked. Change one item, save, and test after each step.
Avoid these mistakes:
• Installing an NVMe SSD in an M.2 SATA-only slot.
• Assuming every M.2 slot supports every M.2 drive.
• Forgetting the SATA power cable.
• Using a damaged or very old SATA data cable.
• Formatting a drive before checking for important data.
• Switching RAID or VMD settings without planning.
• Updating BIOS with the wrong firmware file.
• Treating a blank SSD as defective because it has no boot option.
• Leaving other drives connected during the first detection test.
The safest approach is like checking a fuse before replacing an appliance. Start with simple, low-risk checks, then move toward firmware updates and hardware replacement.
A Practical Order for Troubleshooting
Use this sequence when you need to know how to fix SSD not showing in BIOS after installation:
Shut down the computer and disconnect power.
Reseat the SSD or reconnect SATA power and data cables.
Test another cable, port, or compatible M.2 slot.
Check the motherboard manual for drive support and lane sharing.
Enter BIOS and look under all storage menus.
Load BIOS defaults.
Check AHCI, RAID, and VMD settings carefully.
Disconnect other storage drives and test the SSD alone.
Update BIOS if the motherboard may lack SSD support.
Test the SSD in another compatible computer.
Replace the SSD only when testing points to drive failure.
This order reduces risk and gives each result meaning. It also explains how to fix SSD not showing in BIOS after installation without guessing.
Frequently Asked Questions
Why is my new SSD not showing in BIOS?
The most common causes are a loose connection, an unsupported M.2 type, the wrong slot, or an outdated BIOS. Check the drive installation, motherboard manual, and BIOS storage menus before replacing the SSD.
Can a bad SATA cable stop an SSD from appearing in BIOS?
Yes. A damaged or loose SATA data cable can prevent communication between the SSD and motherboard. Try a different cable and motherboard port, while also checking that the SSD has power.
Does an M.2 SSD need a SATA cable?
No. An M.2 SSD connects directly to the motherboard. However, the M.2 slot must support the drive’s protocol, such as NVMe or M.2 SATA.
Why does my SSD show in BIOS but not in Windows?
Windows may not have initialized the drive, assigned a drive letter, or loaded the required storage controller driver. Check Disk Management, but do not format the disk if it contains important files.
Can updating BIOS make an SSD visible?
Yes, a BIOS update can add support for newer SSD controllers or fix storage detection problems. Use the exact firmware for your motherboard and do not interrupt the update.
Should I use AHCI or RAID for my SSD?
AHCI is common for a standard SATA setup, while RAID or VMD may be required by an existing installation or system configuration. Check the motherboard or computer manual before changing this setting.
How do I know if my SSD is dead?
Test it in another compatible slot or computer. If it remains invisible everywhere while another known-good SSD works in the same setup, the original drive may be defective.
Conclusion
An SSD that does not appear in BIOS is usually caused by a connection issue, slot mismatch, disabled setting, firmware problem, or failed drive. Start with safe physical checks, confirm compatibility, inspect every BIOS storage menu, and test one drive at a time.
The most reliable way to fix SSD not showing in BIOS after installation is to work from simple checks to advanced steps. Do not format the drive or change RAID and VMD settings until you understand the effect. Follow the troubleshooting order above, and you can often restore detection without replacing good hardware.
If this guide helped, use it alongside your motherboard manual and share your results or questions in the comments.