

Open Disk Management, initialize the SSD as GPT, assign a drive letter, and check its connection.
When Windows does not show a new solid-state drive, the cause is often simple: the disk is not initialized, has no drive letter, or is not connected correctly. This guide explains how to get Windows to recognize a new SSD using safe checks, built-in tools, and practical repair steps for both SATA and NVMe drives.
Why Windows may not recognize a new SSD
A new SSD can be missing from File Explorer even when Windows detects it in the background. File Explorer only displays storage that has a usable partition, file system, and drive letter.
Common causes include:
• The SSD is new and has not been initialized.
• The drive has no partition or volume.
• Windows has not assigned a drive letter.
• The SSD is marked Offline in Disk Management.
• A SATA power cable, SATA data cable, or M.2 connection is loose.
• The M.2 slot does not support the type of SSD installed.
• The SSD is disabled in Device Manager or BIOS.
• The disk uses a damaged or unsupported partition structure.
• Another device already uses the assigned drive letter.
• The drive has failed or is not receiving power.
The best approach is to start with software checks. If Windows cannot see the SSD anywhere, move to BIOS and physical connection checks. This order saves time and reduces the risk of changing settings that are unrelated to the problem.

Check whether Windows detects the SSD
Before changing partitions, confirm whether Windows can see the drive. This tells you whether the problem is with the disk itself or only with File Explorer.
Look in Disk Management
Disk Management is the most useful first tool for how to get Windows to recognize a new SSD.
Right-click the Start button.
Select Disk Management.
Wait for the lower panel to finish loading.
Look for the new SSD by its size.
A new drive may appear as:
• Unallocated space with a black bar.
• Not Initialized.
• Offline.
• Healthy but without a drive letter.
• A partition with a file system that Windows cannot read.
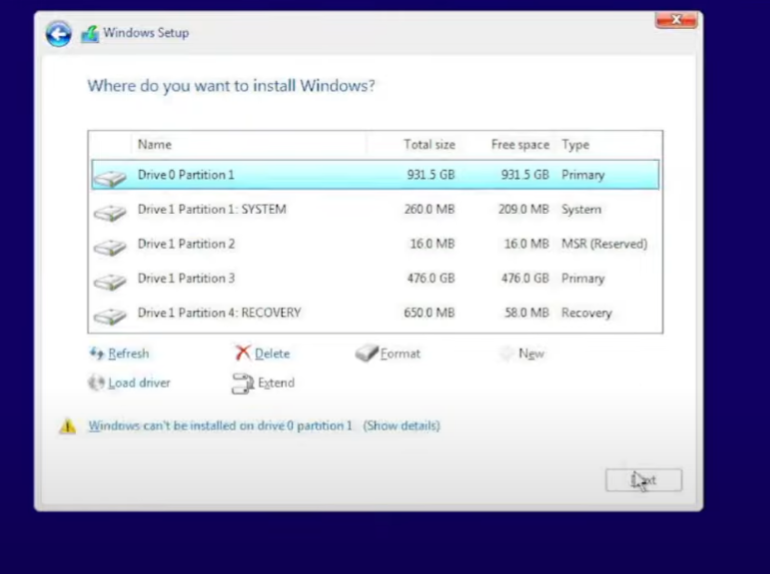
Compare the listed capacity with the SSD’s label. A 1 TB SSD may appear as about 931 GB in Windows because manufacturers use decimal capacity while Windows reports usable space differently.
Do not select the wrong disk. The Windows system drive often contains the C: volume, recovery partitions, and an EFI system partition. Deleting or formatting those partitions can make the computer unbootable.
Check File Explorer
Open File Explorer and select This PC. If the SSD does not appear there but does appear in Disk Management, the drive probably needs a drive letter, partition, or file system.
If the SSD appears in neither location, continue with Device Manager and BIOS checks. Windows cannot assign a letter to hardware it cannot detect.
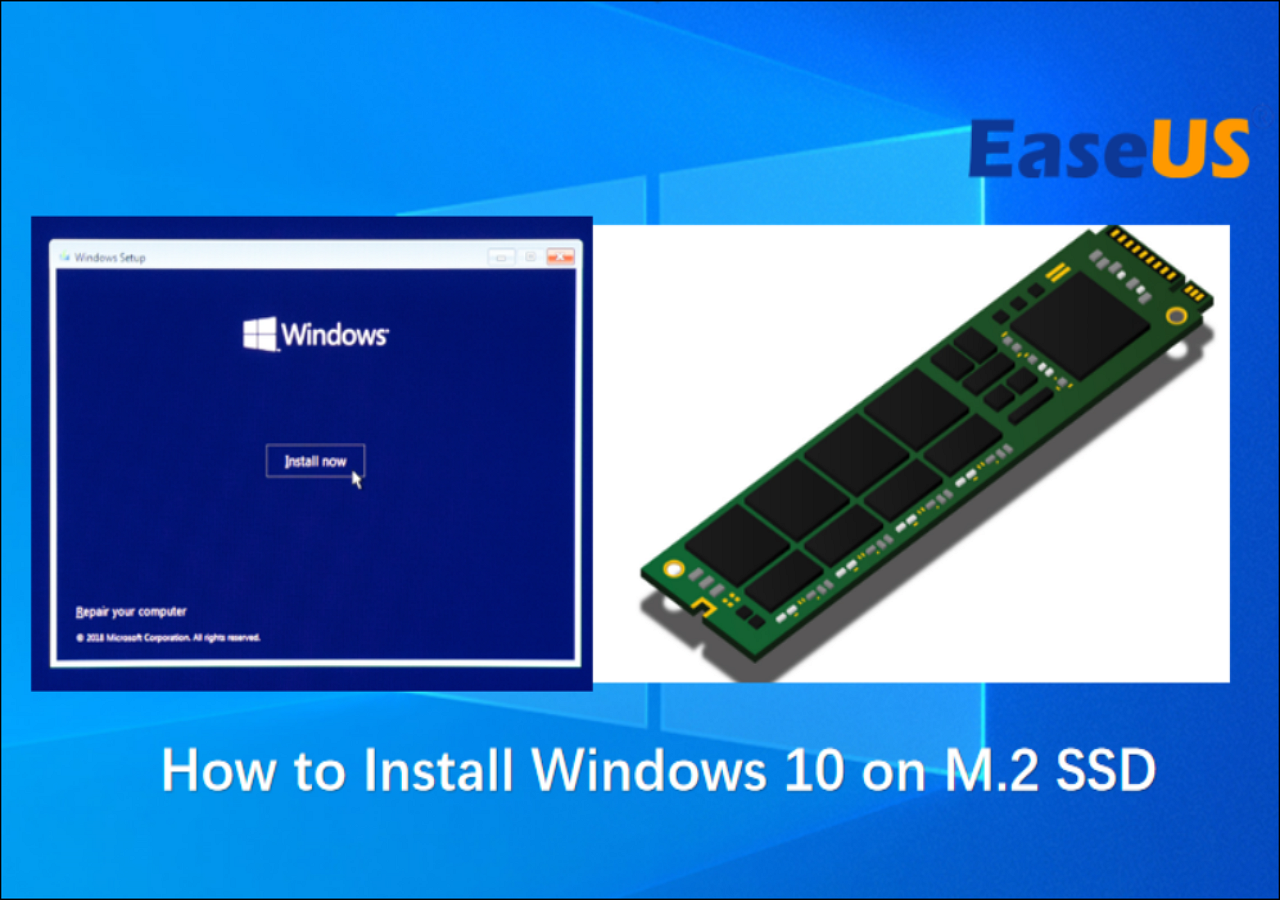
Initialize the SSD in Disk Management
Initialization prepares a new SSD for partitioning. It does not create a usable volume by itself, so you must create a partition after this step.
Choose GPT or MBR
When Windows asks you to initialize the disk, you will usually see two options:
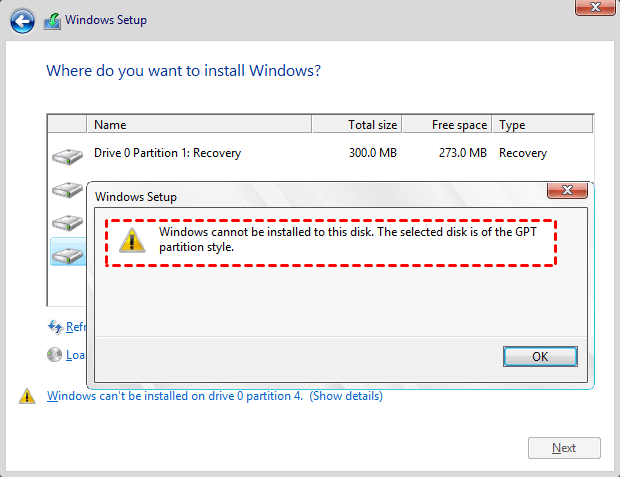
• GPT, or GUID Partition Table, is the modern choice for Windows 10 and Windows 11. It supports large drives and works with UEFI firmware.
• MBR, or Master Boot Record, is an older format. It is mainly useful for older computers that boot in Legacy BIOS mode.
For most current computers, choose GPT. Microsoft and modern motherboard vendors generally recommend GPT with UEFI systems. MBR has limits, including a practical maximum of four primary partitions and support for disks up to about 2 TB.
To initialize the SSD:
Open Disk Management.
Find the disk labeled Not Initialized.
Right-click the disk name on the left, such as Disk 1.
Select Initialize Disk.
Choose GPT.
Select OK.
If the SSD contains important files, stop before initializing it. Initialization can change partition information and may make recovery harder. A new, empty SSD is normally safe to initialize.
Create a new volume
After initialization:
Right-click the Unallocated area.
Select New Simple Volume.
Follow the wizard.
Use the full size unless you plan to create several partitions.
Assign an unused drive letter.
Format the volume as NTFS for normal Windows use.
Give the volume a clear name, such as Games or Projects.
Quick format is usually suitable for a new SSD. A full format takes much longer and writes across the volume. It may be useful in limited cases, but it is not required for normal setup.

Assign a drive letter to the SSD
A missing drive letter is one of the easiest reasons Windows does not show a new SSD in File Explorer. The disk may already contain a healthy volume, but Windows has no path through which you can open it.
To assign a letter:
Open Disk Management.
Right-click the SSD volume.
Select Change Drive Letter and Paths.
Choose Add.
Select an available letter.
Click OK.
Avoid changing the letter of a system, recovery, or application volume without a clear reason. Some programs store the drive path and may stop working after a letter change.
If the Add option is unavailable, the volume may be unallocated, offline, corrupted, or using a file system that Windows does not support. In that case, repair the underlying issue instead of forcing a letter.
In my own troubleshooting work, a missing drive letter is often the fastest fix. People sometimes assume a new SSD has failed when Windows has already detected it correctly.

Bring an offline SSD online
Windows can mark a disk Offline because of a signature conflict, a connection problem, or a previous system configuration. An offline disk will not normally appear in File Explorer.
To bring it online:
Open Disk Management.
Find the disk marked Offline.
Right-click the disk label.
Select Online.
Wait a few seconds.
Check whether the volume now appears in File Explorer. If Windows reports a disk signature conflict, do not immediately choose an option that changes the disk signature if the drive contains important data. Two cloned disks can share the same identifier, and changing one may affect existing setups.
A new, empty SSD is less risky to bring online. A disk used in another computer deserves more care because it may contain a valid file system or recovery data.
Use Device Manager to refresh SSD detection
Device Manager can help when Windows sees the controller but does not correctly display the SSD in Disk Management.
Right-click Start.
Select Device Manager.
Expand Disk drives.
Look for the new SSD.
Expand Storage controllers and IDE ATA/ATAPI controllers if needed.
Select Action, then Scan for hardware changes.
If the SSD has a warning icon, right-click it and select Properties. The General tab may show an error code that points to a driver or hardware issue.
You can also try these actions:
• Disable and re-enable the SSD.
• Uninstall the device, then restart Windows.
• Install chipset and storage controller drivers from the computer or motherboard manufacturer.
• Install Windows updates, especially after adding a newer NVMe drive.
Do not use random driver websites. Storage drivers can affect system stability, so use the device maker, motherboard maker, or computer manufacturer whenever possible.
Windows includes built-in NVMe support on modern systems, but older computers may need firmware, chipset, or BIOS updates to support newer drives correctly.
Check BIOS or UEFI settings
If the SSD does not appear in Disk Management or Device Manager, enter the computer’s BIOS or UEFI setup. Restart the computer and press the setup key shown on screen. Common keys include Delete, F2, F10, and F12, but the correct key depends on the manufacturer.
Look under menus such as:
• Storage.
• NVMe configuration.
• SATA information.
• Advanced storage settings.
• Boot devices.
If BIOS detects the SSD but Windows does not, the issue is likely related to partitions, drivers, or Windows configuration. If BIOS does not detect it, focus on the physical installation, slot compatibility, firmware, or the SSD itself.
For a SATA SSD, check whether the SATA port is enabled. Some motherboards disable certain SATA ports when a specific M.2 slot is occupied. The motherboard manual usually lists these shared-lane limits.
For an NVMe SSD, confirm that the M.2 slot supports PCIe NVMe drives. Some M.2 slots support only SATA M.2 drives, while others support only NVMe. The connector can look similar even when the protocols differ.

Reseat the SSD and inspect the cables
A physical connection problem can look exactly like a Windows software problem. Turn off the computer, disconnect power, and follow safe handling steps before touching internal parts.
SATA SSD checks
For a 2.5-inch SATA SSD:
• Reseat the SATA data cable at both ends.
• Try another SATA data cable.
• Connect the drive to another motherboard SATA port.
• Check the SATA power connector from the power supply.
• Avoid loose adapters or damaged splitters.
A SATA SSD needs both data and power. Connecting only one cable will not make the drive usable.
NVMe SSD checks
For an M.2 NVMe SSD:
• Remove and reinstall the drive.
• Make sure the gold contacts enter the slot evenly.
• Confirm the mounting screw holds the drive flat.
• Check for dust or damage in the slot.
• Try another compatible M.2 slot if one is available.
Do not overtighten the M.2 screw. The drive should sit flat, but excessive force can damage the board or connector.
I have seen a loose M.2 screw cause intermittent detection. The computer recognized the drive after a cold start but lost it after movement. Reseating the drive solved the issue, which is why physical checks matter even when the SSD worked once.

Use DiskPart when Disk Management fails
DiskPart is a powerful Windows command-line tool. It can help when Disk Management does not refresh correctly, but it can also erase the wrong drive in seconds.
Open Windows Terminal or Command Prompt as administrator, then enter:
diskpart
list disk
Compare the disk numbers and sizes. If the new SSD appears, select it carefully:
select disk 1
detail disk
Replace 1 with the correct disk number. The detail disk command helps confirm that you selected the intended drive.
For a new, empty SSD, you can create a partition with:
clean
convert gpt
create partition primary
format fs=ntfs quick label="New SSD"
assign
exit
The clean command removes partition information from the selected disk. Never run it until you have confirmed the disk number and backed up any files you need.
If the SSD does not appear after list disk, DiskPart cannot fix the hardware detection problem. Return to BIOS, cables, slot compatibility, and Device Manager.
Troubleshoot an SSD that still does not appear
If you still cannot get Windows to recognize a new SSD, isolate the problem with controlled tests.
Try these steps:
Shut down the computer completely.
Disconnect other nonessential storage devices.
Connect the SSD directly to the motherboard.
Try another port or compatible slot.
Test the SSD in another computer or USB enclosure.
Check whether the manufacturer provides an SSD diagnostic tool.
Update the motherboard BIOS only if the release notes mention storage or compatibility improvements.
Check the SSD warranty and return period.
A USB enclosure can help test a SATA or NVMe SSD, but the enclosure must support the same interface. A SATA M.2 enclosure will not detect an NVMe M.2 drive, and an NVMe enclosure will not always detect a SATA M.2 drive.
If the SSD appears in another computer, your original system may have a port, driver, firmware, or compatibility issue. If it fails in several systems and BIOS never detects it, the SSD may be defective.
Do not repeatedly format or initialize a drive that contains needed data. If the disk was previously used and suddenly disappeared, recovery should come before repair commands.
Common mistakes to avoid
Knowing how to get Windows to recognize a new SSD also means knowing what not to do. The wrong command or setting can turn a small detection issue into data loss.
Avoid these mistakes:
• Formatting the wrong disk because you trusted the disk number instead of its size.
• Choosing MBR without checking whether the computer uses Legacy BIOS.
• Assuming a drive in BIOS must also appear in File Explorer.
• Installing unverified storage drivers.
• Using an NVMe SSD in an M.2 slot that supports only SATA.
• Ignoring motherboard manuals that list disabled or shared SATA ports.
• Running DiskPart clean on a disk with important files.
• Updating firmware without reading the instructions or backing up data.
• Treating a missing drive letter as a failed SSD.
• Continuing to use a drive that disconnects during file transfers.
A simple habit prevents many errors: take a photo or note of each disk’s model and capacity before making changes. This small step makes it much harder to select the wrong device.
Best SSD setup for Windows 10 and Windows 11
For most modern Windows computers, the ideal setup is straightforward:
• Use GPT for the partition style.
• Use UEFI boot mode.
• Format a Windows data volume as NTFS.
• Leave the default allocation unit size unless you have a specific reason to change it.
• Keep enough free space for updates and normal drive operation.
• Install chipset and storage drivers from trusted sources.
• Keep important files backed up on another device.
TRIM should normally remain enabled. It helps Windows tell the SSD which blocks are no longer needed, allowing the drive to manage storage efficiently. You can check TRIM with an elevated Terminal window:
fsutil behavior query DisableDeleteNotify
A result of 0 means TRIM commands are enabled for the relevant file system. Do not treat this command as a repair for an SSD that Windows cannot detect. TRIM matters after the drive is already visible and working.
SSD health tools can show temperature, wear, firmware, and error data. These tools are useful, but their readings are estimates and should not replace a backup plan.
Frequently Asked Questions
Why is my new SSD not showing in File Explorer?
The SSD may be uninitialized, unallocated, offline, or missing a drive letter. Open Disk Management to check its status and create a volume if the drive is new and empty.
How do I get Windows to recognize a new SSD without formatting it?
First check Disk Management, Device Manager, and BIOS. If the SSD contains files, do not initialize, clean, or format it; focus on cables, drivers, drive letters, and data recovery options.
Should I use GPT or MBR for a new SSD?
Use GPT for most Windows 10 and Windows 11 computers, especially systems using UEFI. Choose MBR only when an older computer requires Legacy BIOS compatibility.
Why does BIOS see my SSD but Windows does not?
Windows may need a partition, drive letter, storage driver, or hardware scan. If BIOS detects the SSD, the drive is receiving some level of hardware recognition, so check Disk Management and Device Manager next.
Why does Windows not detect my NVMe SSD?
The M.2 slot may not support NVMe, the drive may be poorly seated, or the BIOS may need an update. Check the motherboard manual and test another compatible slot if available.
Can a faulty cable stop Windows from recognizing an SSD?
Yes. A SATA SSD needs both a working power cable and a data cable. Try another cable and motherboard port before assuming the SSD has failed.
Does initializing an SSD erase all data?
Initialization changes disk partition information and can make existing data harder to access. Only initialize a drive when you are certain it is new or when you have confirmed that its existing data is not needed.
Conclusion
Getting Windows to recognize a new SSD usually involves three checks: confirm the hardware connection, verify detection in BIOS or Disk Management, and then initialize, partition, or assign a drive letter when appropriate. GPT is the best choice for most modern Windows systems, while Device Manager, DiskPart, and motherboard documentation can help with harder cases.
Work slowly, confirm the disk capacity before changing anything, and never format a drive that may contain important files. Try the steps above in order, then share your results or explore more Windows storage guides if the SSD still remains invisible.
