

Enable NVMe mode in BIOS by using UEFI boot mode and the correct PCIe storage settings.
Many users search for how to enable NVMe mode in BIOS settings after installing an M.2 SSD and finding that it does not appear. In most modern computers, NVMe does not use a single switch called “NVMe mode.” Instead, the drive depends on a compatible M.2 slot, UEFI firmware, PCIe storage support, and the correct boot configuration. This guide explains how to enable NVMe mode in BIOS settings safely, with clear steps for desktops, laptops, Windows installations, and older systems.

What NVMe mode means in BIOS
NVMe stands for Non-Volatile Memory Express. It is a storage protocol made for fast flash memory, such as modern M.2 solid-state drives. Unlike older SATA drives, NVMe SSDs communicate through PCIe lanes and use a different command system.
This difference creates a common point of confusion. Most BIOS or UEFI menus do not include a setting named “NVMe mode.” The firmware detects an NVMe drive through the M.2 slot and PCIe controller. Your main task is usually to enable UEFI boot, confirm the correct storage controller setting, and select the drive as a boot device.
When learning how to enable NVMe mode in BIOS settings, think of the process like opening a road rather than turning on a light. The SSD, motherboard slot, firmware, and operating system must all support the same path.
Before changing BIOS settings
BIOS changes are usually safe when made carefully, but incorrect storage settings can make Windows fail to boot. Prepare first, especially if the computer already works normally.
Follow these checks:
• Back up important files to an external drive or cloud service.
• Record your current BIOS settings, especially SATA, VMD, RAID, Secure Boot, and boot mode options.
• Confirm that the SSD is installed in an M.2 slot that supports PCIe or NVMe.
• Read your motherboard or laptop manual to check which M.2 slots share lanes with SATA ports.
• Download the latest BIOS or UEFI firmware only from the computer or motherboard manufacturer.
• Have your BitLocker recovery key available if device encryption is enabled.
• Shut down the computer fully before reseating the M.2 drive.
A key lesson from systems I have worked on is that many “BIOS problems” are really slot compatibility problems. Some M.2 slots support only SATA M.2 drives, while others support PCIe NVMe drives. The connector may look identical, but the electrical support can be different.
How to enable NVMe mode in BIOS settings
The exact menu names vary by manufacturer. ASUS, MSI, Gigabyte, ASRock, Dell, HP, Lenovo, and Acer may place these options in different areas. Still, the general process is similar.
1. Enter the BIOS or UEFI menu
Restart the computer and press the setup key as soon as the logo appears. Common keys include:
• Delete
• F2
• F10
• F12
• Esc
The correct key often appears briefly on the screen. Laptop users may need to hold Fn while pressing the function key. Windows 11 also provides a software route:
Open Settings.
Select System, then Recovery.
Choose advanced startup and click Restart now.
Select Troubleshoot.
Open Advanced options, then UEFI Firmware Settings.
Click Restart.
2. Confirm that the NVMe drive is detected
Look under a menu such as Storage, NVMe Configuration, Advanced, PCIe Configuration, or System Information. The drive may appear by its model number, such as “WD_BLACK,” “Samsung,” “Crucial,” or “Kingston.”
If the drive appears, the motherboard can see it. You may not need to enable another NVMe option.
If it does not appear, check the physical installation, M.2 slot support, BIOS version, and motherboard manual before changing random settings.
3. Set the boot mode to UEFI
Find a setting called Boot Mode, CSM, Legacy Boot, or UEFI/Legacy Boot. Use these values when available:
• Boot Mode: UEFI
• CSM: Disabled
• Legacy Boot: Disabled
UEFI is the modern firmware mode designed to work with GPT disks and current operating systems. NVMe boot support is normally strongest in UEFI mode.
Do not switch an existing Windows installation from Legacy to UEFI without checking its partition style. A Legacy installation often uses MBR, while UEFI normally uses GPT. Changing the setting without converting the disk can cause an “Operating System Not Found” message.
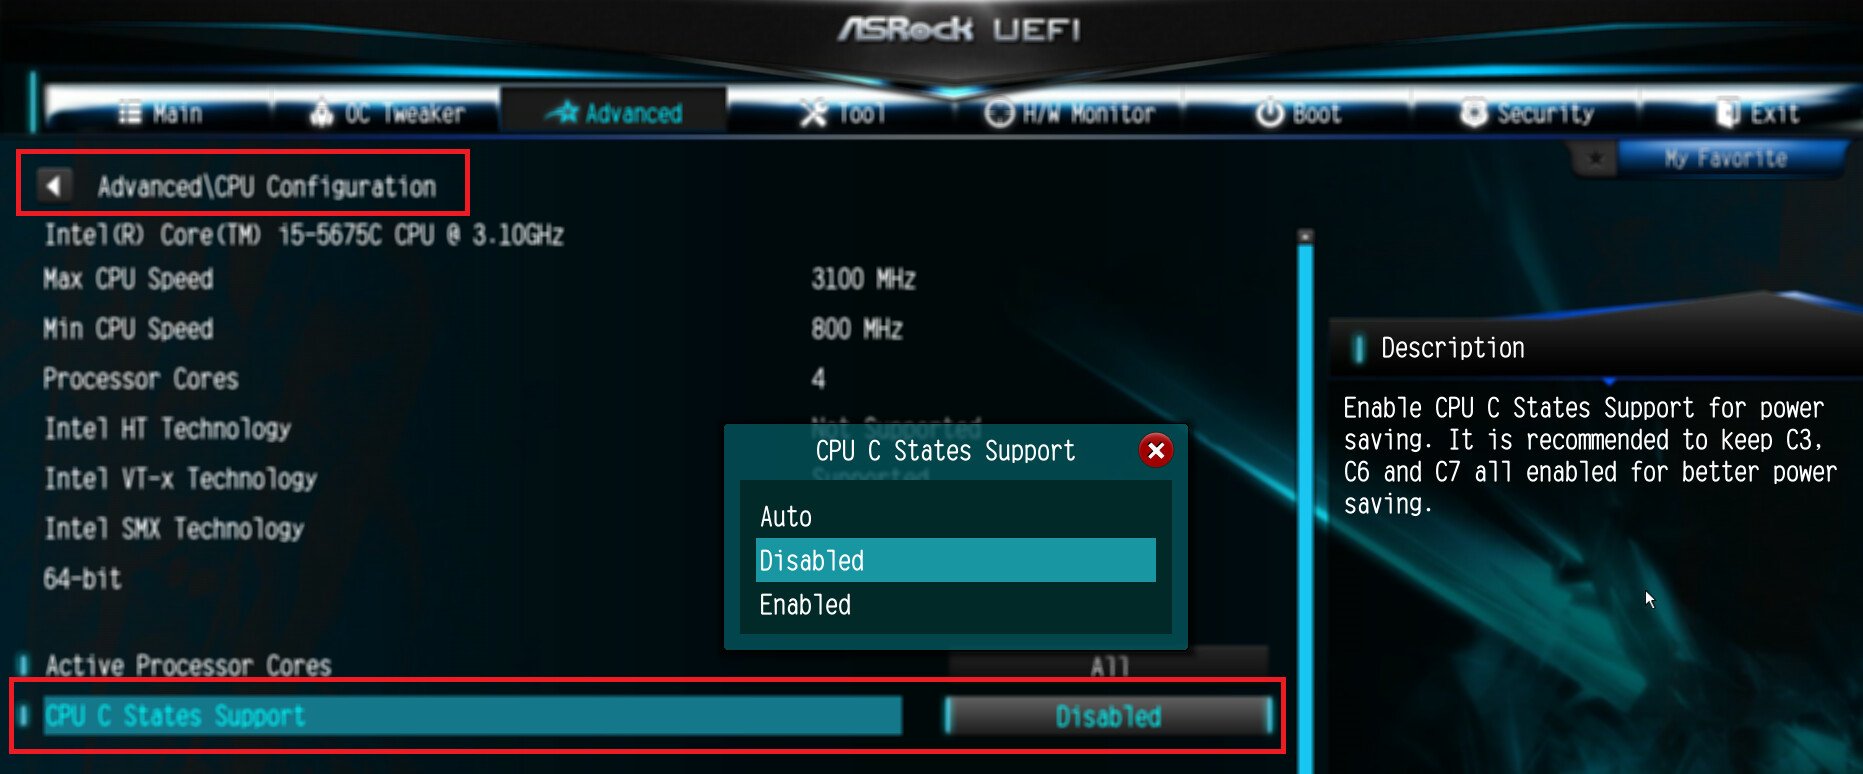
4. Check the storage controller setting
Some systems include one of these options:
• AHCI
• RAID
• Intel VMD
• AMD RAID
• Storage Controller
For a simple NVMe setup, leave the controller setting at the manufacturer’s recommended default. On many Intel laptops, Intel Volume Management Device, or VMD, controls how the operating system sees the NVMe drive. Turning VMD off may make the drive visible during Windows setup, but it can also stop an existing installation from booting.
If Windows was installed with VMD or RAID enabled, keep that setting enabled unless you are prepared to load the correct driver or reinstall Windows. This is one of the most important safety points when learning how to enable NVMe mode in BIOS settings.
5. Set the correct boot entry
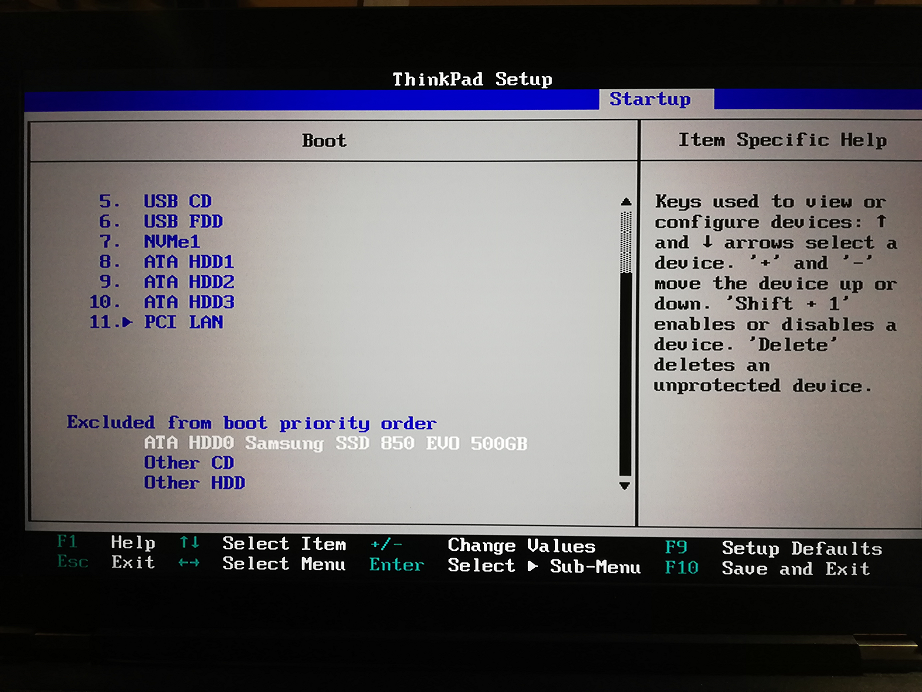
After installing Windows on an NVMe SSD, the boot list may show Windows Boot Manager instead of the SSD’s model number. Select Windows Boot Manager as the first boot option.
For a new, unformatted drive, the BIOS may detect the hardware but show no boot entry. That is normal. You still need to initialize the disk and install an operating system.
6. Save and restart
Press F10, choose Save Changes and Exit, or use the menu option shown by your firmware. Allow the system to restart.
If Windows loads normally, the basic configuration is complete. If the computer cannot boot, return to BIOS and restore the previous storage mode. This is why writing down the original settings matters.

How to enable NVMe mode in BIOS settings on common systems
The steps above work broadly, but brand-specific menus can look different.
ASUS motherboards
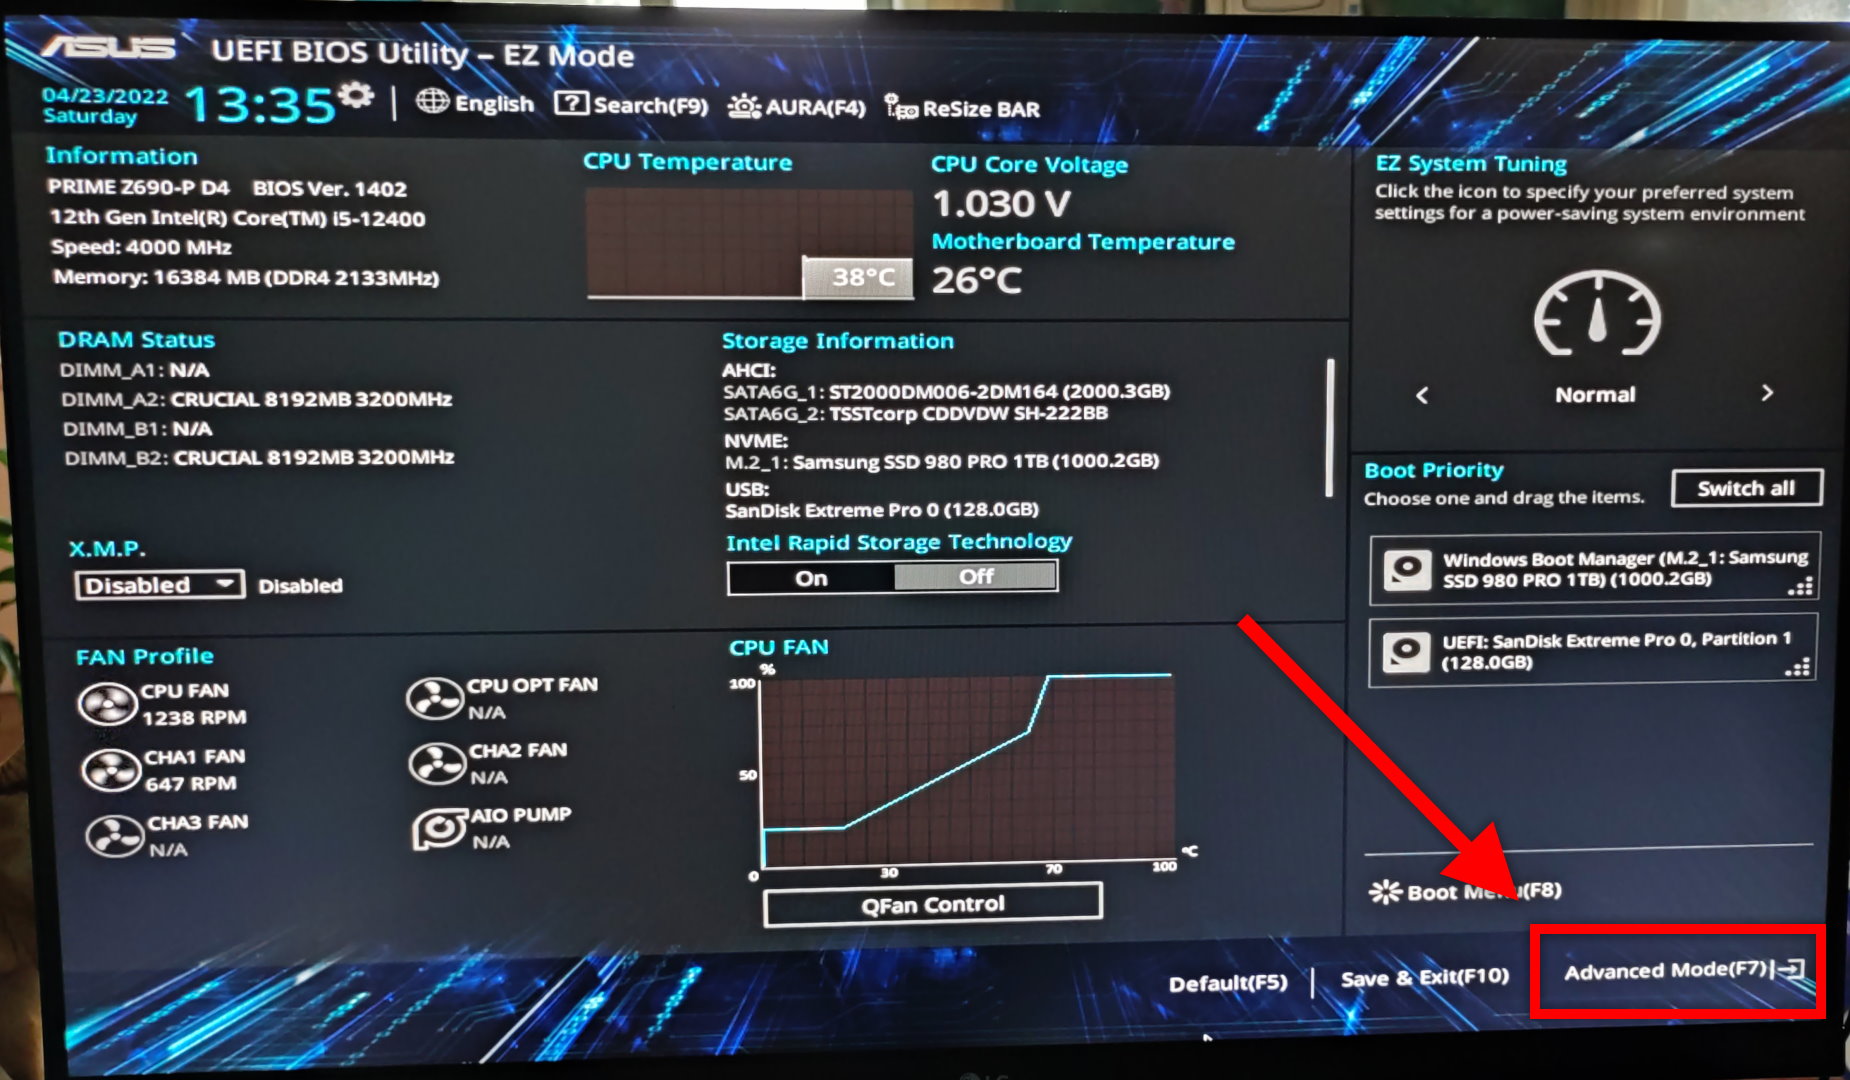
Press Delete during startup and open Advanced Mode. Look in Advanced, Onboard Devices Configuration, PCI Subsystem Settings, or NVMe Configuration.
For a UEFI installation, check Boot and disable Compatibility Support Module, also called CSM. The NVMe drive may appear under Advanced or Boot as a storage device or Windows Boot Manager.
MSI motherboards
Press Delete, then open Settings. Check Advanced, Integrated Peripherals, PCIe settings, or NVMe Information. The exact menu depends on the motherboard generation.
Under Boot, use UEFI mode and disable Legacy or CSM support when appropriate. Save changes with F10.
Gigabyte motherboards
Press Delete to enter setup. Check Settings, IO Ports, NVMe Configuration, and Boot Option Priorities.
Some Gigabyte firmware versions place CSM Support under the BIOS tab. Disable CSM when installing Windows in UEFI mode.
Dell laptops and desktops
Press F2 during startup. Open Storage or System Configuration. Many Dell systems use RAID On by default, even when the computer contains one NVMe drive.
Do not change RAID On to AHCI casually. Windows may require a storage driver, and changing it without preparation can cause a boot failure. Dell support documentation often gives model-specific instructions.
HP computers
Press Esc during startup, then select BIOS Setup, or press F10 directly. Check Storage Options, Boot Options, and Secure Boot.
Some HP models list the NVMe SSD under Storage rather than a separate NVMe menu. The drive may not appear as a boot choice until Windows is installed in UEFI mode.
Lenovo laptops
Press F1, F2, or the Novo button, depending on the model. Look under Config, Storage, Boot, or Startup.
Lenovo systems may use Intel VMD or a similar storage setting. Keep the original option unless the installation guide for your exact model says otherwise.

What to do when the NVMe SSD is not detected
If the drive does not appear in BIOS, changing the boot order will not solve the problem. The firmware must detect the hardware first.
Use this troubleshooting order:
Turn off the computer and disconnect power.
Remove and reinstall the M.2 SSD.
Make sure the notch on the drive matches the slot key.
Secure the SSD with the correct screw or retaining clip.
Test another M.2 slot if your motherboard has one.
Confirm that the slot supports PCIe NVMe rather than SATA only.
Disconnect SATA devices temporarily if the manual says they share lanes with the M.2 slot.
Update the BIOS or UEFI firmware if the manufacturer lists NVMe compatibility improvements.
Check the SSD in another compatible system or USB NVMe enclosure.
Contact the manufacturer if the drive remains invisible.
A drive that is missing from BIOS is not a Windows driver problem. Windows cannot use hardware that the firmware does not recognize. This simple distinction can save hours of unnecessary troubleshooting.
Also check the physical size. Most desktop M.2 SSDs use the 2280 size, meaning 22 millimeters wide and 80 millimeters long. Some laptops use shorter 2230 or 2242 drives. A drive that is too long or unsupported may not fit correctly.

How to install Windows on an NVMe SSD
Once BIOS detects the drive, installing Windows is usually straightforward. Create a Windows installation USB with Microsoft’s official media tool, then start the computer from that USB in UEFI mode.
During setup, choose Custom installation. Select the NVMe drive and delete old partitions only if you are certain the drive does not contain needed files. Windows can then create the required GPT partitions automatically.
If the Windows installer does not show the NVMe drive, possible causes include:
• Intel VMD or RAID is enabled and the required driver is missing.
• The storage controller is set to a mode that the installer cannot access.
• The SSD is not detected by BIOS.
• The installer was started in Legacy mode.
• The SSD has a hardware or firmware fault.
On some Intel systems, you can load the correct Intel Rapid Storage Technology or VMD driver from a second USB drive. Download the driver for the exact system model. Do not use a random driver package from an unknown website.
For many users, the cleanest solution is to keep the manufacturer’s default storage mode and provide the matching driver during setup. This avoids changing a setting that the existing recovery image expects.
Converting an existing Windows installation to NVMe boot
If you are moving Windows from a SATA drive to an NVMe SSD, you have two main choices: perform a clean installation or clone the old drive.
A clean installation offers the fewest hidden problems. It also removes old drivers and unused partitions. A clone is faster and keeps your apps, files, and settings, but it requires careful partition and boot checks.
Before cloning:
• Confirm that the source system uses GPT if the target will boot through UEFI.
• Update the cloning software.
• Clone all required system partitions, not only the C: drive.
• Disconnect the old drive during the first boot from the new SSD.
• Set Windows Boot Manager on the NVMe SSD as the first boot option.
If the old system uses MBR, use a trusted Microsoft disk conversion tool or reinstall Windows in UEFI mode. Always create a full backup first. A failed conversion can make the old installation unusable until the boot configuration is repaired.
In my experience, the most common cloning mistake is leaving both drives connected and allowing the firmware to boot from the old drive. The new SSD appears to work, but the system is still using the old boot files. Disconnecting the old drive during the first test makes the result clear.
NVMe BIOS settings that should usually remain unchanged
Not every storage option needs adjustment. Changing extra settings can add risk without improving performance.
AHCI
AHCI is mainly associated with SATA storage. A PCIe NVMe SSD does not become faster because you change an AHCI setting. On many systems, AHCI and NVMe operate through different controller paths.
RAID
RAID combines multiple drives or provides a storage management layer. A single NVMe SSD can work under RAID mode, but Windows may need the matching driver. Keep RAID enabled if the manufacturer configured the computer that way.
Intel VMD
VMD manages certain PCIe storage devices on Intel platforms. It can improve platform management, but it may hide the raw NVMe device from a Windows installer that lacks the proper driver.
Secure Boot
Secure Boot helps prevent unauthorized boot software from loading. It does not normally prevent a healthy NVMe SSD from being detected. Keep it enabled for a standard Windows 11 UEFI installation unless troubleshooting requires a temporary change.
PCIe generation
Some BIOS menus let you choose Auto, Gen 3, Gen 4, or Gen 5. Auto is usually the best choice. Manually selecting a generation can help diagnose compatibility problems, but it can also limit performance.
How to verify that NVMe is working correctly
BIOS detection is only the first check. After Windows starts, verify the drive in the operating system.
In Windows:
Right-click Start and open Disk Management.
Look for the NVMe SSD by capacity and model.
Open Device Manager.
Expand Disk drives and Storage controllers.
Check that the drive has no warning icon.
Open Task Manager and select Performance.
Confirm that the drive appears as an SSD.
You can also use the manufacturer’s SSD utility to review firmware, health, temperature, and interface speed. Use a trusted tool and avoid firmware updates during an unstable power supply.
Remember that advertised speeds are test results under ideal conditions. Real-world performance depends on the PCIe generation, controller, NAND type, thermal limits, workload, and available free space. A PCIe 4.0 SSD installed in a PCIe 3.0 slot will work, but it will operate at the older link speed.
Common mistakes to avoid
The following mistakes appear often when people search for how to enable NVMe mode in BIOS settings:
• Assuming every M.2 slot supports NVMe.
• Changing AHCI, RAID, or VMD without recording the original value.
• Disabling Secure Boot when it is not part of the problem.
• Switching from Legacy to UEFI without checking MBR and GPT.
• Selecting the physical SSD instead of Windows Boot Manager.
• Installing a firmware update from an unofficial website.
• Formatting the wrong drive during Windows setup.
• Expecting BIOS to show an empty drive as a boot option.
• Ignoring motherboard lane-sharing rules.
• Using a low-quality adapter that does not support PCIe NVMe.
The safest approach is to change one setting at a time. Save, restart, and test after each meaningful change. That method may feel slower, but it makes the cause of a problem much easier to identify.
Benefits and limitations of NVMe storage
NVMe SSDs can provide high sequential speeds, low access latency, and strong performance during demanding tasks. They are especially useful for large file transfers, video work, software development, virtual machines, and game loading.
Still, an NVMe SSD is not automatically faster in every task. Basic office work and web browsing may feel similar on a good SATA SSD. Some budget NVMe models also slow down during long writes when their cache fills.
Heat is another factor. High-performance NVMe drives can reach thermal limits in poorly ventilated systems. A motherboard heatsink or a suitable aftermarket heatsink may help, but do not place a heatsink where it prevents proper contact or damages the drive.
Compatibility is the main limitation for older computers. A motherboard may support an M.2 drive for storage but not support booting from it. In that case, a BIOS update, bootloader workaround, or PCIe adapter may be required. Check the exact board model before buying hardware.
Frequently Asked Questions about how to enable nvme mode in bios settings
Is there a specific NVMe mode switch in BIOS?
Usually, no. Most systems enable NVMe support automatically when the drive is installed in a compatible PCIe M.2 slot, while UEFI controls how the system boots from it.
Should I enable AHCI for an NVMe SSD?
No, not specifically. AHCI is mainly for SATA devices, and changing it can stop Windows from booting if the current installation uses RAID or VMD.
Why is my NVMe SSD visible in BIOS but not in Windows?
The disk may be uninitialized, offline, missing a storage driver, or hidden by a RAID or VMD controller. Check Disk Management and install the correct controller driver if your computer requires one.
Why does my NVMe drive appear in BIOS but not in the boot menu?
A new or empty SSD has no boot files, so it may not appear as a bootable device. After installing Windows in UEFI mode, select Windows Boot Manager as the first boot option.
Can an older motherboard boot from an NVMe SSD?
It depends on the motherboard firmware. Some older boards can use an NVMe drive for storage but cannot boot from it without a BIOS update or a custom bootloader solution.
Does enabling UEFI make NVMe faster?
UEFI does not increase the SSD’s data speed. It provides the modern boot environment needed for reliable NVMe boot support, GPT partitions, and current Windows installations.
Will changing VMD or RAID erase my files?
Changing the setting does not normally erase files by itself, but it can make Windows unable to boot. Back up your data and use the correct driver or recovery steps before changing it.
Conclusion
Learning how to enable NVMe mode in BIOS settings is mainly about understanding compatibility, not finding one hidden switch. Confirm that the M.2 slot supports PCIe NVMe, use UEFI boot mode, keep AHCI, RAID, or VMD aligned with the existing installation, and select Windows Boot Manager when necessary.
Take a careful approach: back up your data, record the original BIOS settings, change one option at a time, and check your motherboard or laptop manual. If the SSD is missing from BIOS, focus first on the slot, installation, firmware, and hardware rather than Windows drivers. Explore your manufacturer’s support guide for model-specific details, and share your system model and results in the comments if you need help.
