

To make headphones more comfortable, adjust the fit, soften contact points, reduce pressure, and take regular listening breaks.
Headphones should feel like a gentle cushion, not a clamp or a weight on your head. After testing many over-ear, on-ear, and in-ear designs, I have found that comfort usually depends on small changes: the right ear tip, a better headband position, softer pads, and safer volume habits. This guide explains how to make headphones more comfortable for long work sessions, travel, gaming, exercise, and everyday listening.
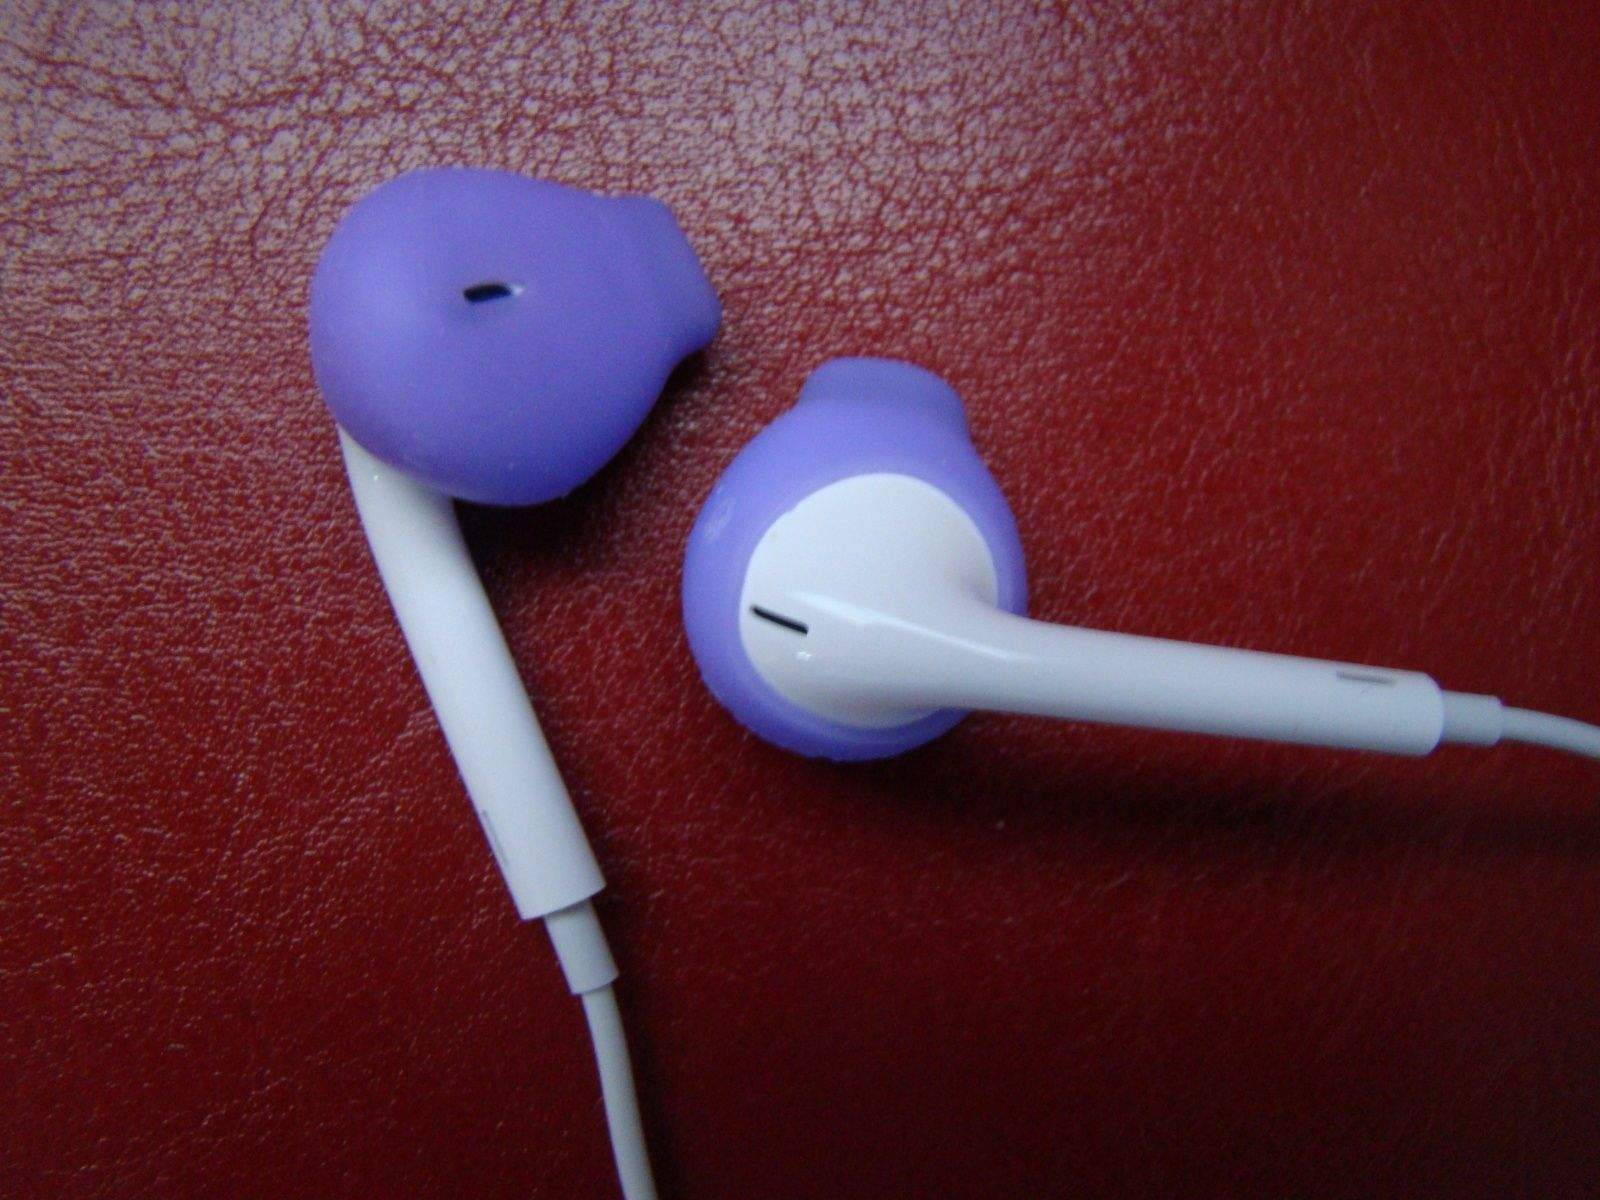
Find the real cause of headphone discomfort
The best way to make headphones more comfortable is to identify what hurts first. Ear pain, jaw pressure, headaches, heat, and skin irritation each point to a different problem.
Common causes include:
• Tight clamping force around the head
• Ear cups that press on the ears
• A headband that creates a pressure spot
• Ear tips that are too large, too small, or too deep
• Heavy headphones that pull on the neck
• Poor adjustment of the headband or ear cups
• Heat and sweat trapped around the ears
• Wearing headphones for too many hours without a break
• A rough material that irritates the skin
A quick test can help. Wear the headphones for 10 minutes at a normal volume, then note the first area that feels uncomfortable. If the pain starts on your ears, focus on the pads or ear tips. If it starts on your temples, the headphones may clamp too tightly. If your neck feels tired, the headset may be too heavy.
When I troubleshoot headphone comfort, I change only one thing at a time. This makes it easier to know what works. Replacing every part at once may seem faster, but it can leave you unsure which change solved the problem.

Adjust the fit before buying accessories
Many people search for how to make headphones more comfortable and immediately buy new ear pads. That can help, but proper adjustment should come first. A good fit may solve the issue at no cost.
Adjust over-ear headphones
Follow these steps:
Extend the headband so the ear cups sit evenly over both ears.
Place the center of each ear cup around the center of your ear.
Make sure the pads touch your head all around the ear.
Move the headband slightly forward or backward until pressure feels even.
Check that the cable, if present, is not pulling on one side.
Your ears should sit inside the ear cups, not touch the hard inner speaker cover. If your ears touch the inside, the cups may be too shallow. Larger or deeper pads can create more room.
Adjust on-ear headphones
On-ear models rest directly on the outer ear. They often feel uncomfortable because the pads press against sensitive cartilage.
Move the headband until the pads sit on the center of your ears. Try not to place them too high or too low. Small changes can spread pressure across a wider area and make headphones more comfortable.
Adjust in-ear headphones
Insert earphones gently. Do not push them farther into the ear than needed to create a stable seal. The ear tip should sit securely without causing sharp pressure.
Try turning the earbuds slightly forward or backward. Some models fit better when the cable or stem rests over the ear. Never force an ear tip into the ear canal.

Replace uncomfortable ear pads
New ear pads are one of the most useful ways to make headphones more comfortable. Pads affect pressure, heat, sound, and how well the headphones stay in place.
Look for pads with these features:
• Memory foam that spreads pressure evenly
• Soft protein leather for a smooth seal
• Breathable fabric for less heat
• A deeper inner opening for larger ears
• A shape that matches the original ear cup
• A secure mounting ring that fits your headphone model
Thicker pads can reduce ear contact, but they may also change the sound. More space between your ears and the drivers can reduce bass or make voices sound more distant. This is not always a problem, but it is worth knowing before you buy.
Velour pads often feel cooler than synthetic leather. However, they may let in more outside noise and may not create the same bass seal. Leather or synthetic leather usually blocks noise better, but it can feel warm during long sessions.
To make headphones more comfortable, choose pads based on your use. Breathable pads work well in a warm office or gaming room. A tighter, sealed pad may work better on an airplane or noisy train.
Clean and maintain the pads
Dirty ear pads can become stiff, oily, and irritating. Wipe them with a slightly damp cloth after heavy use. Follow the manufacturer’s cleaning instructions, especially for leather, memory foam, and fabric.
Let the pads dry fully before wearing the headphones. Avoid soaking them, using strong alcohol, or placing them near high heat. Damaged foam can lose its shape and create uneven pressure.

Reduce clamping pressure safely
Strong clamping force is a common reason headphones cause headaches. It helps the headset stay secure, but too much pressure can affect the temples, jaw, and ears.
First, check whether the headphones have a built-in adjustment. Extend the headband by one or two steps and see whether the pressure improves. Some models also allow the ear cups to swivel, which can help them match the shape of your head.
Some users gently stretch a headset over a stack of books for several hours. This may reduce clamping force, but it carries a risk. Too much force can bend the frame, damage the hinges, or make the headphones loose. If you try it, use a stack close to the width of your head and make small changes over time.
Do not heat the headband with a hair dryer. Heat can damage plastic, glue, foam, and internal parts. It may also make the frame bend in an uneven way.
If the clamp still causes pain, a different model may be the better answer. A headset that feels uncomfortable after careful adjustment may simply have the wrong shape for your head.

Choose the right ear tips for earbuds
For earbuds, comfort depends heavily on ear tip size and shape. The wrong tip can create pain, a weak seal, or the need to raise the volume.
Most earbuds include small, medium, and large silicone tips. Test each size in both ears because your ears may not match. A medium tip in one ear and a small tip in the other can make headphones more comfortable.
Foam tips can help if silicone tips slip out or feel hard. They compress before insertion and expand inside the ear. Use gentle pressure, and replace foam tips when they become dirty or stop expanding.
A proper fit should provide:
• A stable seal without sharp pressure
• Clear sound at a moderate volume
• Little or no movement while walking
• No need to push the earbuds deep into the ear
• Easy removal without pulling hard
If you feel fullness, pain, ringing, or reduced hearing, remove the earbuds. Ongoing pain may signal irritation or another ear problem. Do not use cotton swabs deep inside the ear canal.

Manage heat, sweat, and skin irritation
Heat can make even well-fitted headphones feel uncomfortable. This is especially common with closed-back headphones, synthetic leather pads, and long gaming sessions.
To make headphones more comfortable in warm conditions:
• Use breathable fabric or velour ear pads
• Take short breaks to let your ears cool
• Wipe away sweat before it builds up
• Keep hair and skin clean around the contact points
• Avoid wearing tight hats under the headphones
• Use a fan or cooler room when possible
Headphone covers can add a washable layer between your skin and the pads. They may improve hygiene, but thick covers can change the fit and reduce the seal. Make sure they do not force the ear cups outward.
Skin redness that fades soon after removing the headphones is often caused by friction or pressure. A rash, swelling, itching, or lasting soreness may suggest contact irritation. Stop using the product and seek medical advice if symptoms continue.
Make the headband more comfortable
A narrow headband can create a painful pressure spot on the top of your head. This often happens with heavier wireless headphones.
A replacement headband cushion can spread the weight across a larger area. Some cushions attach with straps, while others use adhesive. Choose one that does not block the headband’s adjustment range.
You can also check the position of the headband. It should rest on a strong, comfortable part of your head rather than pressing against one small spot. Move it slightly forward or backward until the weight feels balanced.
Avoid adding thick padding if it makes the ear cups sit too low. The ear cups should still surround your ears evenly. A comfortable headband is useful only when the entire headset remains aligned.
Reduce headphone weight and neck strain
Weight matters more during long listening sessions. A headset may feel fine for 20 minutes but tiring after three hours.
To reduce strain:
• Use a lighter headset for office work or travel
• Remove unused accessories when the design allows it
• Support a heavy gaming headset on a stand during breaks
• Adjust the headband so it carries weight evenly
• Use a chair with proper neck and back support
Wireless headphones often weigh more because they contain a battery, microphones, and controls. This does not make them bad, but it can affect comfort. Compare total weight, pad shape, and balance instead of looking at weight alone.
A well-balanced headset can feel lighter than a heavier model with poor weight distribution. The center of gravity should stay close to your head rather than pulling outward.
Take breaks and use safe listening habits
Even comfortable headphones can become uncomfortable when worn for too long. Your ears, skin, jaw, and neck all need short recovery periods.
Try the 60/60 approach: keep volume around 60 percent or lower and take a break after about 60 minutes. This is a simple guide, not a guarantee of safety. Safe listening also depends on the headphone type, sound level, fit, and length of use.
The World Health Organization advises keeping personal listening devices at a moderate level and taking regular breaks. If people nearby can hear your audio clearly, the volume may be too high.
Watch for warning signs:
• Ringing in the ears
• Muffled hearing after listening
• Ear pain or pressure
• Headaches
• A strong need to raise the volume
• Increased sensitivity to everyday sounds
Stop listening if these signs appear. Repeated loud exposure can contribute to permanent hearing damage. Comfort should never come from increasing the volume to overcome poor fit or outside noise.
Improve comfort for glasses and hearing aids
Glasses can make headphones less comfortable because the ear cup presses against the frame arms. This can create pressure behind the ears and break the noise seal.
Try adjusting the ear cup angle so it rests more gently over the glasses. Softer pads can also reduce pressure. Glasses with thinner arms may help, but never change eyewear only for headphone use without considering vision and fit.
People who wear hearing aids should follow advice from their hearing professional. Over-ear headphones may work better than earbuds for some users, but the result depends on the hearing aid model and its settings. Avoid changing hearing aid settings simply to make headphones louder.
Some hearing aids support Bluetooth audio or special streaming accessories. These options may improve clarity and reduce the need for high volume. A hearing professional can help choose a safe setup.
Use a simple comfort test before long sessions
Before wearing new headphones all day, test them in short stages. This can prevent wasted money and painful surprises.
Use this method:
Wear the headphones for 15 minutes at home.
Check your ears, temples, jaw, and neck.
Wear them for 30 minutes the next day.
Walk, sit, and turn your head as you normally would.
Test them with glasses, if you wear them.
Listen at your usual volume.
Stop if pain, numbness, or ringing appears.
I once kept using a headset that felt fine at first but caused a sore spot behind one ear after an hour. The problem was not the sound or the ear cup size. The frame pressed against my glasses. A small pad adjustment solved much of the issue, but it also taught me to test headphones with my real daily setup.
Comfort should be measured over time, not during a quick store demonstration.
Know when to replace your headphones
Sometimes the most practical way to make headphones more comfortable is to replace them. Consider a new pair if:
• The frame is cracked or bent
• The pads have flattened or split
• The ear cups no longer sit evenly
• The headset causes pain after every adjustment
• The battery becomes hot or swollen
• The cable pulls constantly on one side
• You need unsafe volume levels to hear clearly
Do not use headphones with a swollen battery, exposed wires, or a hot charging case. These are safety problems, not comfort problems.
When shopping, consider head shape, ear size, glasses, hair, climate, and listening time. Reviews can help, but comfort is personal. A model that feels perfect for one person may feel tight or warm for another.
A quick routine to make headphones more comfortable
Use this routine whenever your headphones start to feel painful:
• Lower the volume slightly.
• Remove the headphones for five minutes.
• Check whether the ears are centered inside the cups.
• Adjust the headband by one step.
• Loosen or reposition the ear tips.
• Wipe sweat from your skin and pads.
• Check for twisted cables or uneven cup pressure.
• Replace worn pads or tips.
• Switch to a lighter or more breathable model if needed.
This routine takes only a few minutes. It also helps separate a small fit issue from a serious design problem.
Frequently Asked Questions
How can I make headphones more comfortable for glasses?
Adjust the ear cups so they sit evenly over the frame arms, and consider softer or deeper ear pads. Taking short breaks can also reduce pressure behind the ears.
Why do my headphones hurt the top of my head?
The headband may be too narrow, too tight, or poorly positioned. Adjust its length and position, or add a thin cushion that spreads weight without pushing the ear cups out of place.
How do I make earbuds more comfortable?
Try a different ear tip size, use foam tips, and avoid pushing the earbuds too deeply into the ear canal. Your ears may need different tip sizes, so test each side separately.
Can new ear pads improve headphone comfort?
Yes. Thicker, softer, or more breathable ear pads can reduce pressure and heat. Check compatibility first because new pads may change the sound and noise seal.
Is it normal for headphones to hurt after a few hours?
Some warmth or mild pressure can occur during long use, but pain, numbness, ringing, or lasting soreness is not something to ignore. Take a break and adjust the fit before continuing.
How tight should headphones be?
Headphones should stay secure when you move but should not squeeze your temples or press painfully on your ears. If you notice a strong pressure mark or headache, the fit is too tight.
Can high volume make headphones feel uncomfortable?
Yes. Loud sound can cause ear fatigue, ringing, and a feeling of pressure. Lower the volume, take regular breaks, and seek professional advice if symptoms continue.
Conclusion
Comfortable headphones come from a balanced fit, soft contact points, suitable ear tips, controlled pressure, and sensible listening breaks. Start with simple adjustments before buying accessories, then replace worn pads or tips if needed. Pay attention to pain, heat, ringing, and neck strain because these signs show that your setup needs a change.
Try one improvement today, such as adjusting the headband, testing a new ear tip, or taking more frequent breaks. Your ears and neck will thank you. Share your comfort tips or explore more listening guides to build a setup you can enjoy for hours.
