

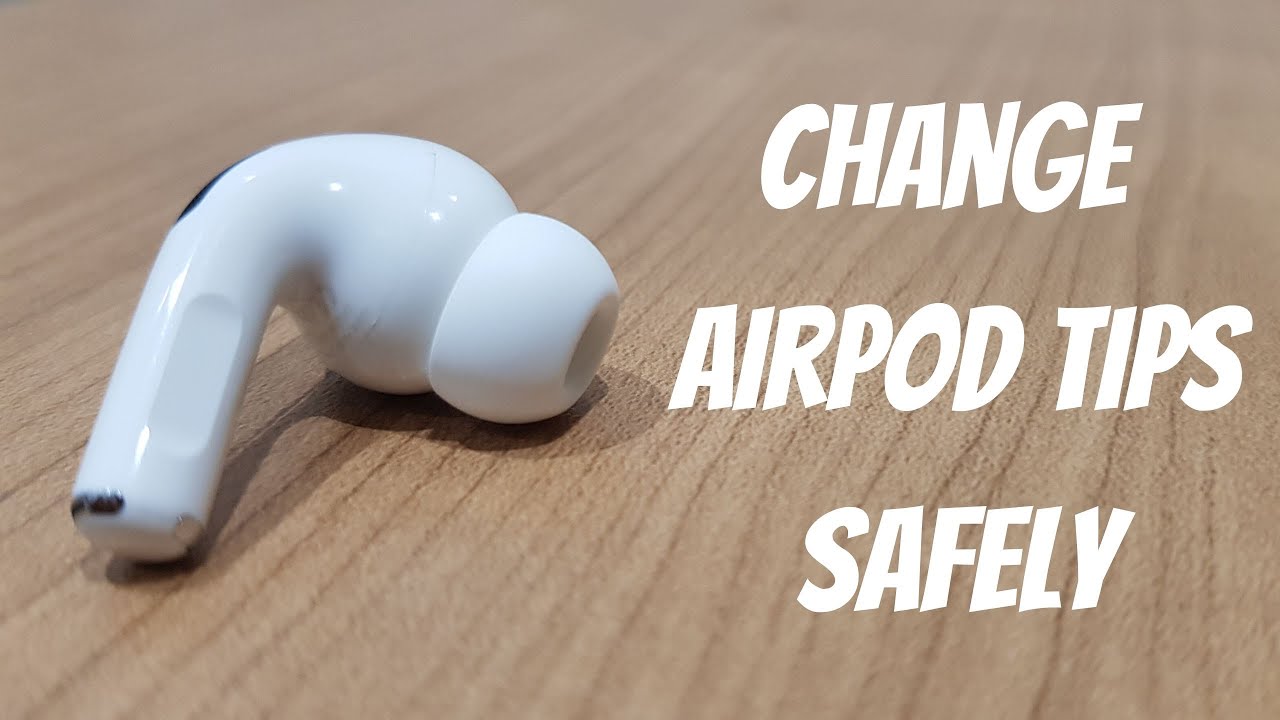
To change AirPods Pro earbud tips, pull off the old tip, align the new one, and press until it clicks securely.
Learning how to change earbud tips on AirPods Pro is simple, but the small connector can feel delicate. The right fit improves comfort, bass, noise cancellation, and stability, so this guide covers the safe method, common mistakes, cleaning tips, and ways to test your new fit.
Why Change Your AirPods Pro Earbud Tips?
AirPods Pro ear tips do more than make the earbuds feel soft. They help create a seal inside your ear canal. That seal supports active noise cancellation, transparency mode, sound quality, and a steady fit while you walk or exercise.
You may want to replace the tips if they:
• Feel loose or painful
• Slip out during movement
• Look stretched, torn, or dirty
• No longer create a good seal
• Have been used for a long time
• Do not fit after sharing or changing users
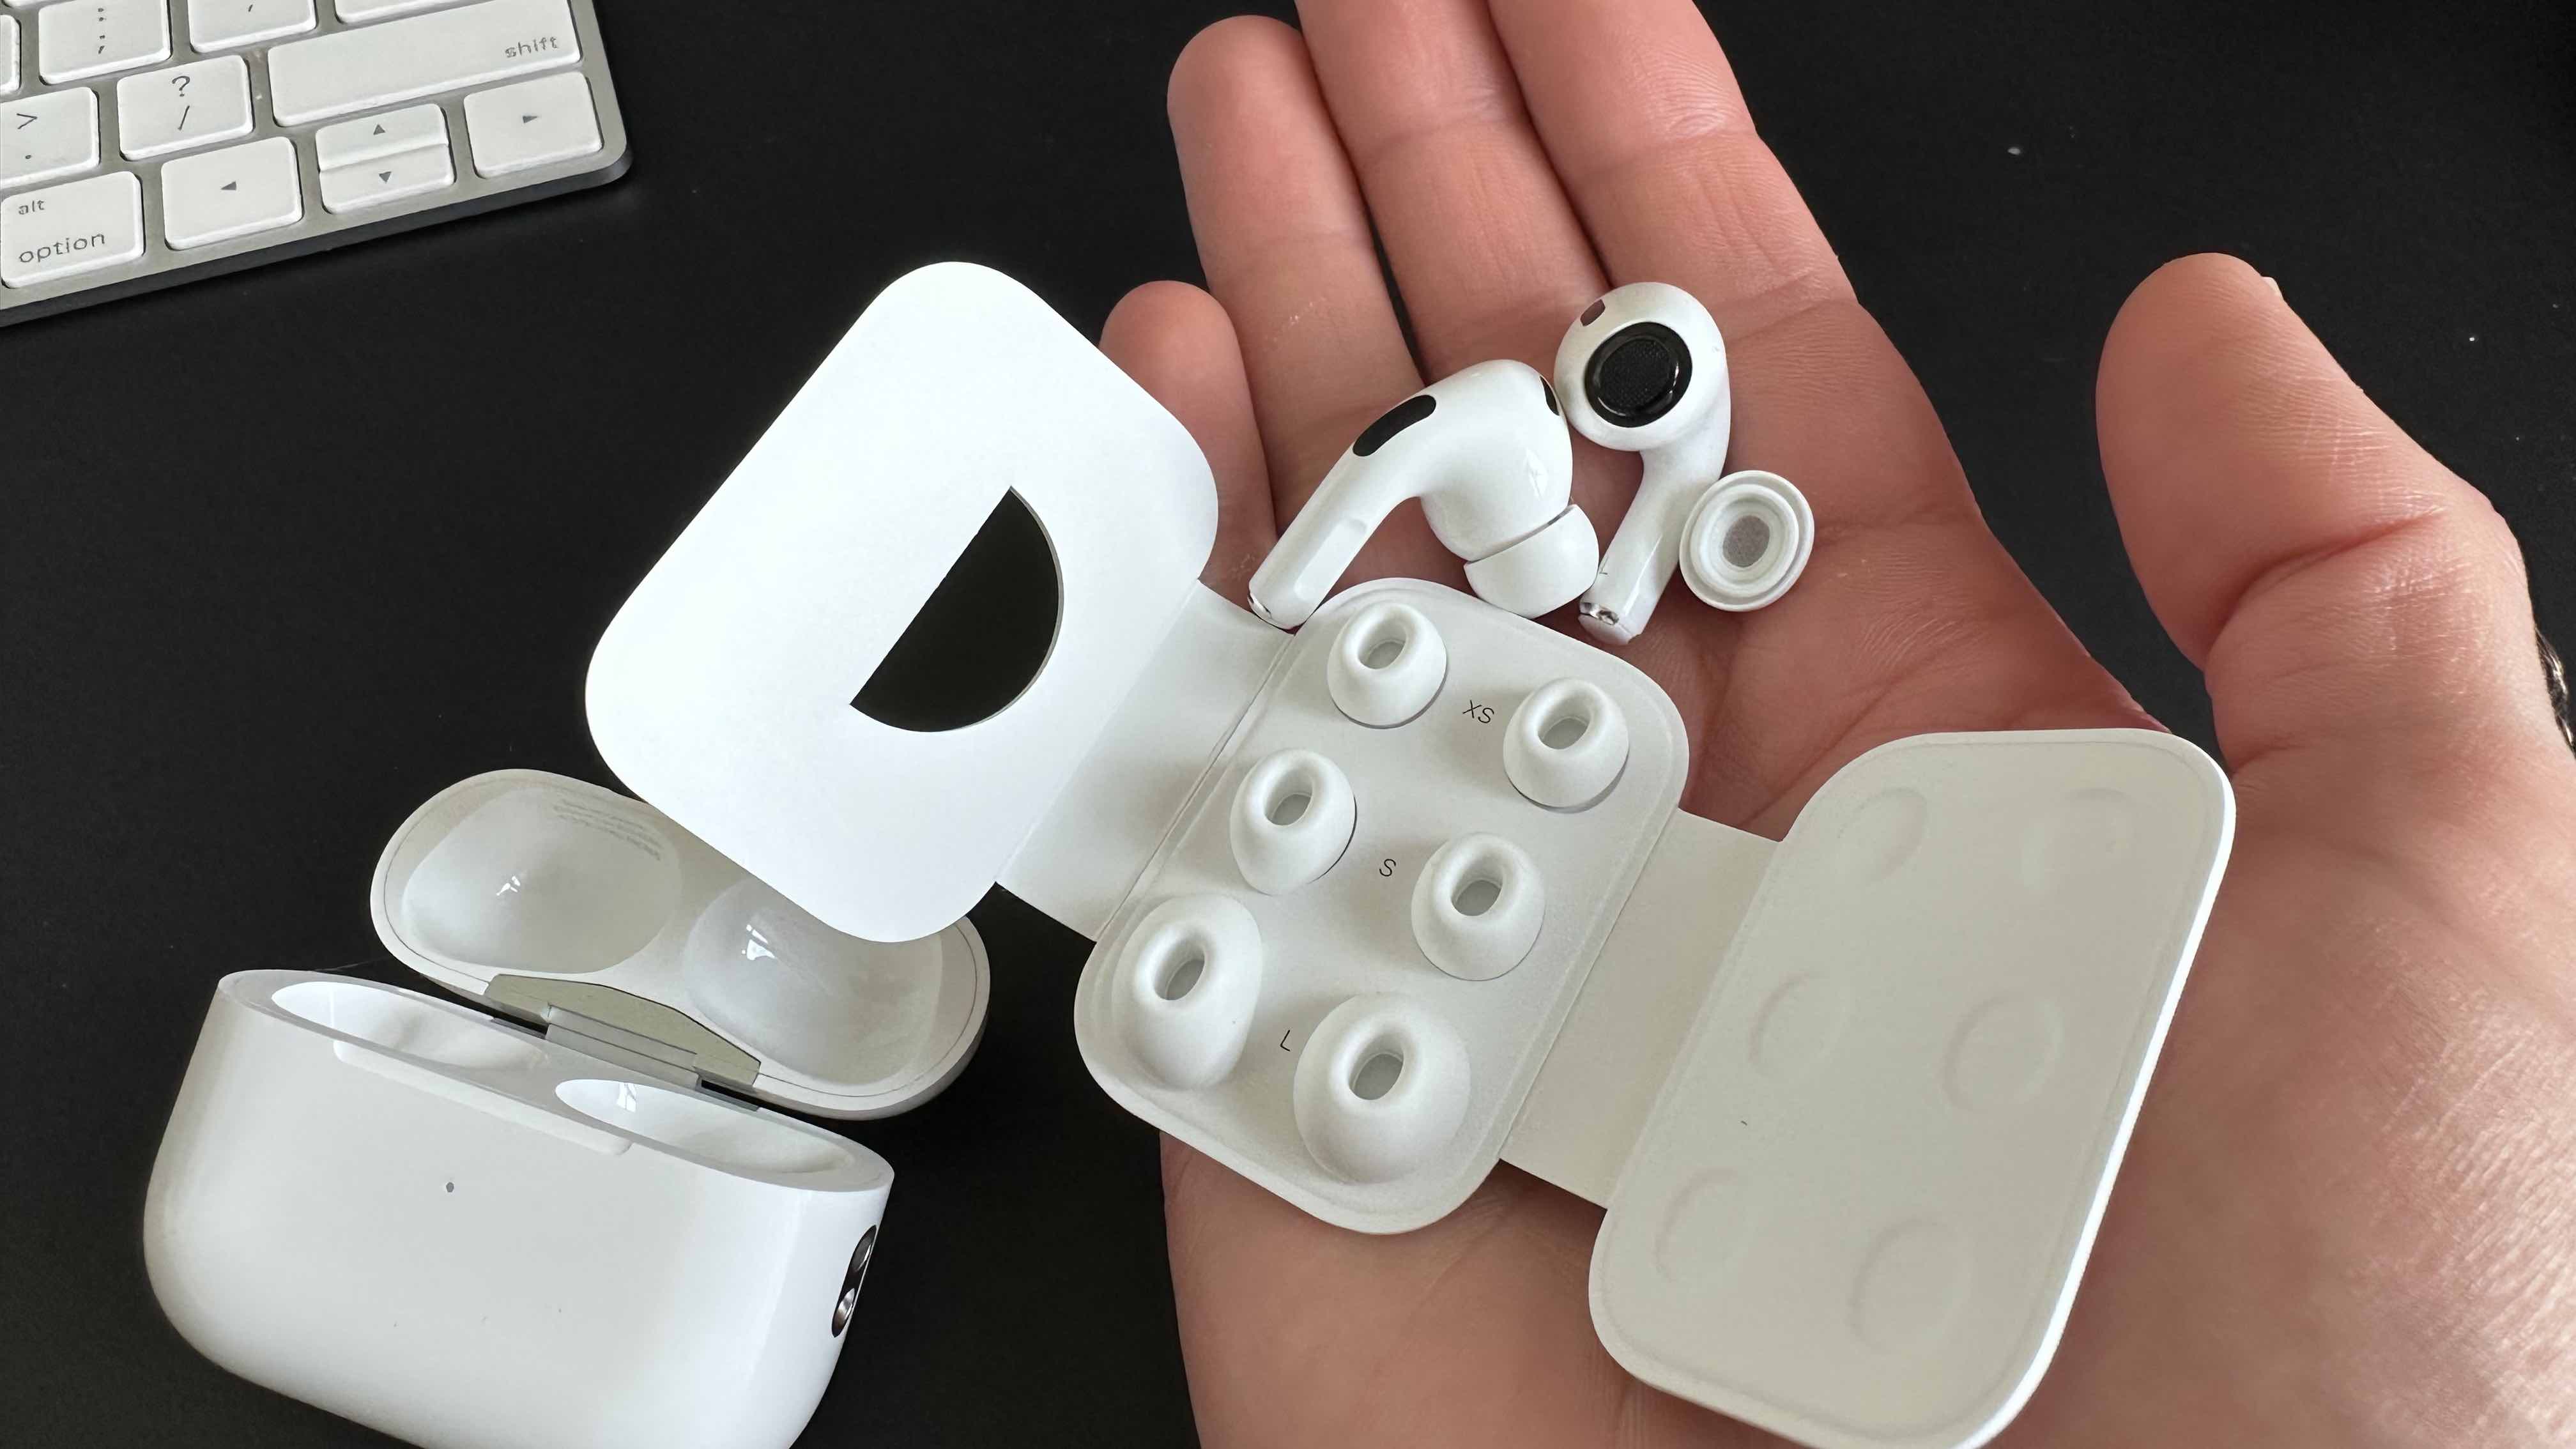
AirPods Pro models include small, medium, and large silicone tips. Some newer models may also support extra small tips, depending on the model and package. Apple’s Ear Tip Fit Test can help you choose the best size.
What You Need Before Changing the Tips
You do not need tools to change AirPods Pro ear tips. In fact, using a pin, knife, tweezers, or another sharp object can damage the silicone or the speaker mesh.
Before you begin, prepare:
• Your AirPods Pro earbuds
• A clean, dry surface
• Replacement ear tips made for your AirPods Pro model
• A soft, dry, lint-free cloth
Wash and dry your hands first. Oil, lotion, and moisture can make the tip harder to grip. A clean surface also helps prevent dust from reaching the speaker opening.
Check that the replacement tips match your AirPods Pro generation. Tips for AirPods Pro are designed around Apple’s snap-on connector, but low-quality third-party tips may fit poorly or block the speaker. If a tip feels too tight or will not attach, do not force it.
How to Change Earbud Tips on AirPods Pro
Follow these steps for a safe and secure replacement.
1. Remove the AirPods Pro From Your Ears
Take both earbuds out and place them on a clean surface. It is best to change one tip at a time so you can compare the old and new sizes.
If the earbuds are dirty, wipe the outside with a dry, soft cloth. Do not rinse the earbuds or apply liquid near the speaker, microphone, or charging contacts.
2. Hold the Earbud Firmly
Hold the body of the AirPod Pro with one hand. Keep your fingers away from the speaker mesh and microphone openings.
You can hold the stem or the hard plastic body. Avoid squeezing the silicone tip alone, because it may stretch without releasing the connector.
3. Pull Off the Old Ear Tip
To remove the old tip, pinch the silicone near its base. Pull it straight away from the earbud with steady pressure.
Do not twist sharply or pull at the thin outer edge. The tip connects through a small plastic mount, and pulling from the base gives you better control.
If it feels stuck, use a clean, dry cloth for extra grip. Never use a tool to pry it off.
4. Choose the New Tip Size
Compare the replacement sizes before attaching one. The largest tip is not always the best choice. A good tip should create a seal without causing pressure or pain.
Use these general signs as a guide:
• Small feels comfortable but lets outside sound in
• Medium seals well for many users
• Large may improve the seal but can feel tight
• Extra small may help users with narrow ear canals
Your left and right ears may need different sizes. That is normal. Ear canals are not always the same shape.
5. Align the New Tip
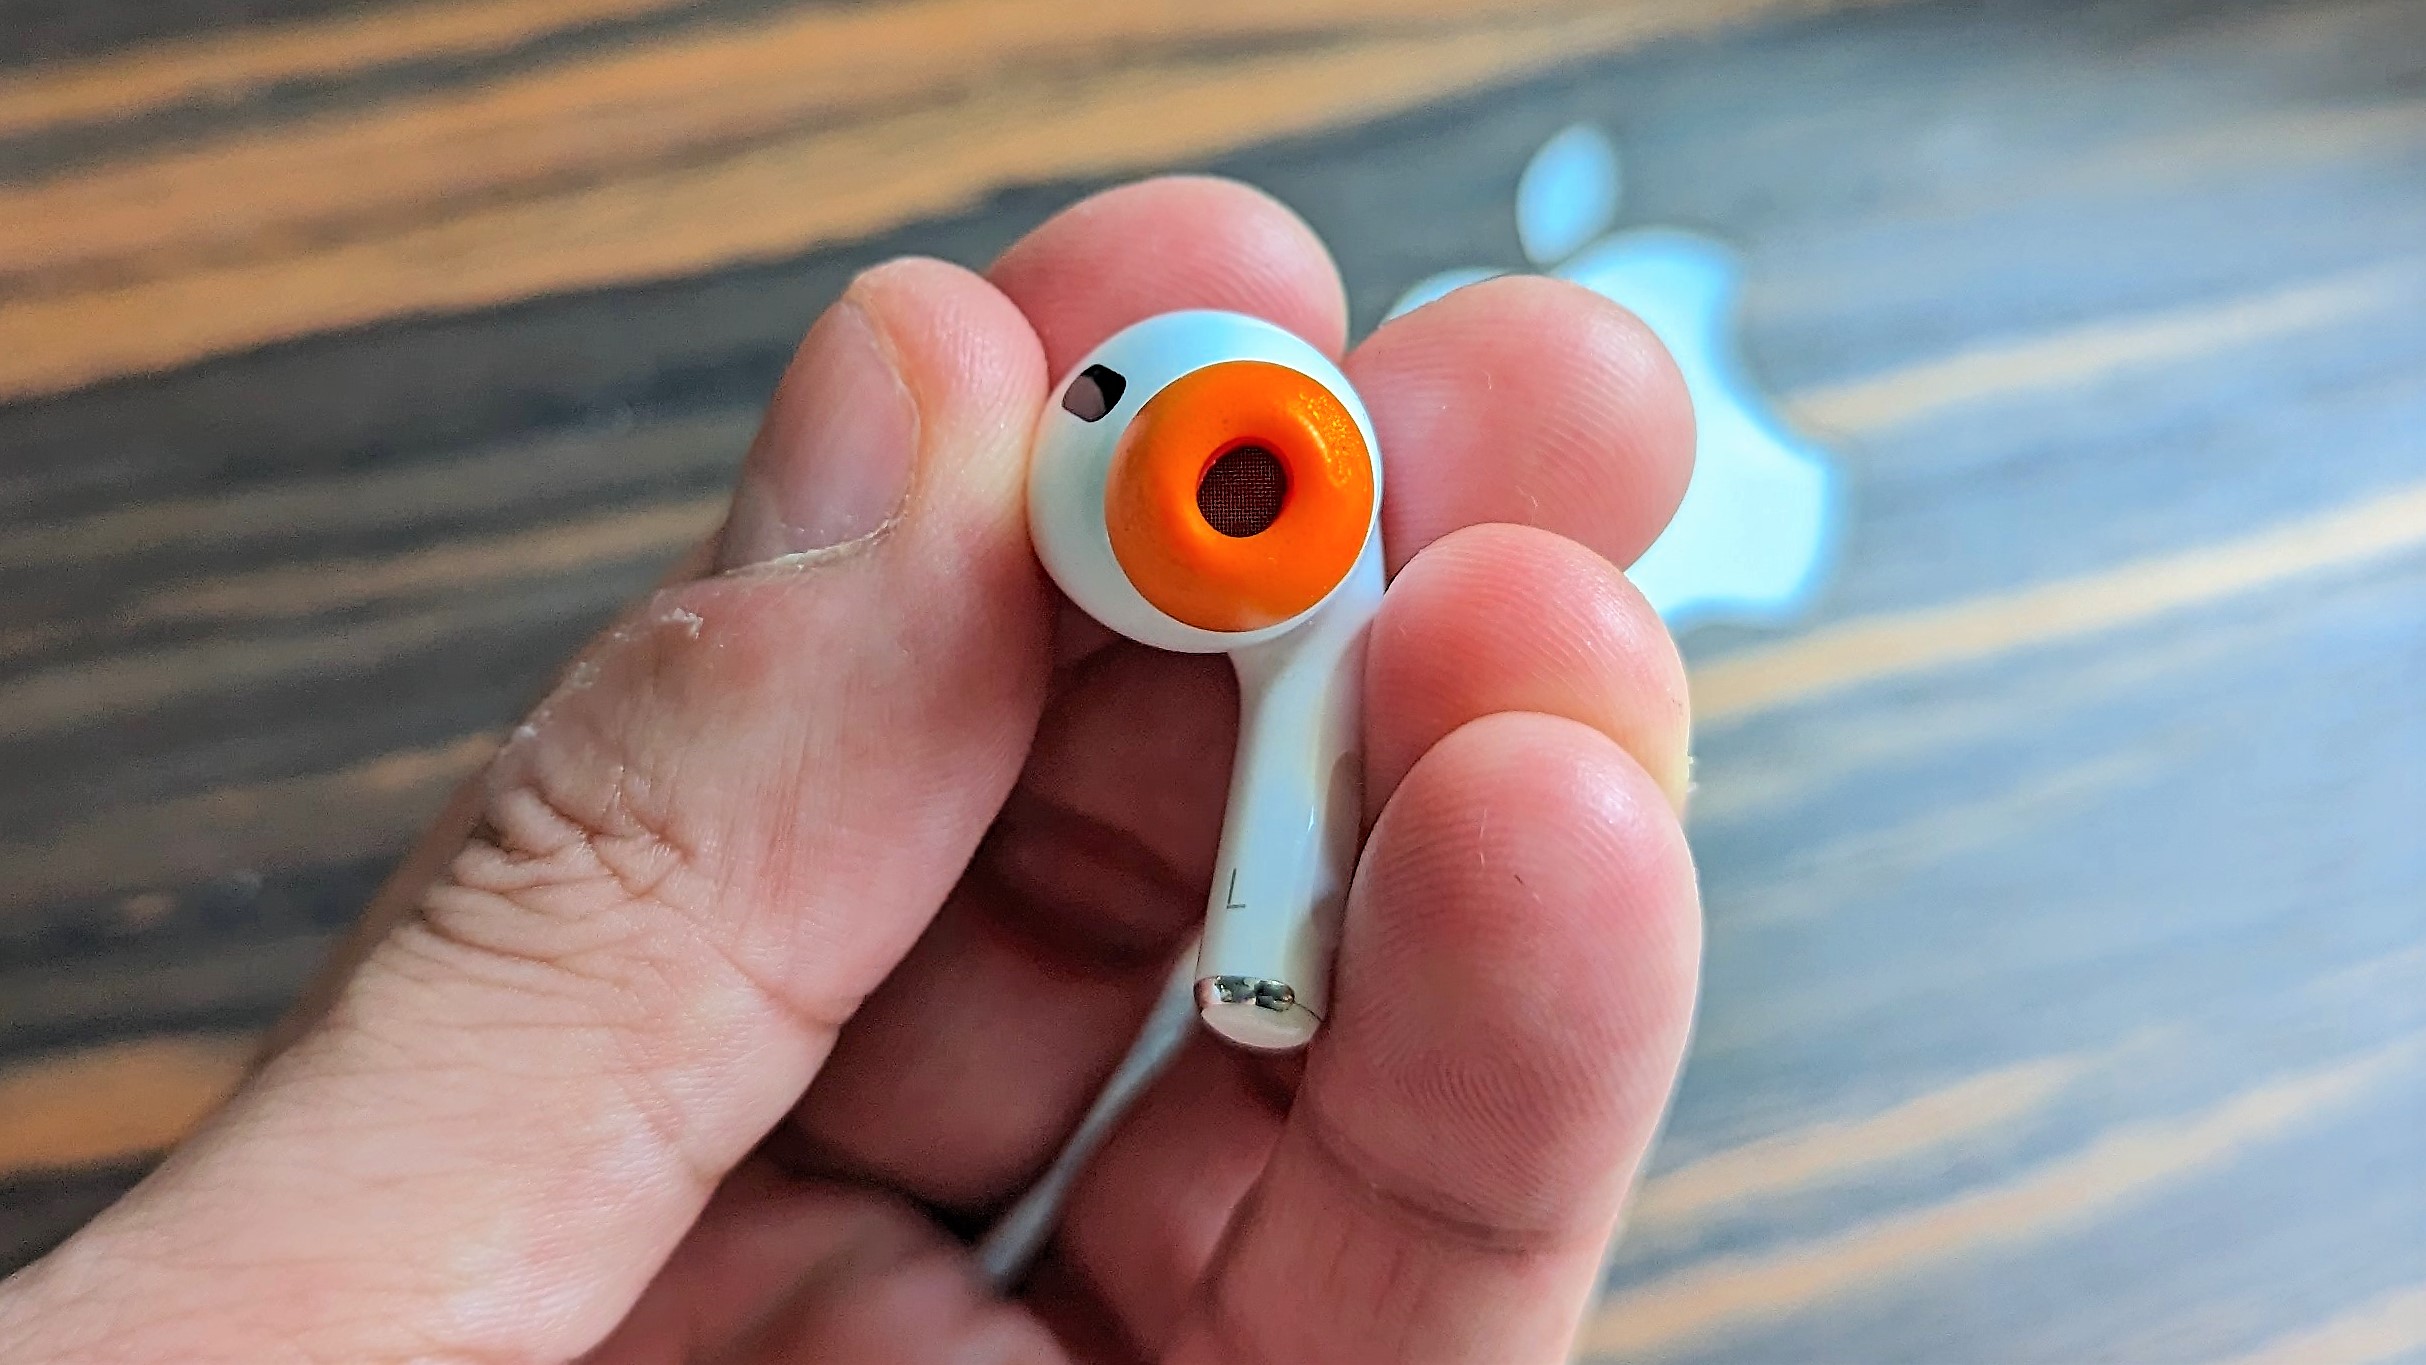
Look inside the replacement tip. You should see an oval-shaped opening or connector.
Place that connector over the oval mount on the AirPod Pro. Line up the shapes before pressing. Correct alignment makes the tip attach with little effort.
6. Press Until It Clicks
Press the replacement tip onto the mount until you hear or feel a click. The tip should sit flat against the base.
Gently tug the tip to check it. It should stay attached and should not slide off with light pressure. If it moves, remove it and try aligning the connector again.
7. Repeat on the Other AirPod
Repeat the same process for the second earbud. Take your time, especially if you are using a different size on each side.
This step-by-step method is the safest answer to how to change earbud tips on AirPods Pro. The key is to pull from the base, align the connector, and confirm the click.

How to Check Whether the New Tips Fit
Changing the tips is only half the job. You also need to check the seal.
Put both AirPods Pro in your ears and play music at a low volume. The earbuds should feel secure when you turn your head or speak. They should not create sharp pressure or pain.
On an iPhone or iPad, open the AirPods settings while the earbuds are connected. Select the Ear Tip Fit Test, then follow the on-screen instructions. The test plays a short sound and checks whether the tips form a suitable seal.
A good fit often provides:
• Fuller bass
• Less outside noise
• Better active noise cancellation
• Fewer volume increases
• More stable earbuds during movement
If the test reports a poor seal, try another size. You can also adjust the angle of the earbud slightly. Do not push the AirPods Pro deep into your ears to force a seal.
In my practical experience with earbud fitting, the most common mistake is choosing a size based only on comfort. A tip can feel soft but still fail to seal. Comfort and sealing ability must work together.

Common Mistakes to Avoid
Knowing how to change earbud tips on AirPods Pro also means knowing what not to do. Most problems come from rushing or using too much force.
Avoid these mistakes:
• Pulling from the thin outer edge
• Twisting the tip hard while removing it
• Using sharp tools
• Attaching a tip without aligning the connector
• Ignoring a loose fit
• Washing the ear tips while they are still attached
• Using wet or oily tips
• Blocking the speaker mesh with dirt
A loose tip can remain in your ear when you remove the AirPod. A damaged tip may also affect sound and noise control. Always give each new tip a gentle pull after installation.
Do not use a tip that has a tear, split, hard spot, or misshapen connector. Silicone can wear over time, especially when exposed to sweat, skin oil, makeup, or frequent cleaning.
How to Clean AirPods Pro Ear Tips
Clean the tips often, especially after workouts. Earwax and skin oil can build up inside the silicone and reduce comfort.
To clean removable AirPods Pro tips:
Remove the tips from the earbuds.
Rinse the silicone tips with clean water.
Wipe them with a soft, dry, lint-free cloth.
Let them dry fully before putting them back on.
Do not use soap, alcohol, bleach, disinfectant, or household cleaner on the tips unless the manufacturer specifically allows it. Chemical residue may irritate your skin or weaken the silicone.
Never reinstall a wet tip. Moisture can move toward the earbud openings and may affect the device. Clean the earbud itself with a dry cloth and keep liquid away from the speaker mesh.
Cleaning does not replace worn tips. If a tip stays dirty, feels sticky, or no longer holds its shape, replace it.

How Often Should You Replace AirPods Pro Tips?
There is no fixed replacement schedule for everyone. Replace the tips when they no longer fit, seal, or feel comfortable.
You may need new tips sooner if you:
• Exercise often with your AirPods Pro
• Sweat heavily
• Wear makeup or hair products
• Share earbuds
• Clean the tips frequently
• Notice a change in sound or noise cancellation
Inspect the tips every few weeks. Look for small tears around the connector and outer rim. Even a small split can change the fit.
Many people replace tips only after losing one. It is better to treat them like toothbrush heads: check them regularly and change them when their condition declines.

AirPods Pro Tip Fit Problems and Solutions
The New Tip Will Not Click Into Place
Remove it and check the oval connector. It may be turned the wrong way or not centered on the AirPod mount.
Do not press harder than necessary. If the connector looks damaged, use a new tip.
The Tip Keeps Falling Off
The tip may not be fully attached. Remove it, realign it, and press until it clicks.
If it still comes loose, inspect the connector for tears or dirt. A third-party tip may also have poor size control.
The AirPods Pro Feel Loose
Try one size larger or adjust the angle of the earbuds. You may also need different sizes for your left and right ears.
If every size feels loose, check whether the tips are worn. A damaged silicone edge cannot create a stable seal.
The AirPods Pro Hurt Your Ears
Try a smaller tip or wear the earbuds for shorter periods. Pain means the fit is not right, even if the Ear Tip Fit Test reports a good seal.
The test checks acoustic sealing, not long-term comfort. Your own comfort should guide the final choice.
Noise Cancellation Seems Weak
Check the tip seal, speaker mesh, and microphone openings. Dirt or an incomplete seal can reduce the perceived effect of active noise cancellation.
Try another tip size and run the Ear Tip Fit Test again. If the problem continues with clean earbuds and a good seal, the issue may not be the tips.

Tips for a Better Fit During Exercise
Movement can expose a poor fit quickly. Before a workout, make sure the tips are clean and dry. Sweat can make silicone slippery.
Choose the smallest size that still creates a strong seal. Large tips may feel secure at first but can cause pressure during a long run or gym session.
Insert the AirPods Pro gently, then rotate them slightly until they feel stable. Avoid pushing them deep into the ear canal. If the earbuds still move, consider replacement tips designed for exercise, but confirm that they are compatible with your model.
A secure fit should not require constant adjustment. If you keep touching the earbuds, pause and test another size.

AirPods Pro Tip Compatibility
Apple has released more than one AirPods Pro generation, so check compatibility before buying replacement tips. Original Apple tips are the safest choice for fit and device compatibility.
Some third-party tips use foam, different silicone shapes, or extra grip. These may improve comfort for some users, but they can also change the seal, affect charging case fit, or interfere with the Ear Tip Fit Test.
Before ordering, confirm:
• Your AirPods Pro generation
• The tip connector shape
• Whether the tips fit inside the charging case
• Whether the seller lists your model
• The return policy
Foam tips may expand inside the ear and provide a firm seal, but they can wear faster and may require more cleaning. Silicone tips are easier to wash and are usually simpler to install.
Safety and Comfort Considerations
Ear tips should feel secure, not painful. Stop using a tip if it causes itching, swelling, soreness, or a rash. Give your ears time to recover, and seek medical advice if symptoms continue.
Keep listening volume at a safe level. A strong seal can make music sound louder, so you may not need to increase the volume. Long exposure to loud sound can harm hearing.
Also, remember that active noise cancellation does not remove every sound. Stay aware near roads, bikes, trains, and busy public places. Transparency mode can help, but it should not replace normal attention.
The best method for how to change earbud tips on AirPods Pro combines correct installation, clean surfaces, a proper seal, and comfortable listening habits.
Frequently Asked Questions
How do I remove AirPods Pro ear tips without damaging them?
Hold the hard plastic body of the AirPod Pro and pull the silicone tip from its base. Use steady pressure rather than twisting or pulling the thin outer edge.
How do I know if an AirPods Pro tip is attached correctly?
The tip should align with the oval mount and click into place. Give it a gentle tug; it should remain firmly attached without sliding off.
Can I use different ear tip sizes on each AirPod Pro?
Yes. Your ears may have different shapes or canal sizes, so one ear may need a small tip while the other needs a medium or large tip.
Can I wash AirPods Pro ear tips with water?
You can remove the silicone tips and rinse them with clean water. Dry them completely before reattaching them, and keep water away from the AirPods Pro earbuds.
Why do my AirPods Pro tips keep falling off?
The tip may not be fully clicked into place, or the connector may be dirty or damaged. Remove it, inspect the mount, and reinstall it carefully; replace the tip if it is torn.
Do new ear tips improve noise cancellation?
They can improve noise cancellation when the old tips were worn or poorly fitted. Noise cancellation depends on several factors, including the seal, microphone openings, software, and earbud condition.
Conclusion
Changing AirPods Pro earbud tips takes only a few careful steps. Remove the old tip from its base, align the new oval connector, press until it clicks, and test the seal on both ears.
Choose comfort and stability over size alone. Clean the tips often, replace damaged silicone, and use the Ear Tip Fit Test to confirm the fit. Now that you know how to change earbud tips on AirPods Pro, try a different size today and find the setup that feels secure without pressure. Share your preferred tip size or explore more AirPods care guides for practical listening tips.
