

You can fix most broken headphone wires by cutting the damaged spot, joining the wires, and insulating each connection.
Learning how to fix broken headphone wire can save a favorite pair from the trash. The repair is small, but headphone cables contain thin, coated wires that need careful handling. With the right tools, steady hands, and a simple test, you can restore clear sound in under an hour.
What Causes a Headphone Wire to Break?
Headphone wires usually fail because of repeated bending, pulling, or twisting. The most common weak points are near the plug, the Y-split, the volume control, and each earcup.
Inside the cable, tiny copper strands carry the audio signal. A thin plastic coating keeps the left, right, and ground wires from touching. When the cable bends too much, the strands may break while the outside still looks normal.
Common causes include:
• Pulling headphones out by the cable instead of the plug
• Bending the wire sharply near the 3.5 mm connector
• Wrapping the cable tightly around a device
• Sleeping on wired headphones
• Catching the cable on a chair, desk, or doorknob
• Moisture, sweat, heat, or age
• A weak strain relief at the plug or earcup
A broken wire may cause one side to stop working, sound to cut in and out, or music to play only when the cable sits at a certain angle. These signs help you find the damaged section before you begin.

Test the Headphones Before Repairing Them
Before learning how to fix broken headphone wire, confirm that the cable is really the problem. A faulty phone jack, Bluetooth setting, audio app, or headphone driver can create similar symptoms.
Try these checks:
- Plug the headphones into another phone, computer, or audio player.
- Test another pair of headphones with the original device.
- Play music with a steady vocal track.
- Gently bend the cable near the plug, split, and earcups.
- Check whether sound returns when you move one area.
- Inspect the plug for dirt, bent metal, or looseness.
If sound changes when you bend one exact spot, the cable likely has an internal break. If both sides remain silent on several devices, the problem may be inside the plug, earcups, or audio source.
A multimeter can make the test more precise. Set it to continuity mode, then test between the plug contacts and the matching wires. A continuous beep usually means the path is intact. No beep suggests a break, but wire colors are not universal, so test before relying on color alone.
Tools and Materials You Will Need
The right tools make how to fix broken headphone wire safer and more reliable. You do not need a full electronics bench, but you do need tools that can handle very thin wires.
Gather these items:
• Small wire cutters
• Precision wire strippers or a sharp craft knife
• Soldering iron with a fine tip
• Rosin-core electronics solder
• Heat-shrink tubing in small sizes
• Electrical tape for temporary support
• A lighter or heat gun for shrinking tubing
• Helping hands or small clamps
• Multimeter, if available
• Isopropyl alcohol and a small cloth
• Replacement 3.5 mm plug, if the old plug is damaged
Use rosin-core solder made for electronics. Do not use acid-core solder, which is intended for plumbing and can damage small electrical connections.
A soldering iron can cause burns and start a fire. Work on a nonflammable surface in a ventilated space. Keep the hot tip in its stand, and unplug it when the repair is complete.

Identify the Wires Inside the Cable
Most stereo headphones use three electrical paths:
• Left audio channel
• Right audio channel
• Common ground
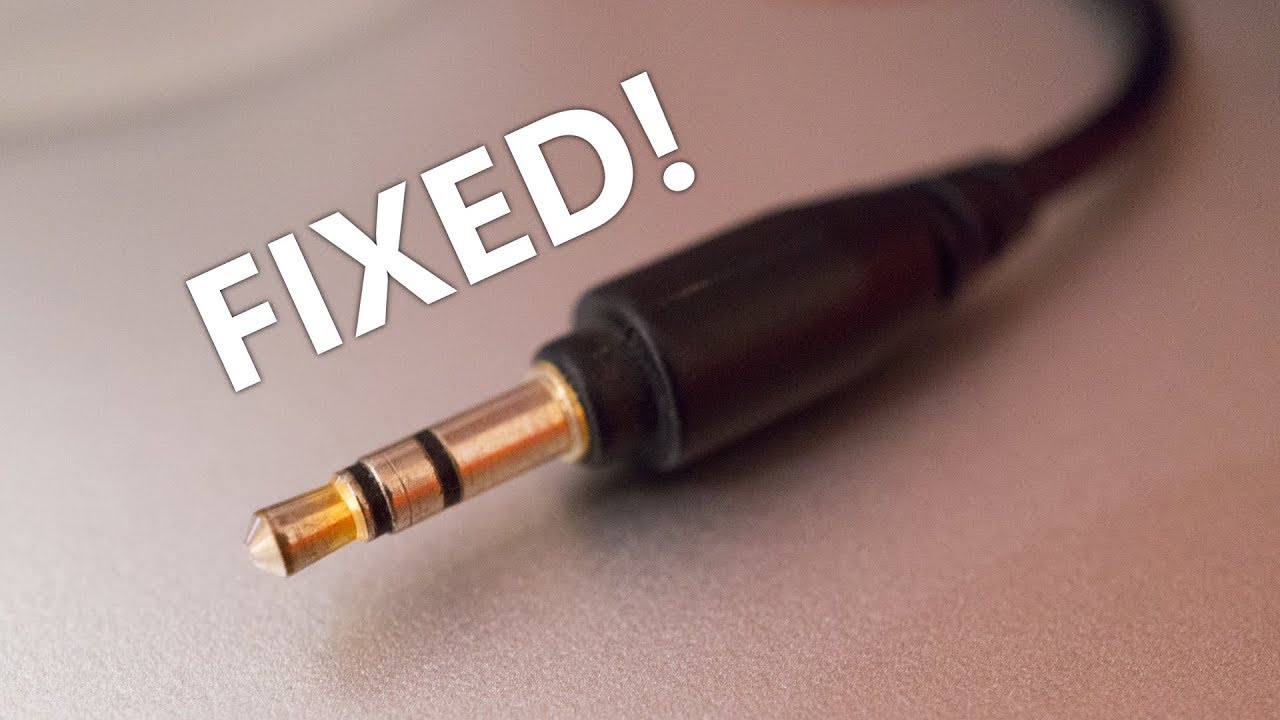
A standard 3.5 mm stereo plug has three sections. The tip usually carries the left channel, the ring usually carries the right channel, and the sleeve usually carries ground. This is called a TRS plug.
Some headsets have a fourth section for a microphone. These use a TRRS plug. The contact order can vary between standards, so do not assume that every colored wire follows the same layout.
Wire colors also vary. You may see red, green, blue, copper, gold, or white. Some wires have a clear enamel coating that acts as insulation. That coating must be removed before solder can bond to the copper.
To identify a wire, use a multimeter when possible. Place one probe on a plug contact and touch the other probe to each wire. The wire that produces continuity belongs to that contact.

How to Fix Broken Headphone Wire by Splicing It
A cable splice works well when the break is somewhere along the wire. The goal is to join matching conductors without allowing them to touch each other.
Follow these steps:
- Unplug the headphones from every device.
- Cut out the damaged section. Remove a little extra cable on both sides if the wire looks crushed or stretched.
- Slide a piece of heat-shrink tubing over one side of the cable. Do this before soldering because it will not fit over the finished joint.
- Remove about 1/2 inch of the outer jacket from each cable end.
- Separate the internal wires.
- Strip or burn away the enamel coating from each wire.
- Test the exposed ends with a small amount of solder. This process is called tinning.
- Match the left, right, and ground wires.
- Solder each matching pair separately.
- Cover each individual connection with small heat-shrink tubing.
- Cover the entire repaired area with a larger piece of heat-shrink tubing.
- Test the headphones before closing the repair fully.
Keep the exposed solder joints apart. If the left and right wires touch the ground wire, the sound may become weak, distorted, or silent.
A useful technique is to stagger the splices. Do not place every joint at the same point. Staggering creates a slimmer repair and reduces the chance that the joints will touch.

How to Fix Broken Headphone Wire Near the Plug
A failed plug is one of the most common headphone problems. If sound cuts out when you twist the plug, replacing the plug is often more dependable than splicing right beside it.
To replace the plug:
- Cut the old plug off several inches above the damaged area.
- Slide the new plug’s cover and strain relief onto the cable.
- Strip the outer jacket carefully.
- Identify the left, right, ground, and microphone wires if present.
- Remove enamel from coated wires.
- Tin each wire.
- Solder the wires to the correct plug terminals.
- Check that no solder bridges connect nearby terminals.
- Add the strain relief or clamp supplied with the plug.
- Screw or snap the plug cover into place.
- Test the headphones with low volume first.
For a normal stereo plug, the tip is generally left, the ring is generally right, and the sleeve is generally ground. For a headset plug, check the replacement plug instructions because microphone wiring may use a different contact arrangement.
If the cable has only two internal wires, it may be a mono design or a different arrangement. Test it rather than guessing.

How to Fix Broken Headphone Wire Without Soldering
You can make a temporary repair without solder, but it may not last as long. Solder creates a compact electrical bond, while crimp connectors or twisted wires can loosen under repeated movement.
For a temporary fix:
- Cut away the damaged section.
- Strip the outer jacket and separate the conductors.
- Remove the enamel from coated wires.
- Twist each matching pair together.
- Cover every connection with electrical tape.
- Wrap the full repair with more tape or flexible heat-shrink tubing.
- Test the cable while gently moving it.
Do not twist all the wires together. Each channel must stay separate from the others.
Small butt connectors can provide a stronger no-solder repair, but many are too large for headphone cables. If you use them, choose miniature connectors and protect the finished area from bending.
A no-solder repair is useful when you are traveling or do not own a soldering iron. For daily use, solder and heat-shrink tubing are usually the better long-term choice.

How to Fix Broken Headphone Wire Inside an Earcup
Sometimes the cable is intact, but the wire has broken where it enters the earcup. This repair requires opening the housing, which may void a warranty or damage a glued enclosure.
First, inspect the earcup for screws or a removable cushion. Use a plastic pry tool rather than a metal knife when possible. Inside, look for loose solder joints, broken wires, or a wire pulled away from the speaker terminal.
If a wire has detached:
• Note where each wire was connected.
• Take a photo before removing anything.
• Heat the old solder briefly.
• Remove the loose wire.
• Tin the wire and terminal.
• Solder the wire back in place.
• Add a small amount of adhesive near the cable entry for strain relief.
Do not put glue on the speaker diaphragm or moving parts. Also, avoid overheating the speaker terminal. Excess heat can damage the small driver.
If the speaker itself has failed, a wire repair will not solve the problem. A multimeter can help, but speaker impedance readings vary by model. Use the manufacturer’s specifications when available.

Common Mistakes to Avoid
The biggest mistake in how to fix broken headphone wire is rushing the preparation. A quick twist and tape repair may restore sound for a day, but weak joints often fail again.
Avoid these errors:
• Forgetting to slide heat-shrink tubing onto the cable first
• Using too much heat on enamel-coated wires
• Mixing up the left and right channels
• Connecting the microphone wire to ground
• Allowing solder joints to touch
• Stripping too much insulation
• Pulling the cable while the solder is still hot
• Using a large connector on a very thin wire
• Testing at high volume after the repair
• Closing the housing before testing
One repair lesson is especially useful: the joint is not the strain relief. Solder may conduct electricity well, but it is not designed to absorb repeated bending. Support the finished splice with heat-shrink tubing and leave the cable able to flex gently.
How to Test the Repair
Test the repaired headphones in stages. Start with a low volume level to protect your ears and the headphone drivers.
Play a track with clear vocals and music on both channels. Check for:
• Sound from the left earcup
• Sound from the right earcup
• A working microphone, if included
• Clean audio without crackling
• No sound changes when the cable moves
• A secure plug and repaired section
Bend the repaired cable gently, not sharply. If the audio cuts out, unplug the headphones and inspect the joint. The wire may not be fully tinned, or two conductors may be touching.
A multimeter continuity test is useful, but it does not prove that the repair can handle movement. A cable can pass a static test and still fail when flexed. Real-world movement is the final test.
How to Prevent Another Broken Headphone Wire
Once you learn how to fix broken headphone wire, prevention becomes much easier. Treat the cable like a thin rope, not a handle.
Use these habits:
• Pull the plug by its rigid connector.
• Store the cable in a loose loop.
• Avoid tight knots and sharp bends.
• Keep the plug away from heavy objects.
• Use a small case during travel.
• Do not wrap the cable tightly around your phone.
• Replace damaged strain relief before the inner wires break.
• Keep wired headphones dry and away from extreme heat.
A loose over-under coil works well for longer cables. It reduces twisting and helps the wire keep its shape. For a short headphone cable, a simple loose loop is enough.
If the headphones are expensive, under warranty, or equipped with active noise cancellation, check repair options before opening them. A professional repair may protect the device and preserve its value.
When Repairing Headphones Is Not Worth It
Repairing a broken headphone wire is often affordable, but not every pair is a good repair candidate. Very thin molded cables can be difficult to open and may fail again near another weak point.
Replacement may make more sense when:
• The cable has several damaged areas
• Both earcups have failed
• The speaker drivers are damaged
• The battery or control board is faulty
• The housing cannot be opened safely
• A new pair costs less than the repair tools
• The headphones are still covered by warranty
Repair also has limits. A successful wire splice cannot fix a damaged driver, corroded circuit board, or failed noise-canceling system. Be honest about the fault before investing time and parts.
Still, many simple cable breaks are worth fixing. A few dollars in materials can extend the life of comfortable headphones and reduce electronic waste.
Frequently Asked Questions About How to Fix Broken Headphone Wire
Can I fix a broken headphone wire with electrical tape?
Electrical tape can hold a temporary connection, but it does not create a strong electrical bond. For a lasting repair, join the matching wires and cover each connection with heat-shrink tubing.
Why do my headphones work only when I bend the wire?
A partial break inside the cable is likely. Bending the wire briefly brings the broken strands into contact, so the audio returns for a moment.
What if the headphone wires have no visible colors?
Some cables use enamel-coated wires with very similar colors. Use a multimeter to identify each conductor, and remove the coating before soldering.
Can I repair headphones without a soldering iron?
Yes, you can twist and insulate matching wires or use tiny crimp connectors. These repairs are usually less durable than soldered joints, especially near the plug.
How do I know which wire is left and which is right?
Use a continuity test from each wire to the plug contacts. On a standard stereo plug, the tip is usually left and the ring is usually right.
Is it safe to use headphones after repairing the wire?
Yes, if the repair is insulated, the plug is secure, and both channels work normally. Test at low volume first and stop using the headphones if they become hot, smell unusual, or produce severe distortion.
Should I repair a headphone wire that is still under warranty?
Check the warranty before opening or cutting the cable. A self-repair may cancel coverage, while the manufacturer or seller may offer a free replacement.
Conclusion
Learning how to fix broken headphone wire starts with finding the fault, identifying each conductor, and making a careful insulated repair. A soldered splice with heat-shrink tubing is usually the strongest method, while tape or crimp connectors can help in a temporary situation.
Work slowly, test before closing the repair, and protect the cable from future bending. With a few basic tools, you can restore many wired headphones instead of throwing them away. Try the repair on an inexpensive pair first, then share your results or explore more practical electronics repair guides.